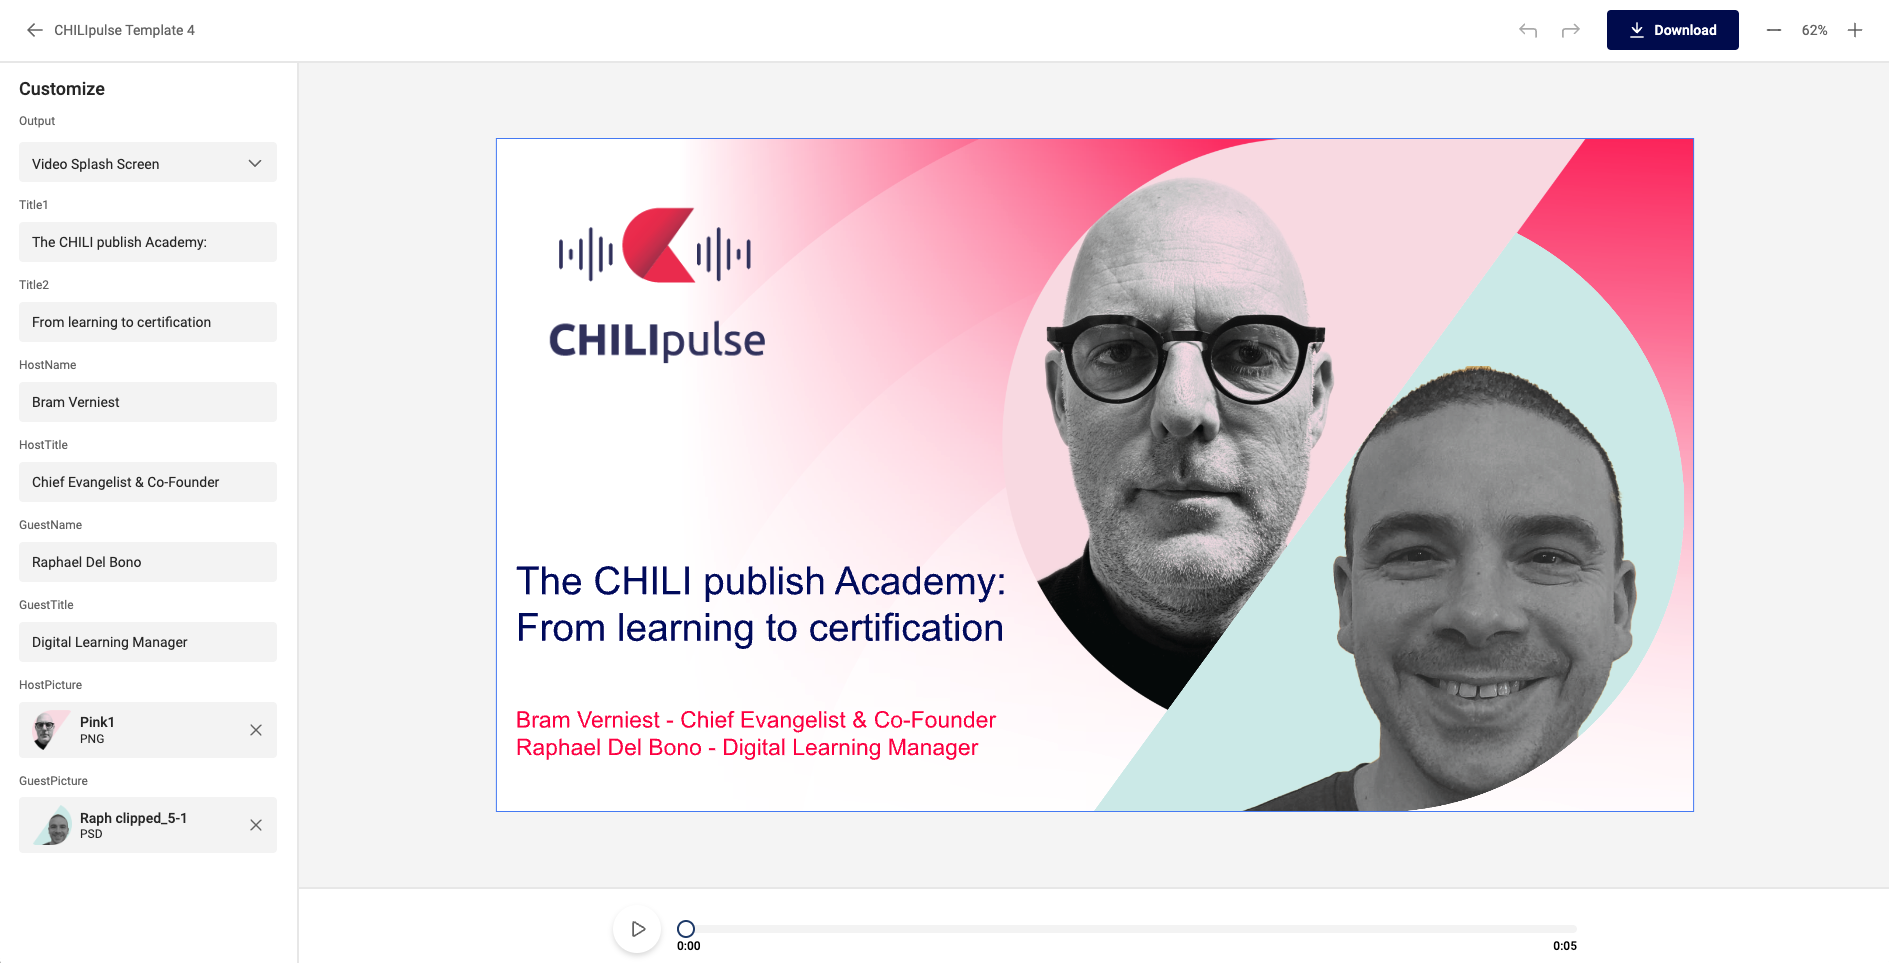
Integrate Studio UI
Introduction
Making Smart Templates
To make Smart Templates in GraFx Studio, you'll need a "template designer seat." Once your template is ready, it moves to the stage where end users can interact with it, specifically in "My Projects." This area is where templates come to life, allowing end users to consume and customize them to fit their needs.

In your webportal
Moreover, this end user interface isn't limited to just the CHILI GraFx environment; it's designed for broader application and can be seamlessly integrated into custom web portals.
This flexibility opens up numerous possibilities for customizing and enhancing the user experience. For detailed instructions on integrating the end user interface into your web portal, refer to the guide below.
Token
Warning
Before you start, take note on how to generate a token.
Since you don't want to pass secure credentials, your server side code will need to generate a token.
This page explains how.
Quick start
On this page on Github, you can get started in no time to have your own GraFx Studio UI integrated.
- Define a
<div>on your page - Inject the JavaScript
- Define custom logic and credentials (examples can be found on Github)
All information can be found here: see all details on Github
Advanced integration
If the basics don't cover your needs, this more advanced page explains all in more detail.