Add a barcode
Feature Channel
Adding a QR Code
Adding a Barcode
Adding a Variable to a Barcode
How to?
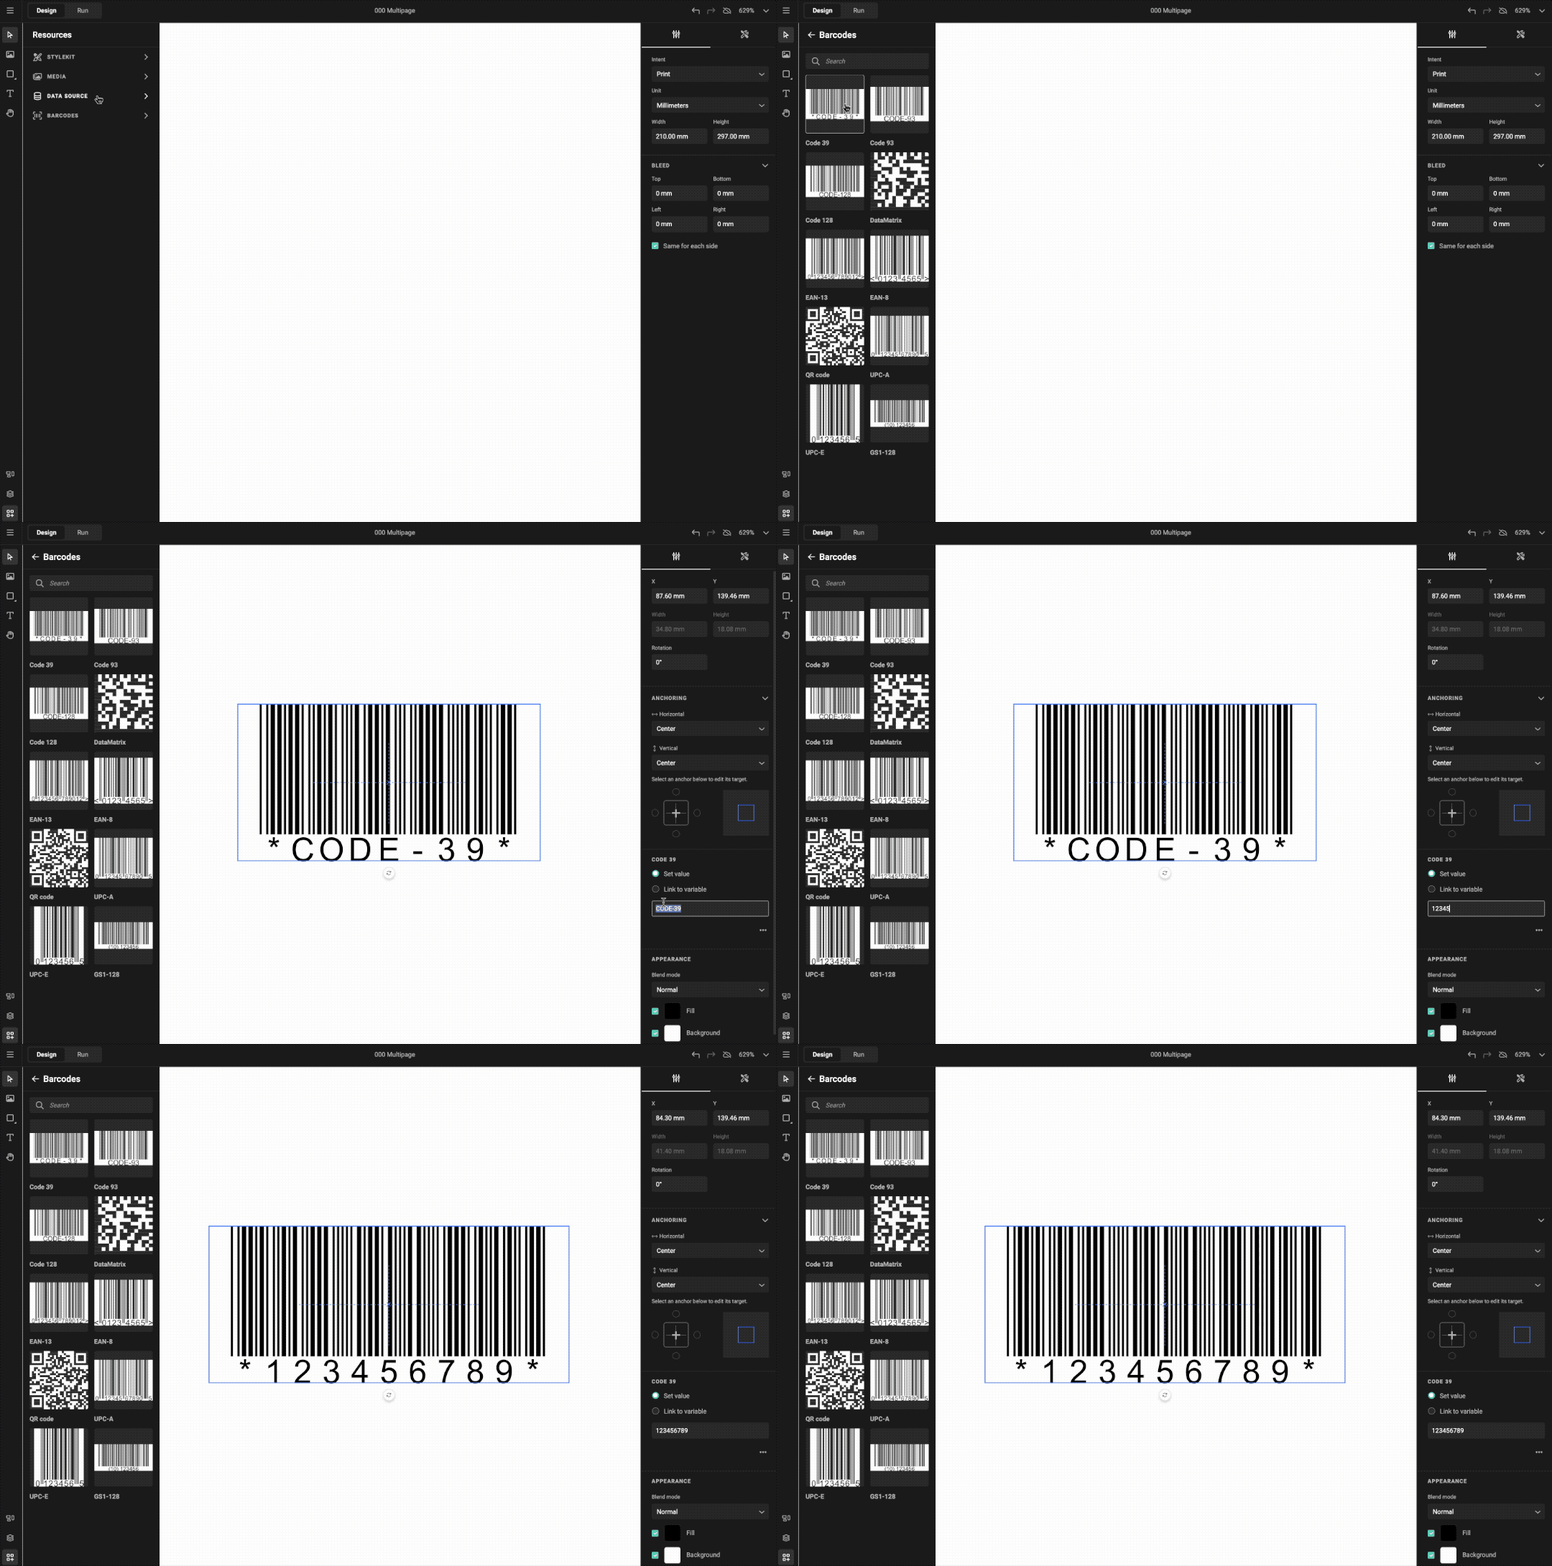
Open the barcode menu, and select the type you need.
The barcode is added to the document, and will be selected. Because it's selected, the properties for this barcode will be visible.
Set the properties for your barcodes.
Some properties will not be visible, because the definition of this barcode don't allow changes for this specific property.
Some properties can be found under the "..." (three dots) menu
Values in barcodes
Static value
By default, you can enter a static value in the barcode properties. (Set value)
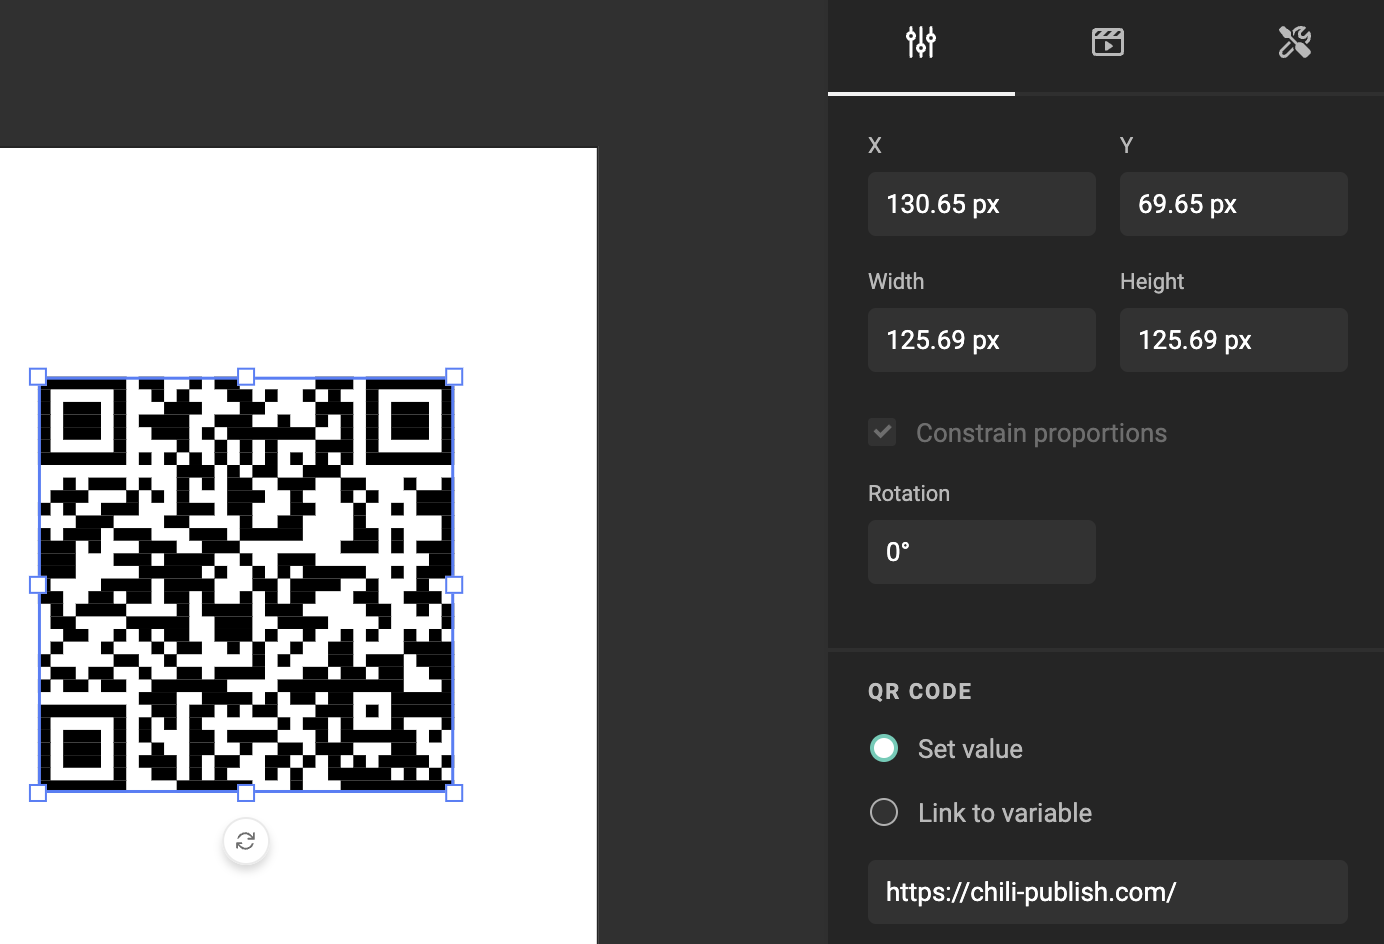
Variable value
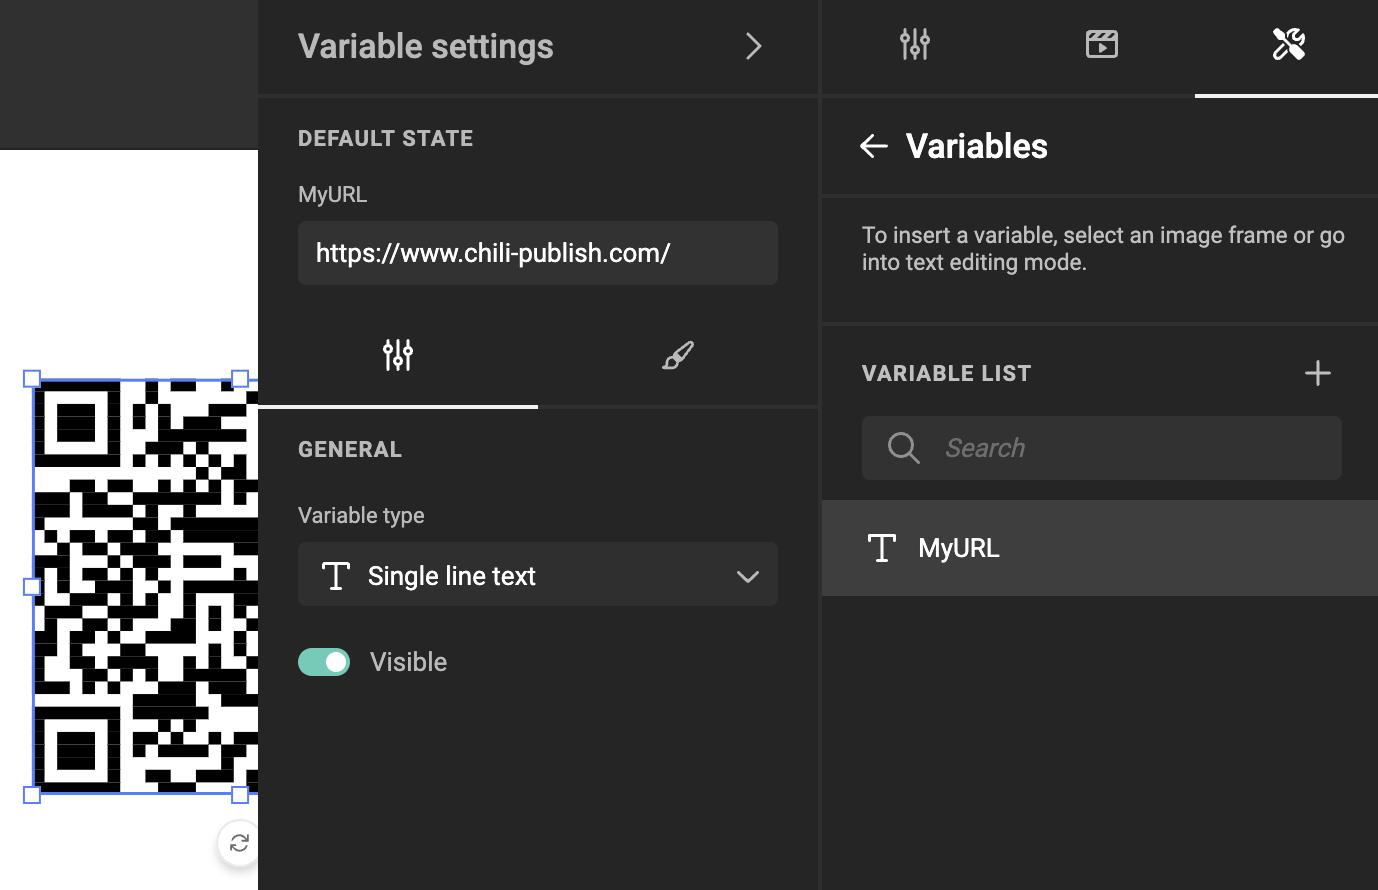
To unleash the power of real Creative Automation, you can link a value to a variable.
Start by defining your variable. See Variables
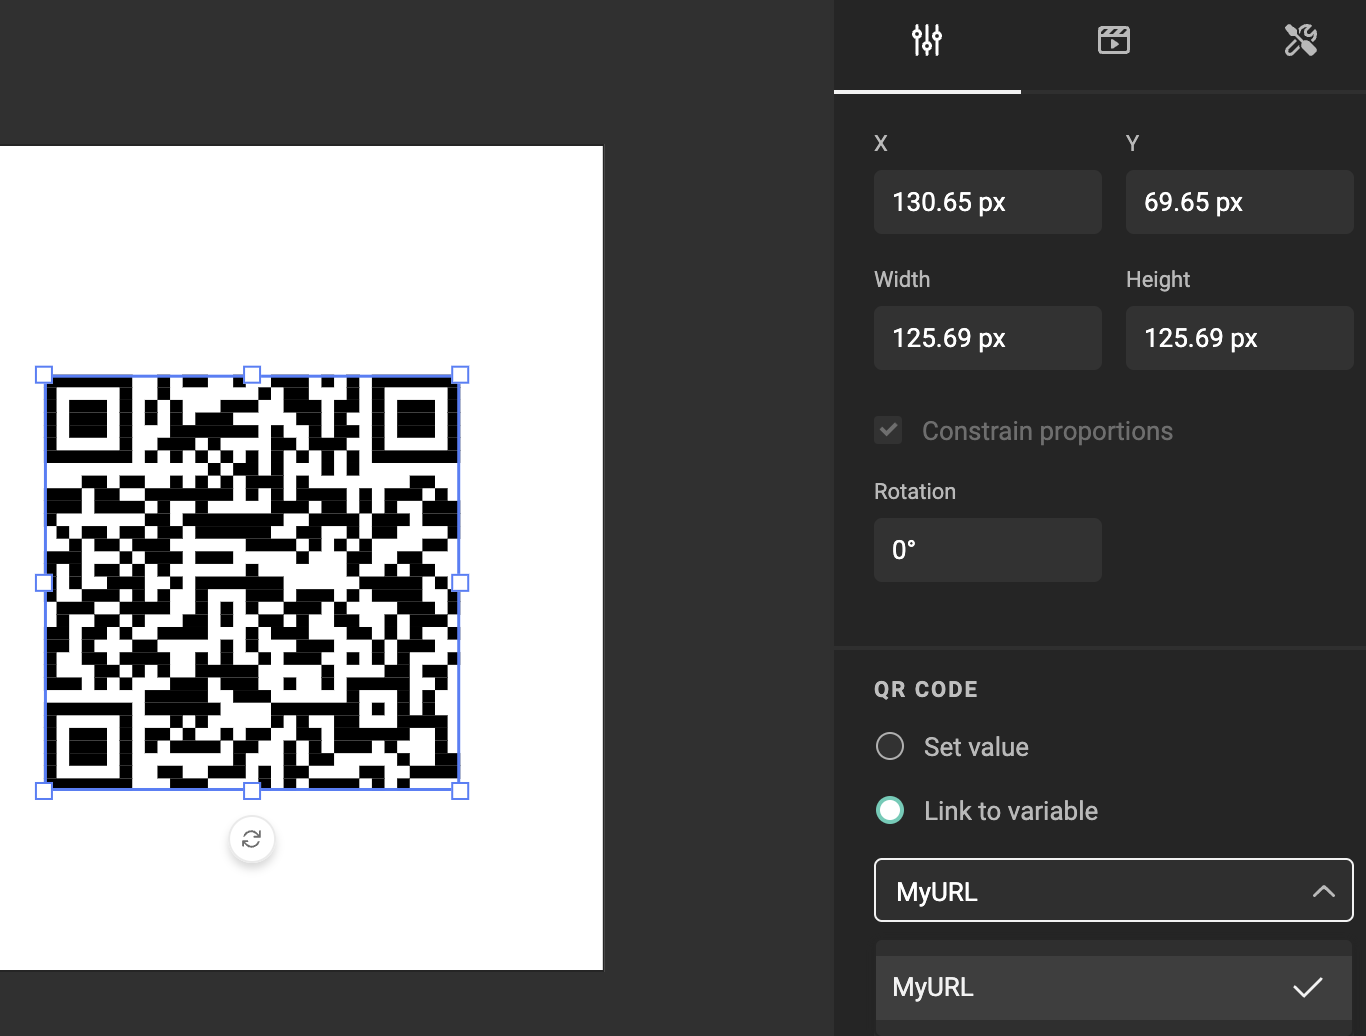
Link the variable to your Bar- or QR code.
Overprint
On a layout with a Print intent, the properties panel offers two overprint toggles for the selected barcode frame:
- Overprint on fill — the bars print on top of the inks underneath instead of knocking them out.
- Overprint for background — the same, for the barcode background.
A barcode has no stroke, so there is no stroke toggle. Both options are off by default, and each one is only selectable when the matching color is active.
Printing a barcode over a colored panel is the classic case for overprint: without it, a slight plate shift leaves a white halo around the bars that can hurt scannability.
Only spot colors defined in CMYK
Overprint takes effect only when the bars or background use a spot color whose secondary color is defined in CMYK. On process CMYK colors, RGB colors, and RGB-based spot colors the toggle can be switched on but changes nothing in the output.
The toggles are hidden on digital layouts. See Overprint.