Frame: Image
See concept Image frames
Create image frame
Select the image tool in the sidebar. You can also use the shortcut for the shape you wish to draw.
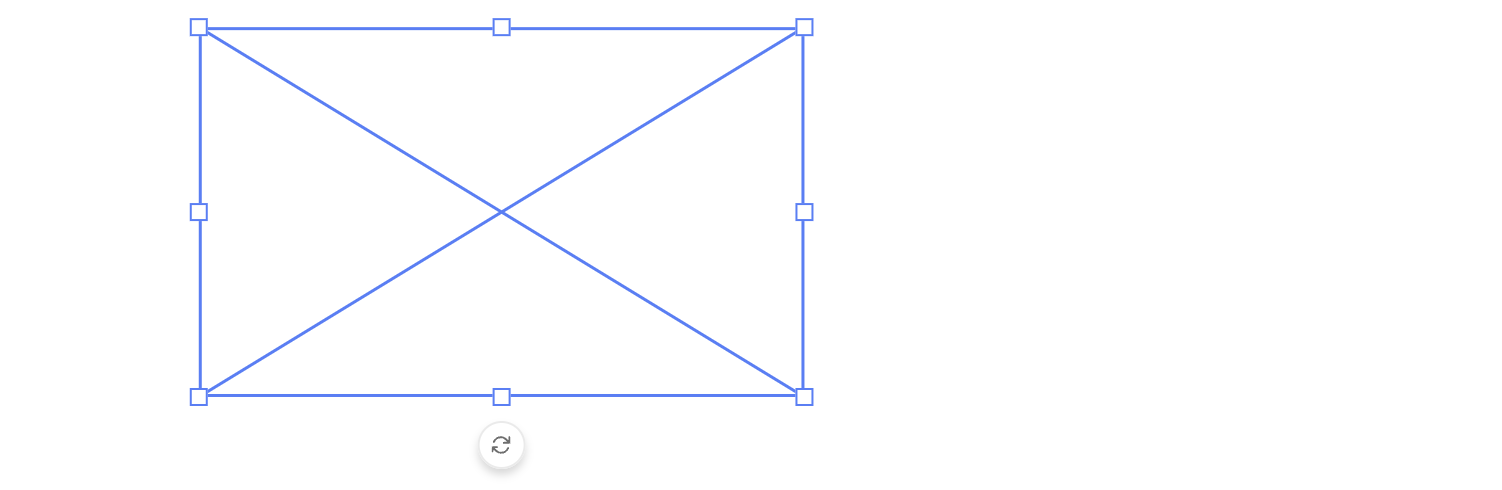
Drag a rectangle on the canvas. The frame will initially look like a crossed rectangle.
User Constraints for Image Frames
Image frames support user constraints that control how end users can interact with the frame in Studio UI. These constraints are defined by the template designer and determine which actions are allowed.
All constraint options are disabled by default. You explicitly enable only the interactions you want to allow.
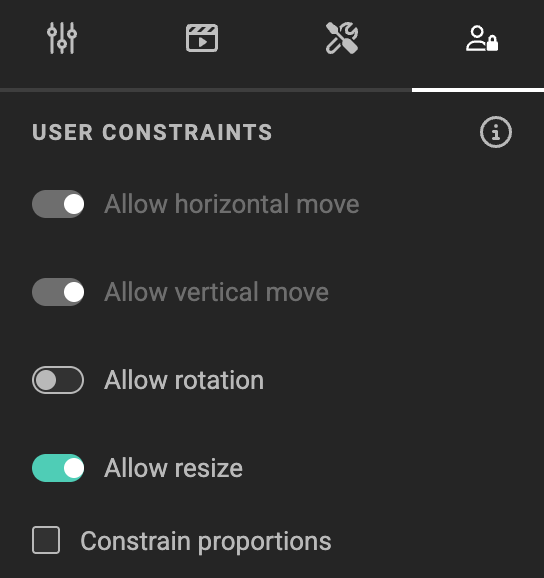
Available Constraint Options
You can control the following interactions:
-
Allow horizontal move
Enables movement along the X-axis. -
Allow vertical move
Enables movement along the Y-axis. -
Allow rotation
Allows the image frame to be rotated by the end user. -
Allow resize
Allows the image frame to be resized. -
Constrain proportions
Locks the aspect ratio during resize. -
Allow crop
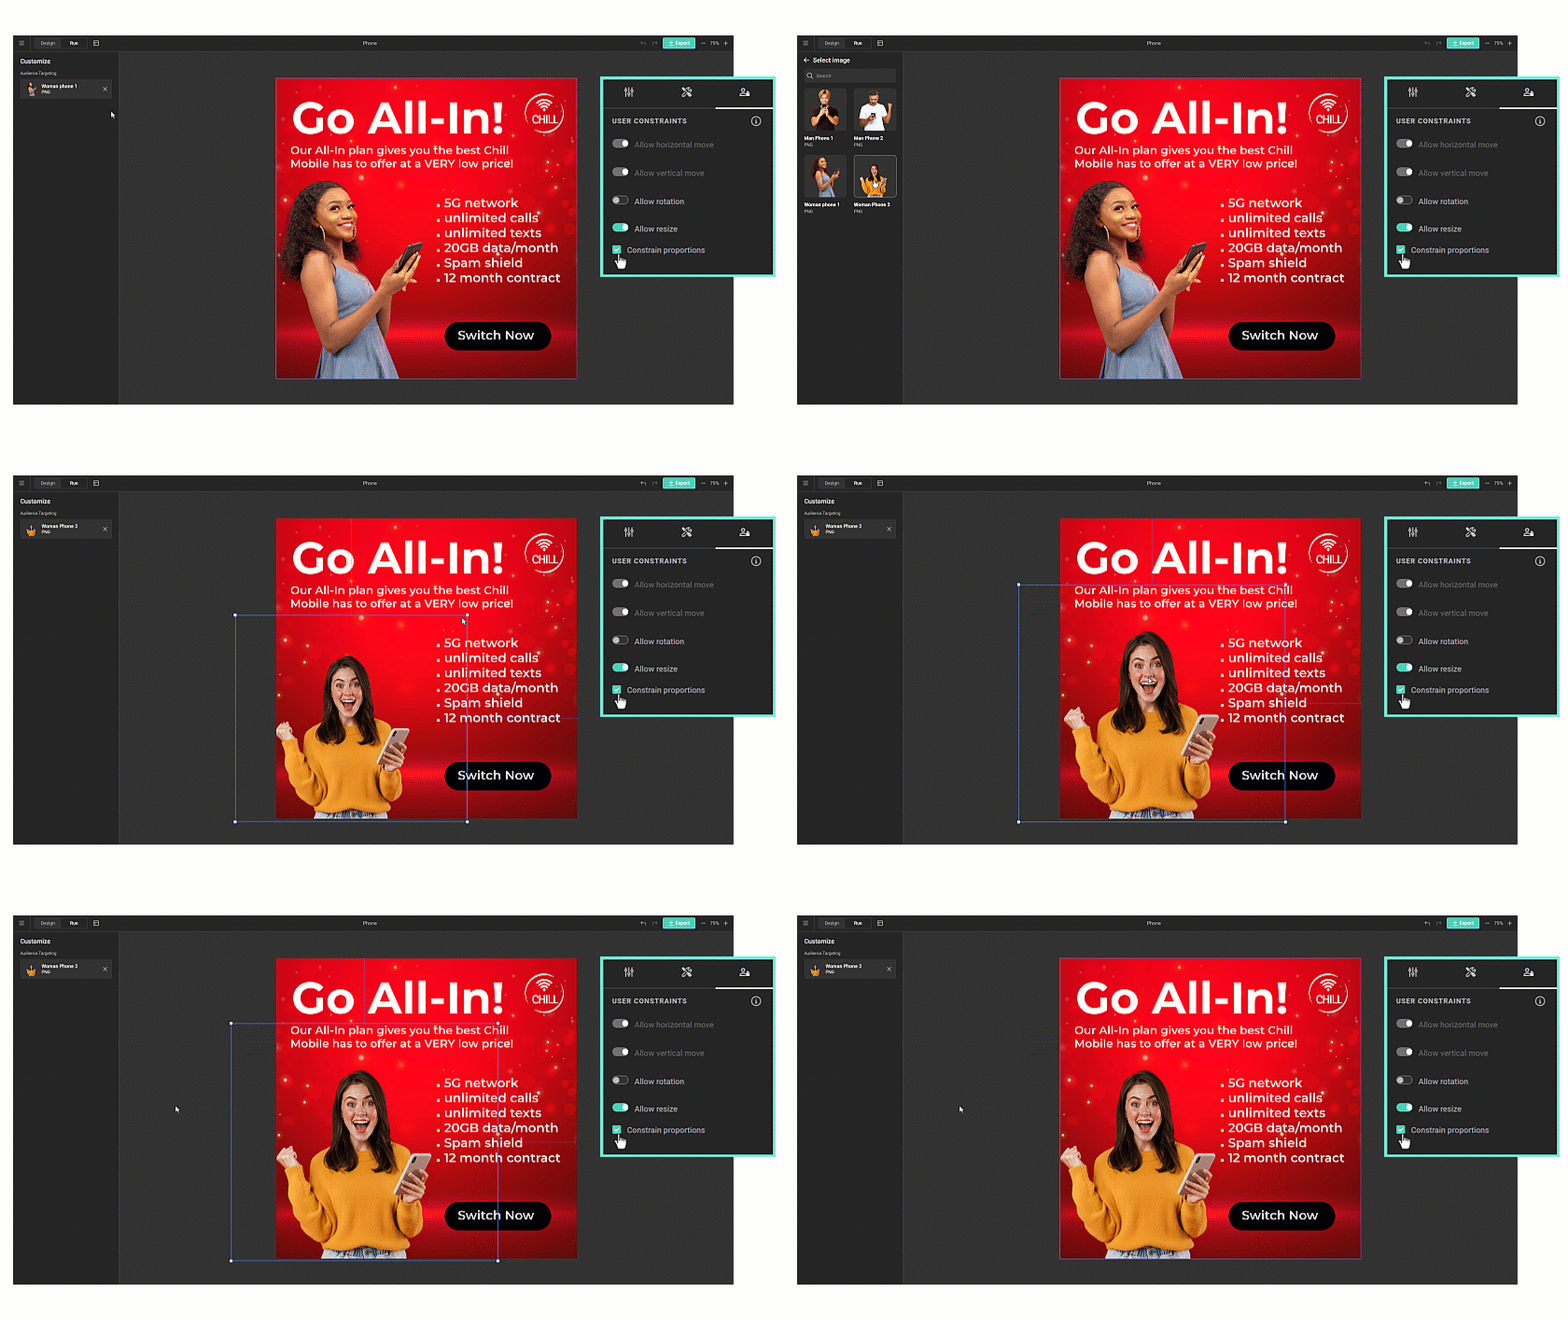
When enabled, end users see a crop icon and can drag the image within the frame. Frame size and position stay fixed — only the image position inside the frame changes.
Behaviour differs by fit mode:
- Fit, Fill, or Smart crop frames: each image gets its own individual crop offset.
- Manual crop frames: the crop offset is shared across all images in the frame.
Constraint Dependencies
Some constraints depend on others and cannot be enabled in isolation:
-
Resize requires movement
When Allow resize is enabled, horizontal and vertical movement are enabled automatically.
You can move a frame without resizing it, but you cannot resize a frame without allowing movement. -
Rotate requires movement
When Allow rotation is enabled, horizontal and vertical movement are enabled automatically. -
Movement can be enabled independently
Horizontal and vertical movement can be enabled without allowing resize. -
Proportions only apply to resize
Constrain proportions is only relevant when resize is enabled.
These dependencies ensure predictable behavior and prevent interaction states that would break layout logic.
What End Users Experience
In Studio UI, end users only see the controls that are allowed by these constraints: - Disabled interactions are hidden or inactive. - Allowed interactions behave consistently and stay within the defined boundaries.
This lets you open up flexibility where it makes sense, while keeping full control over layout integrity and brand consistency.
Clipping mask
Every image frame has a clipping mask that defines its visible silhouette. By default, the mask is a Rectangle without a stroke — visually identical to a regular image frame — so existing templates keep working unchanged. Changing the shape, adding a corner radius, or enabling a stroke is what produces a visible effect.
With a single image frame selected, the Clipping mask section appears in the property panel.
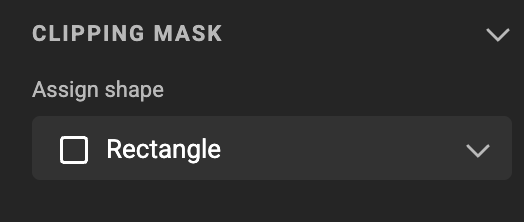
Assign shape
The Assign shape dropdown sets the shape used to clip the image:
- Rectangle (default) — the standard image frame look. Combine with a corner radius to round the edges.
- Ellipse — clips the image to an ellipse fitted inside the frame's bounding box.
- Polygon — clips the image to a triangle fitted inside the frame's bounding box.
- Custom — clips the image with a custom shape (for example a shape imported from an InDesign export). The custom path is fitted inside the frame's bounding box.
The image is always clipped within the frame's existing width, height, and rotation — the shape only affects the silhouette.
Re-selecting the active shape resets the corner radius
Picking the same shape that's already selected (for example Rectangle when the shape is already Rectangle) resets the corner radius to zero. This is intentional; use Undo to restore the previous values.
Corner radius
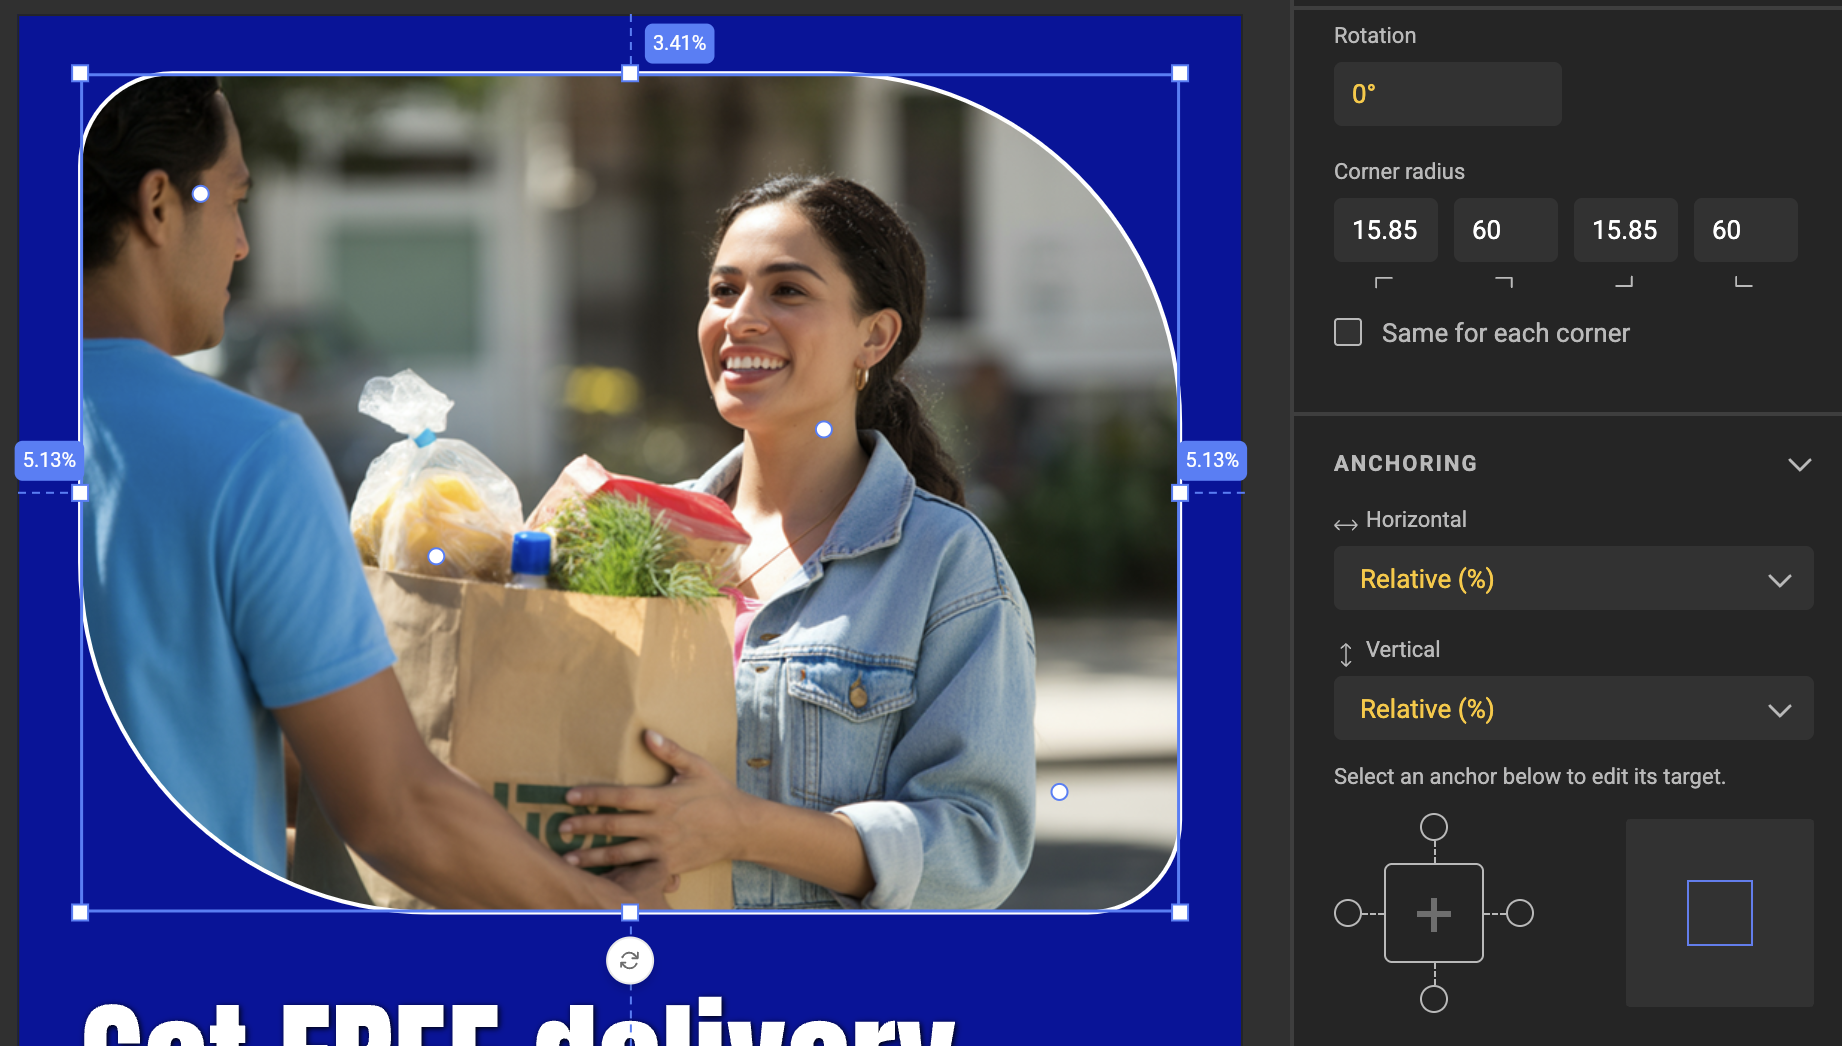
The corner-radius controls behave the same way they do on shape frames (see Frame: Shape):
- Rectangle — four corner-radius inputs, plus a Same for each corner checkbox to keep all four in sync.
- Polygon — a single corner-radius input that applies to all three corners.
- Ellipse — no corner-radius controls (an ellipse has no corners).
Stroke
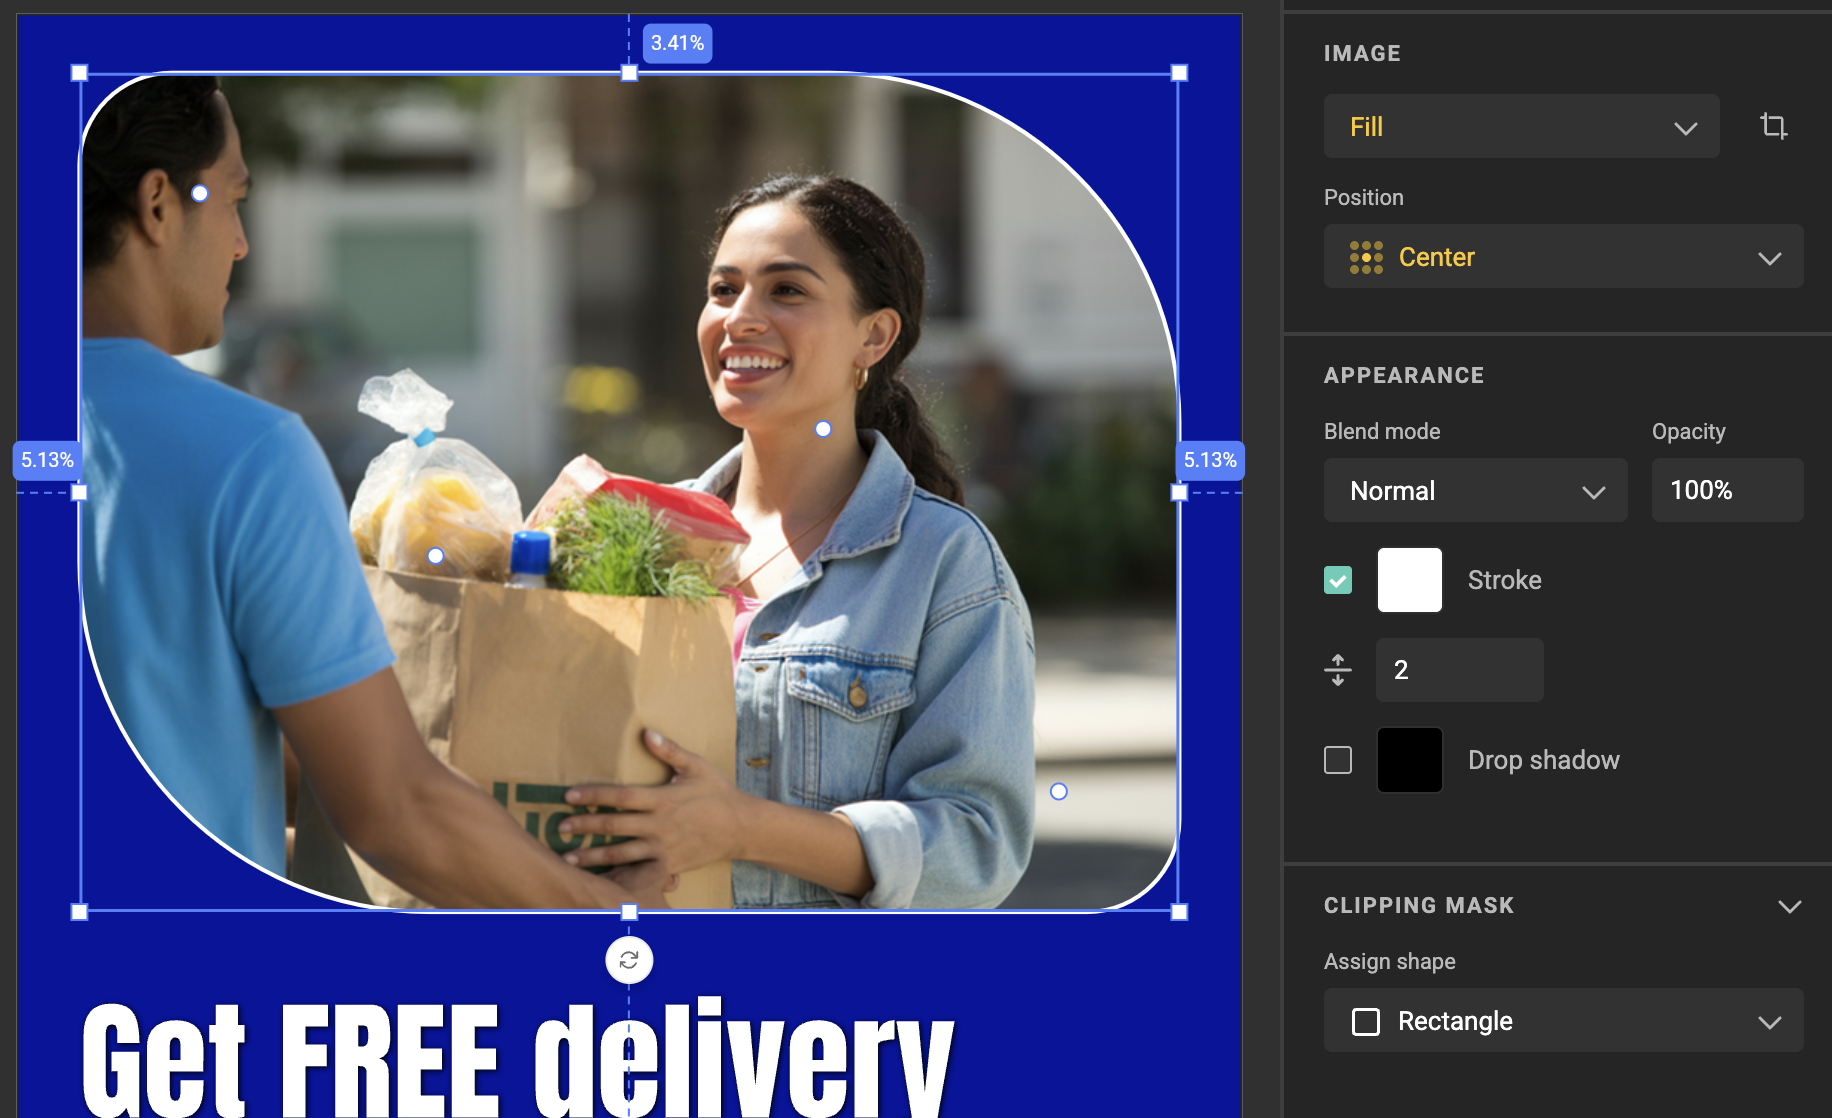
The clipping mask supports an outline that traces the clipped path exactly, including any drop shadow on the frame. Stroke controls live under the Appearance section:
- Enable stroke — toggles the stroke on or off.
- Stroke color — colour picker, including Brand Kit colours.
- Stroke weight — thickness in pixels.
Returning to the default look
There's no separate "Off" toggle for the clipping mask. To return an image frame to its plain-rectangle look, set Assign shape back to Rectangle, clear the corner radius, and disable the stroke under Appearance. Clipping mask changes are part of the undo stack, so you can also revert recent changes with Undo (Ctrl/Cmd + Z).
Feature Channel
Choose media
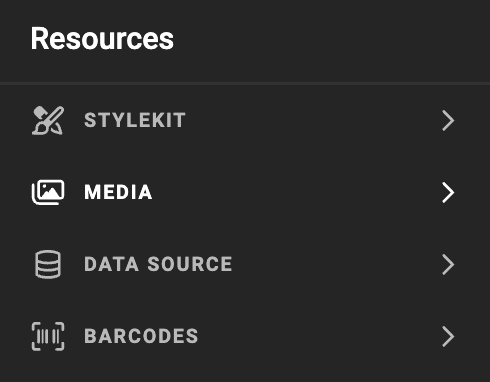
With the frame selected, open the resource panel > media panel, and select an asset.
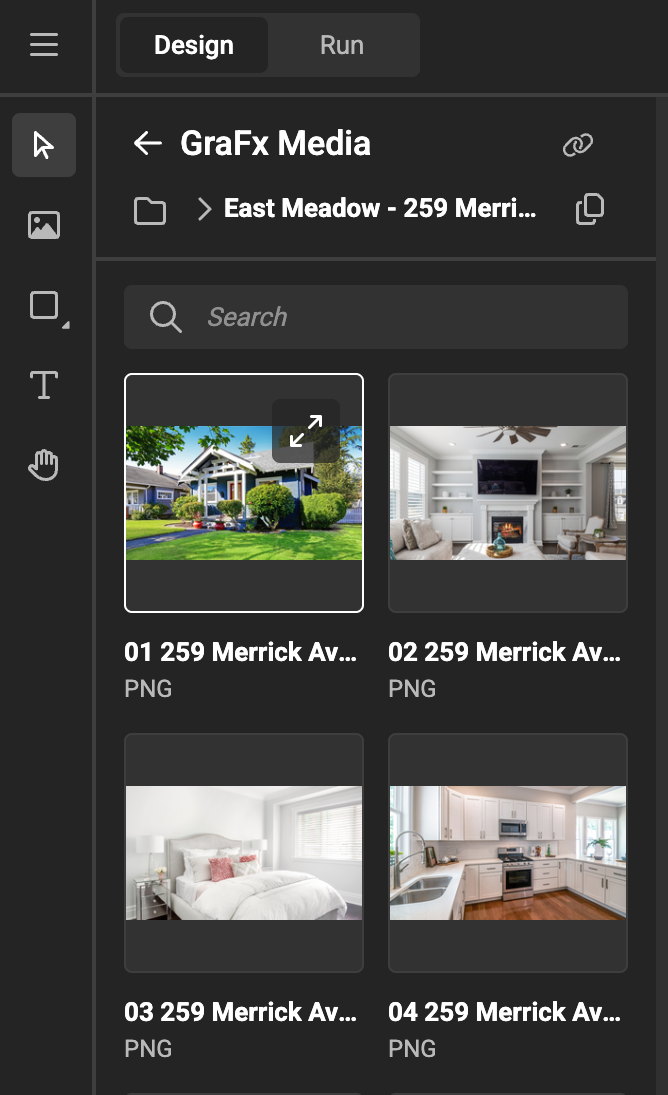
The initial fit of the asset in the frame is to fill the frame. (see Fill properties below)
Smart Crop
Similar to setting Subject Area and POI in GraFx Media, you can do this in GraFx Studio Workspace.
This also allows the Template Designer to overrule the POI and Subject area sent by an external Asset Provider (user Media Connectors).
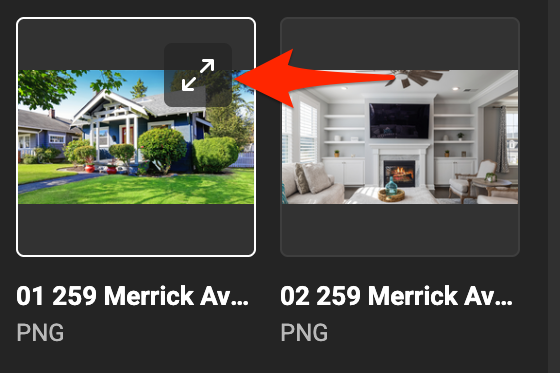
Click on the diagonal arrows to see the details of the asset.
The information about the asset is displayed, and the option to define the subject area and POI.
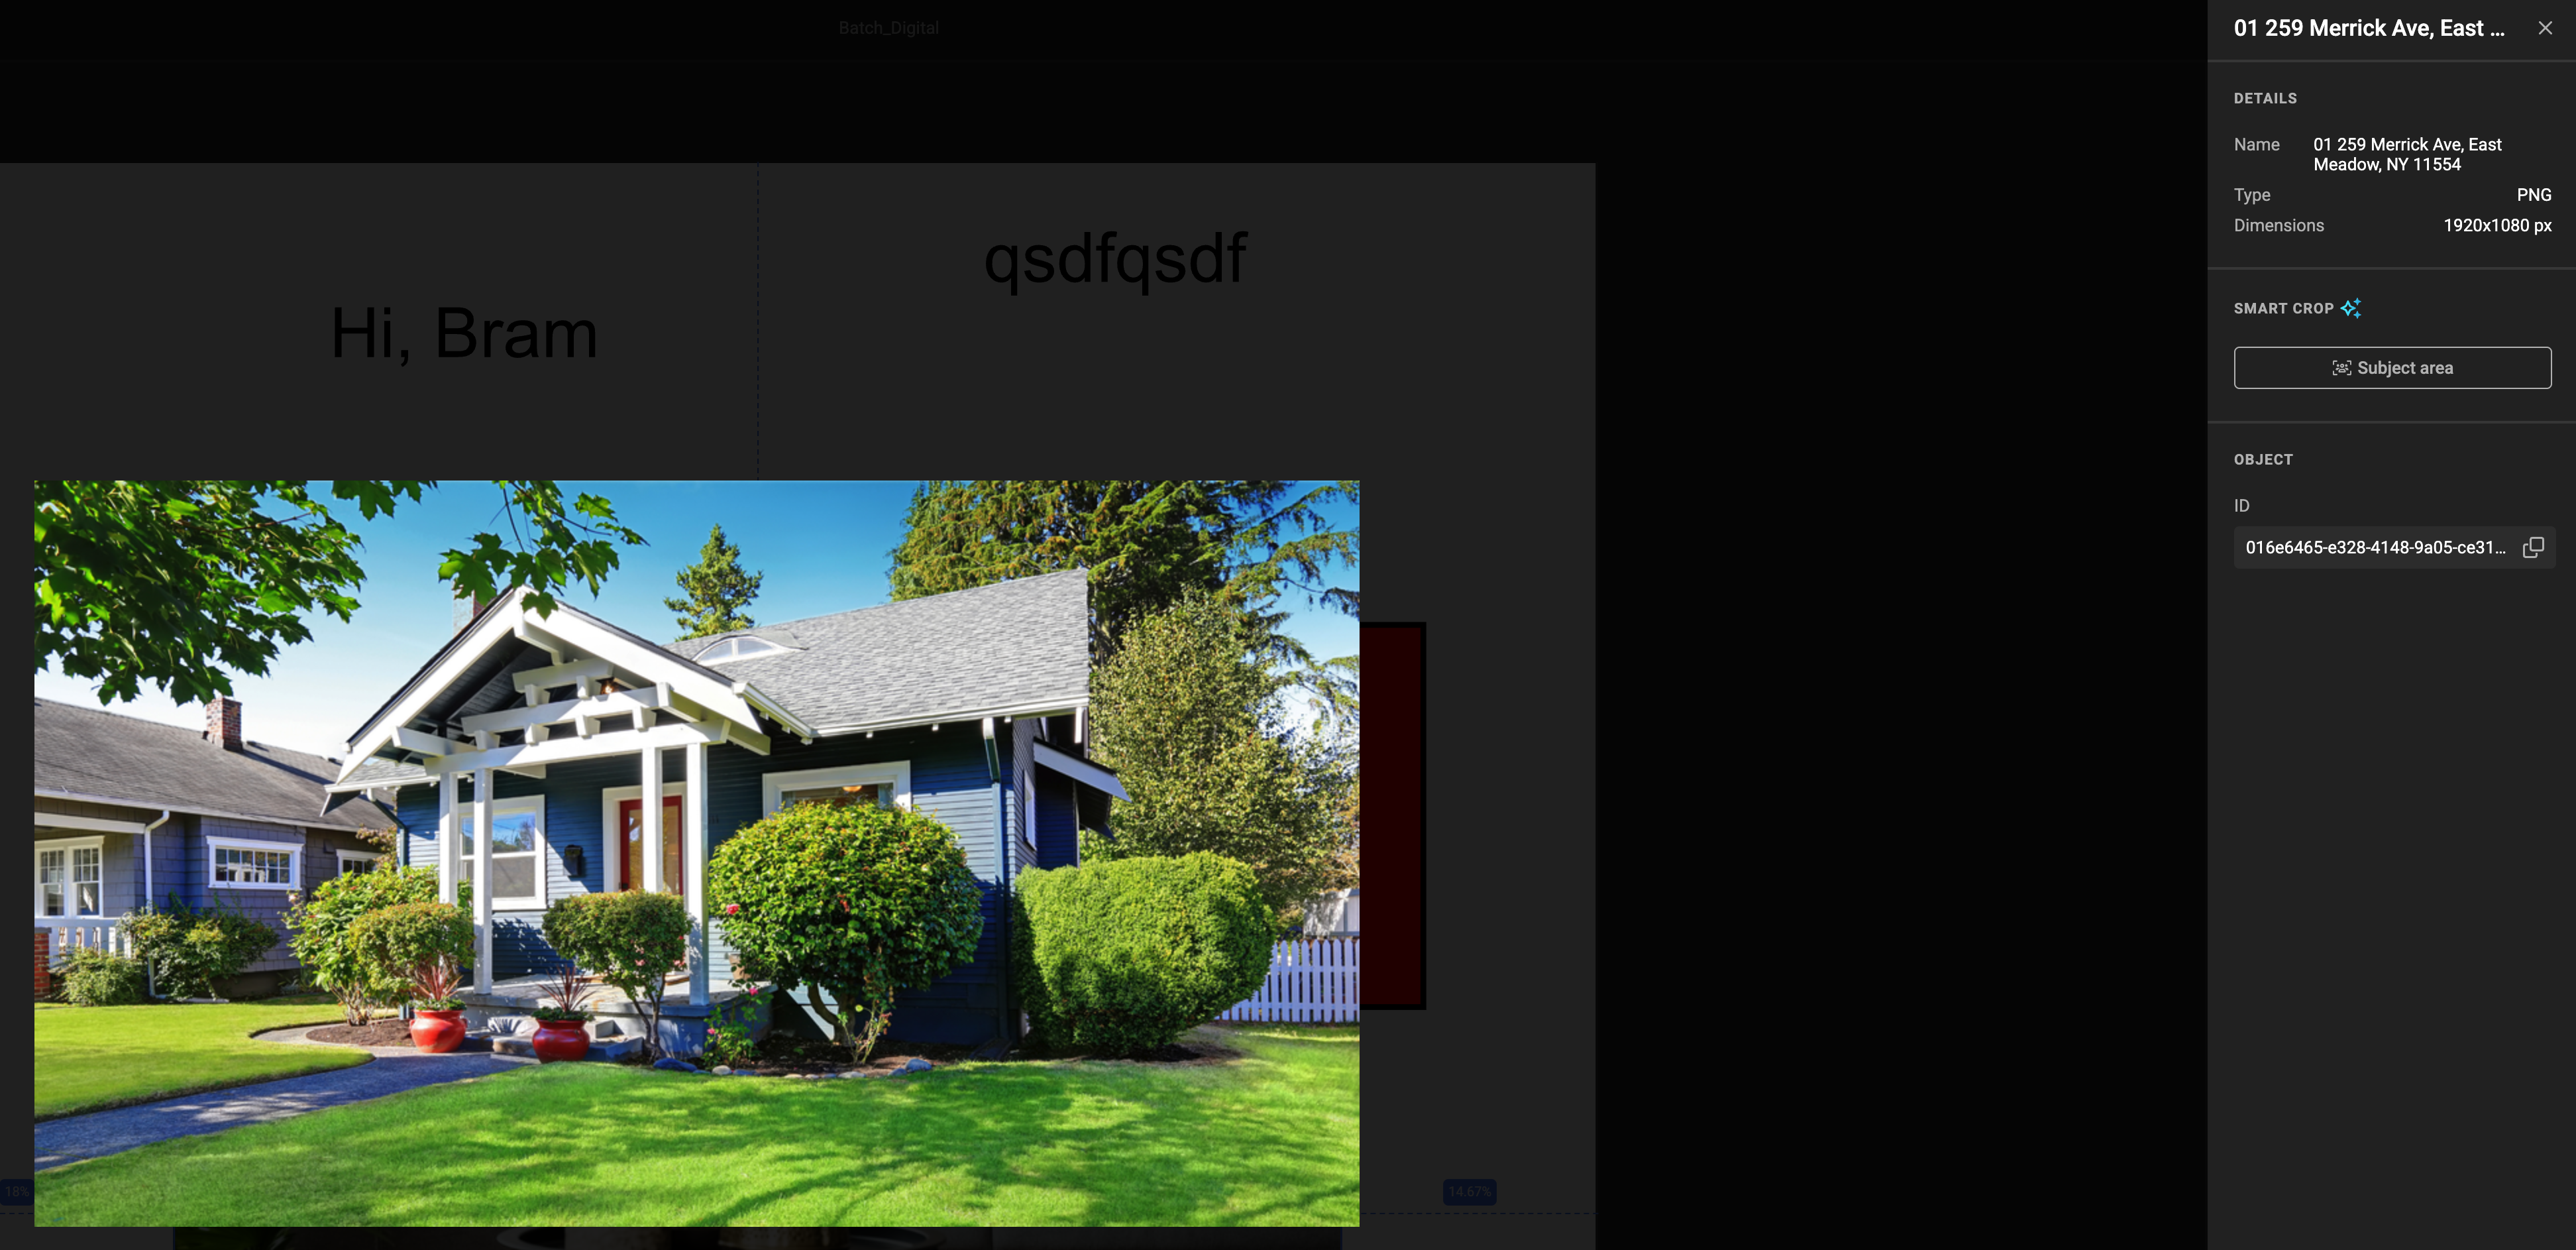
Click the "Subject Area" button, and you'll be able to set the Subject Area and POI.
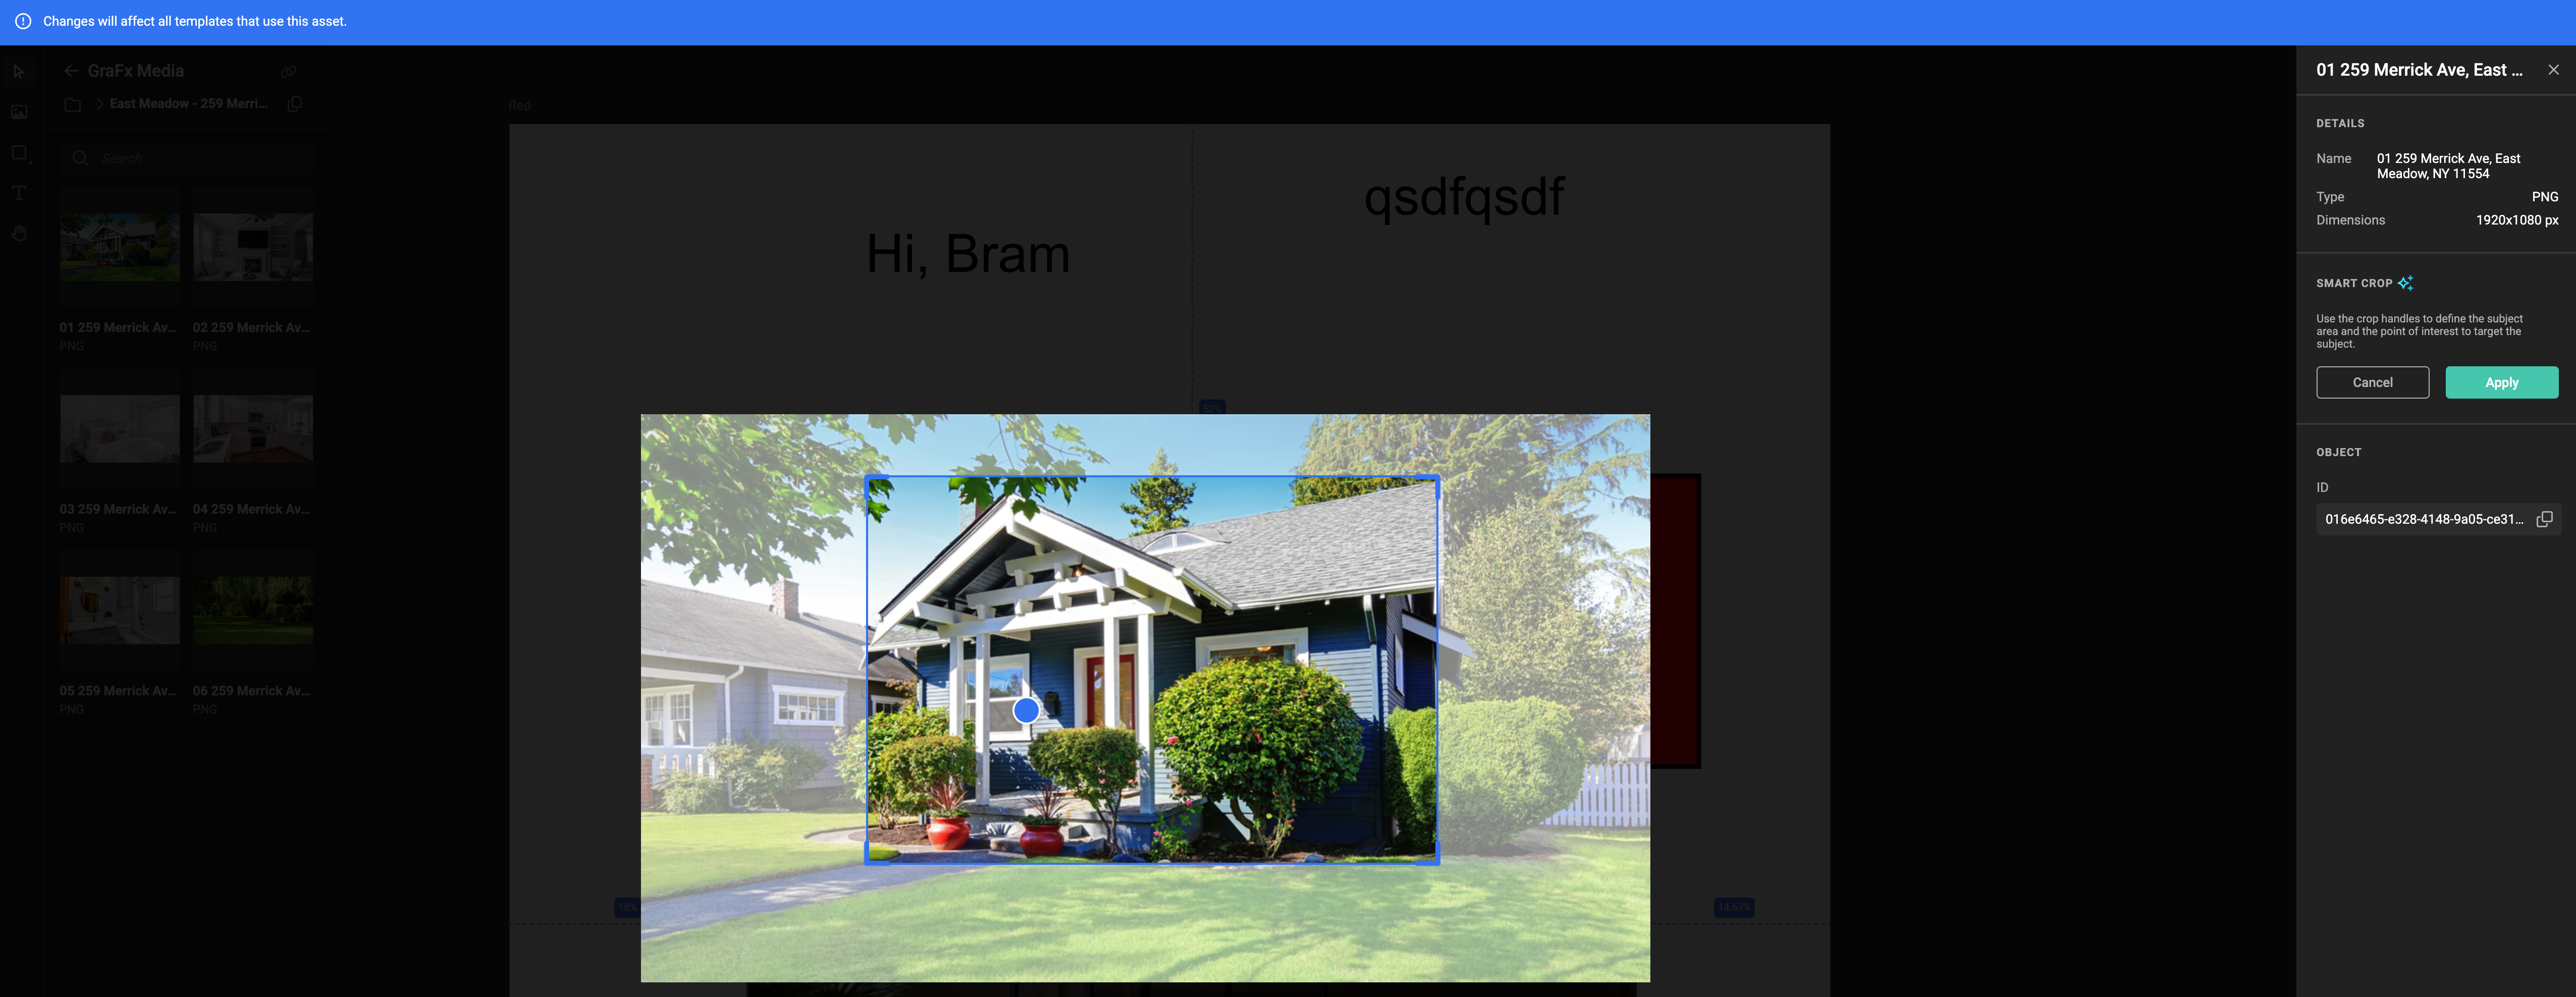
See also Concept of Smart Crop and Set Subject Area in GraFx Media
Watch out!
If you set the Subject Area here, it will impact all templates where this asset is used, as the Subject Area and POI are stored alongside the media.
Known issue
If you made changes, reselect the Smart Crop Fit, to see the effect.
Properties
Similar properties as with all frames. See Basic properties.
Fill properties
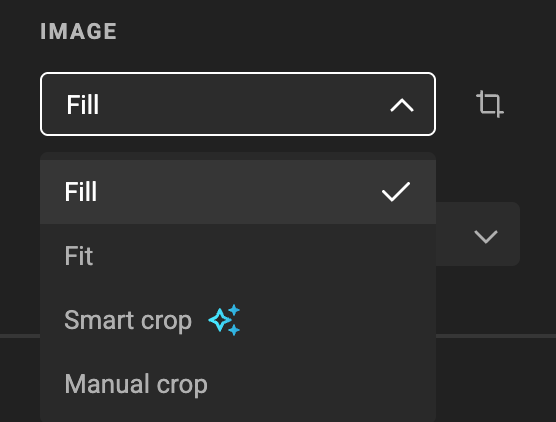
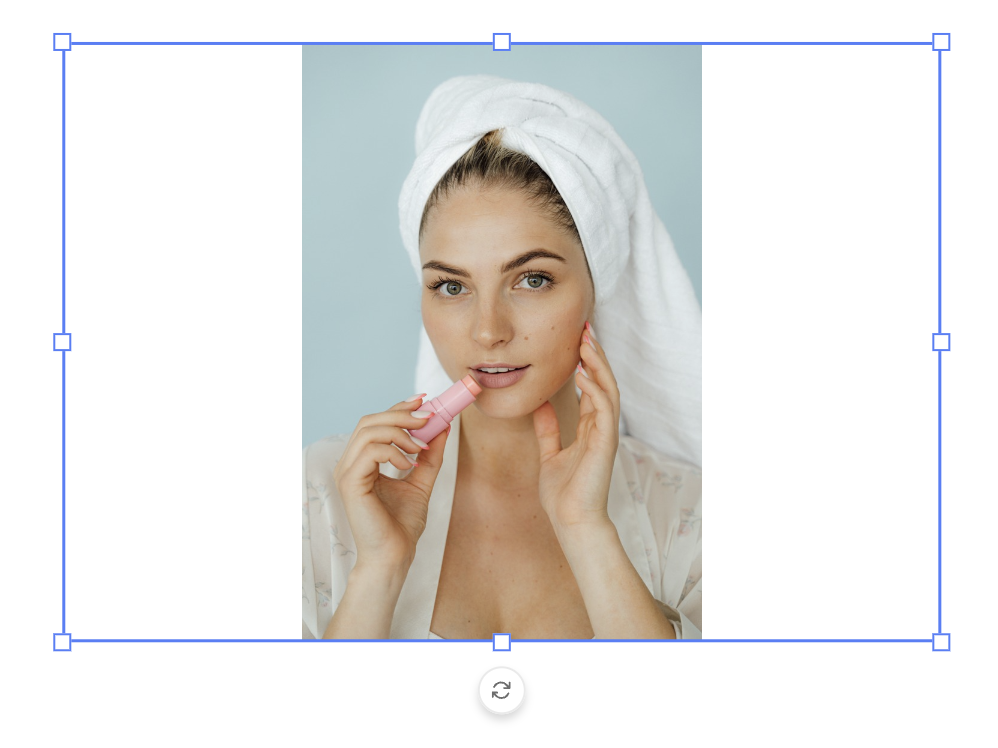
Fit
Choose the Fit property, to fit the full image inside the frame. Whitespace is created if needed, to fit the full image.
Fill
Choose the Fill property, to fill the full frame with the image. No whitespace is left inside the frame. Part of the image is hidden.
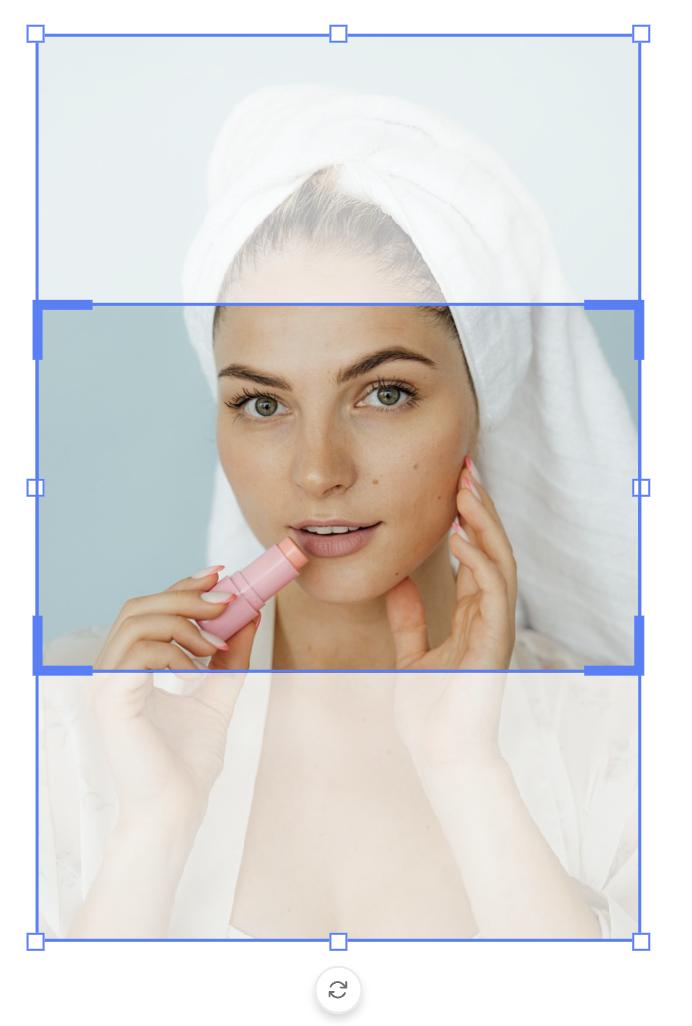
Smart Crop
Choose the Smart Crop property, to let GraFx Genie assist to position the subject area and POI in the frame.
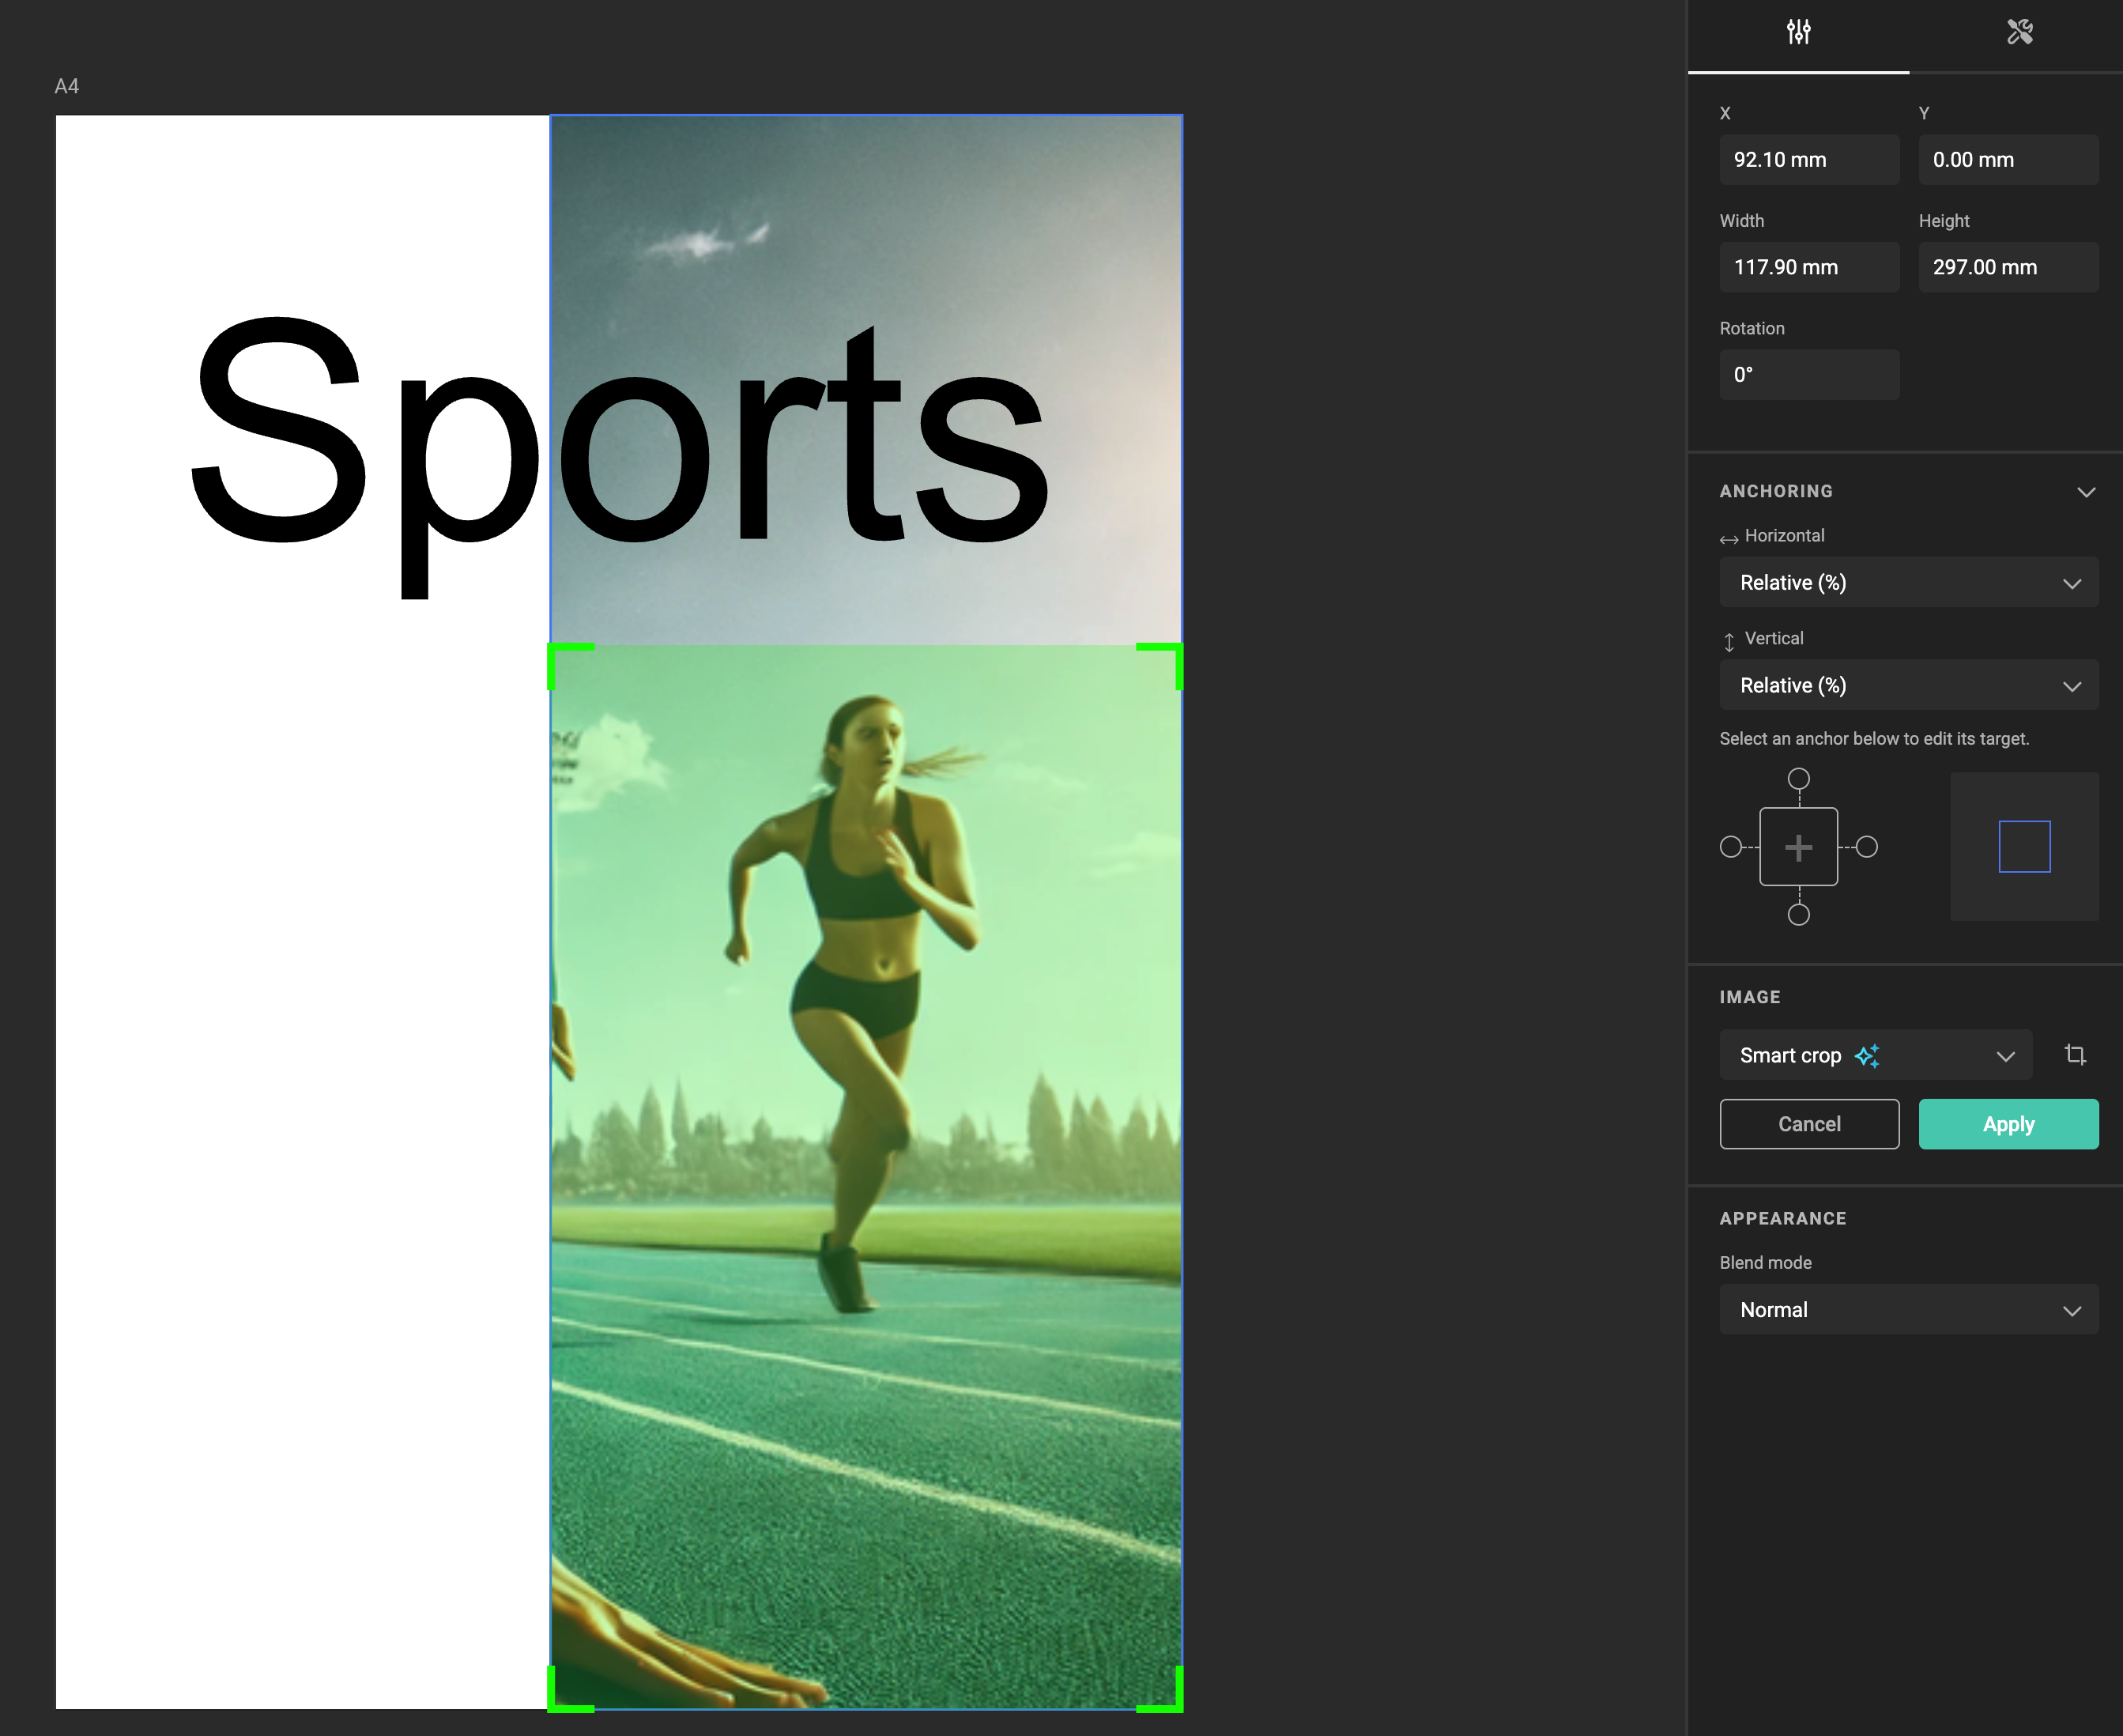
See Concept of Smart Crop for more details
See How to use Smart Crop for more details
Manual Crop Override
See also Concept of Manual Crop Override for details.
Select one of the automated crop modes
- Fill
- Fit
- Smart Crop
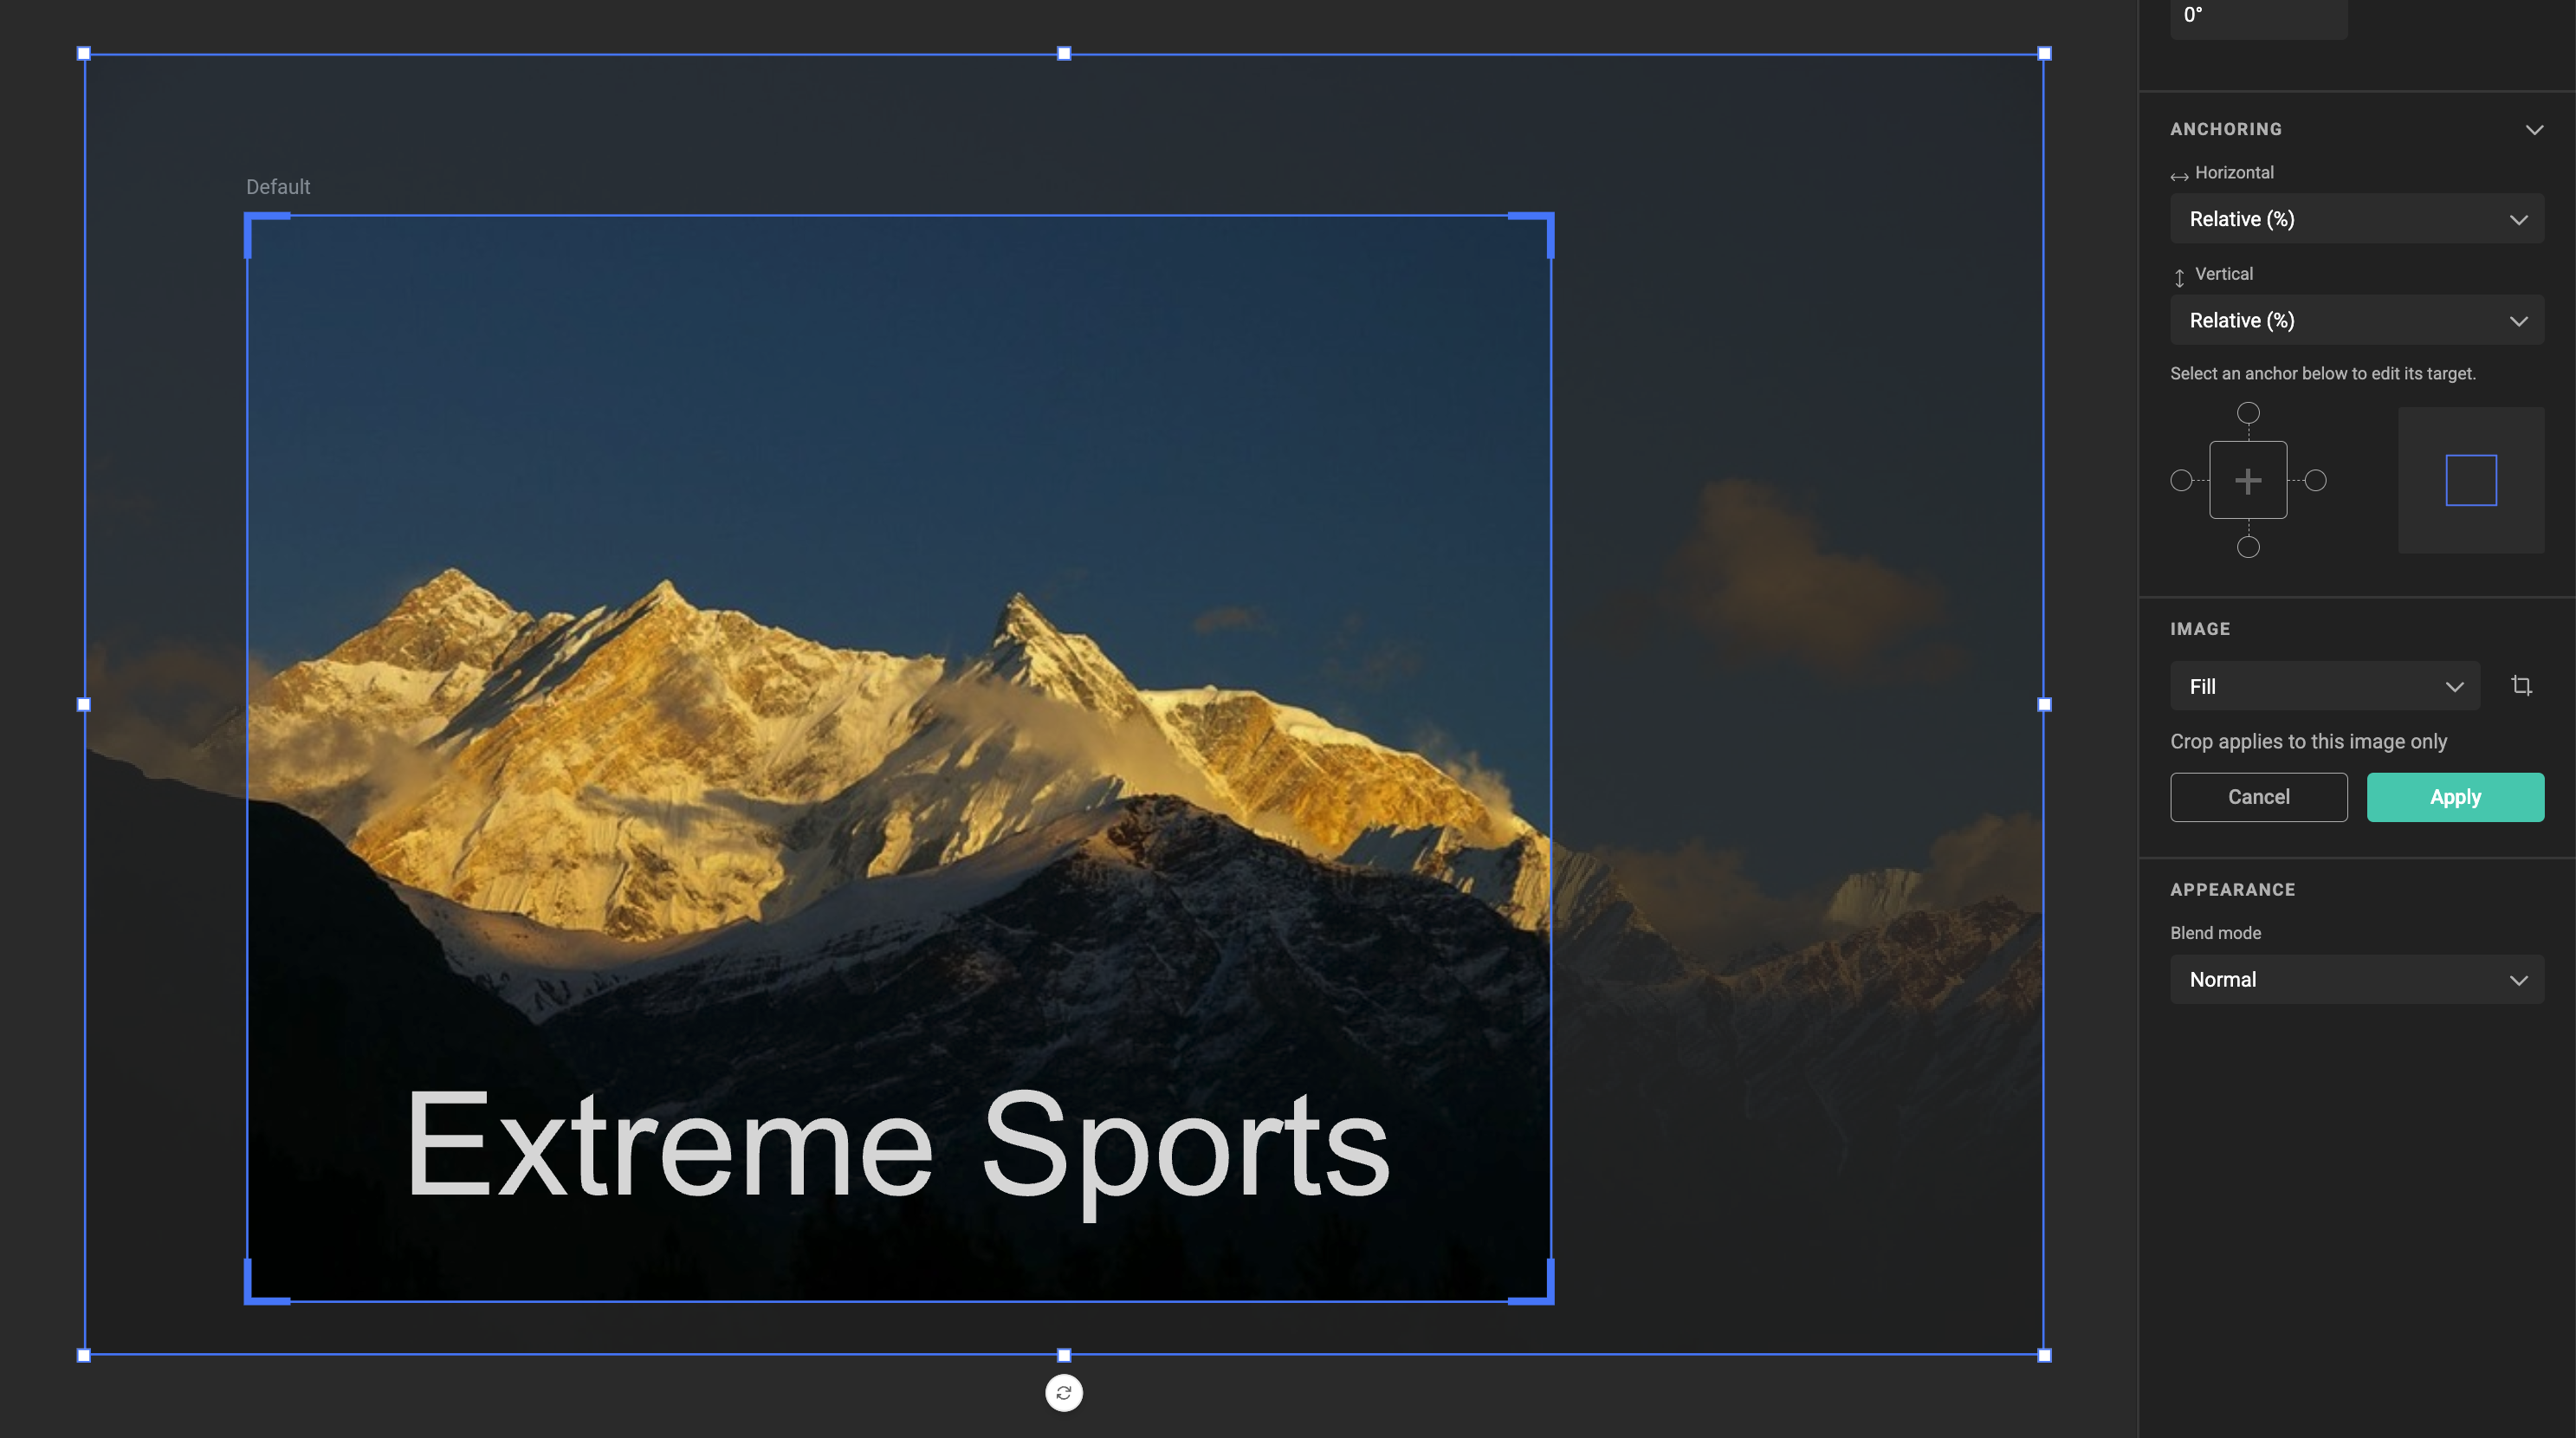
When the images is positioned (automatically), click the crop icon next to the fit mode.
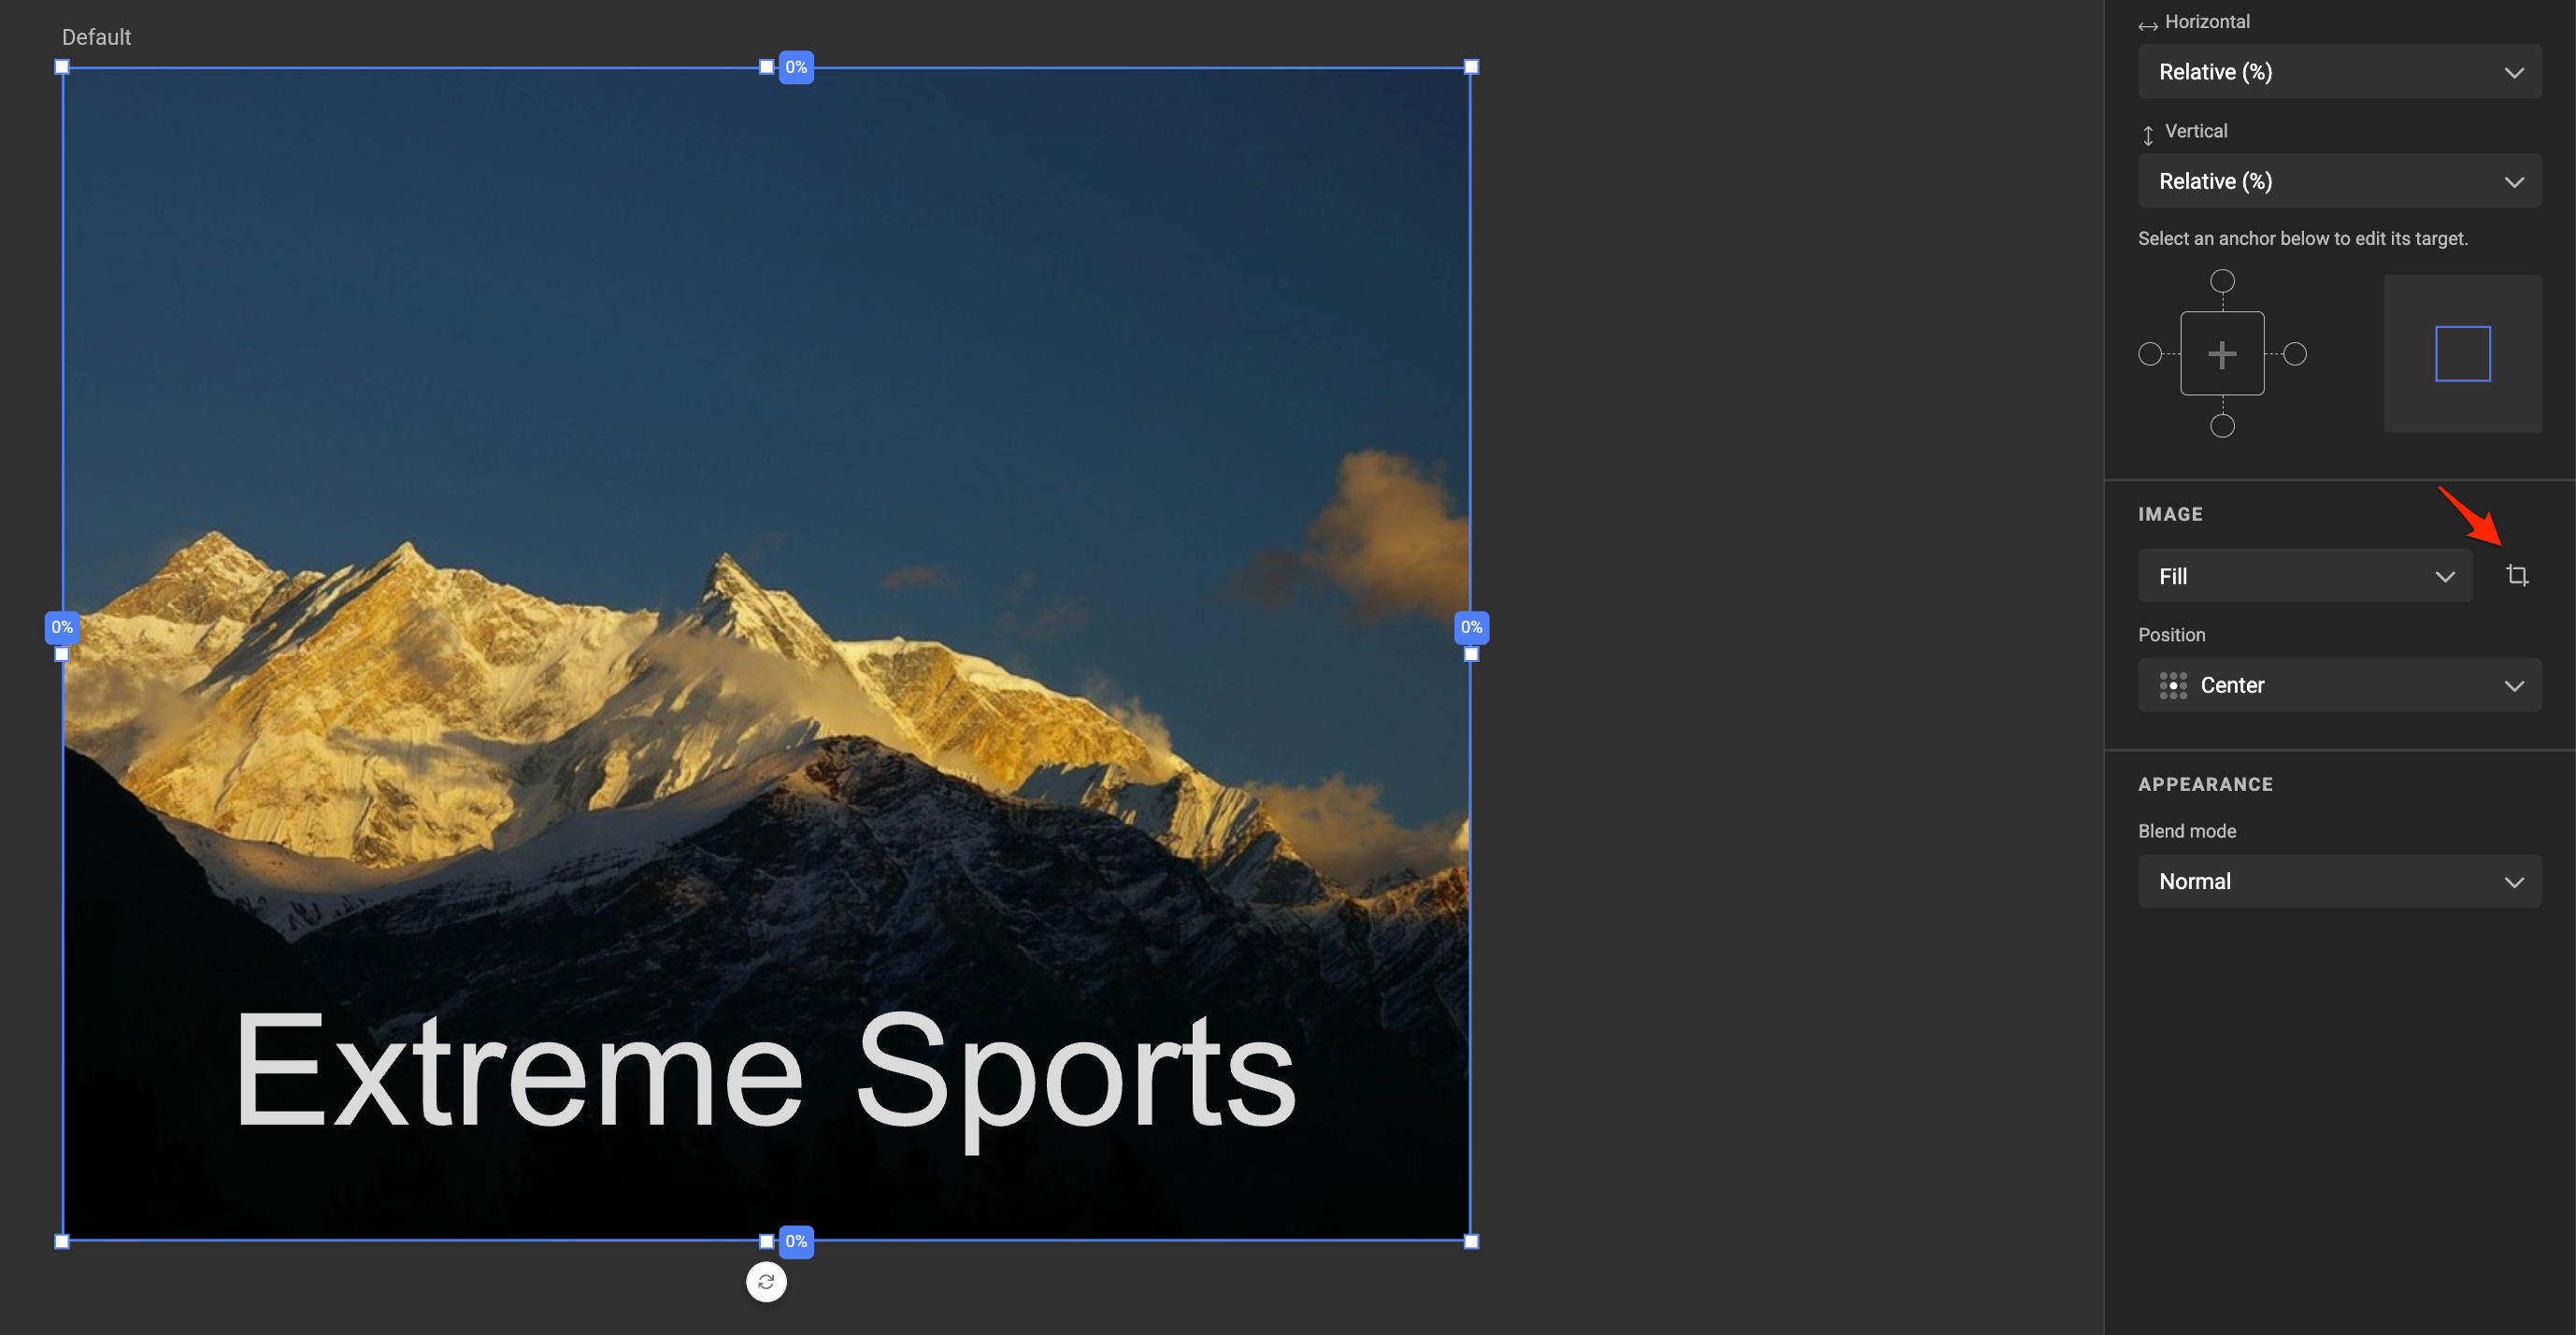
Position the image how you prefer it, and click apply.
When a particular image has a manual crop override, it will display below the fit modes.
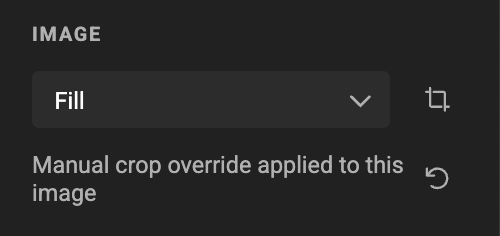
The left round arrow resets the override, for that images, in that frame, in that layout.
Aspect radio
If the image and the frame have the exact aspect ratio, there will be no difference between fitt and fill.
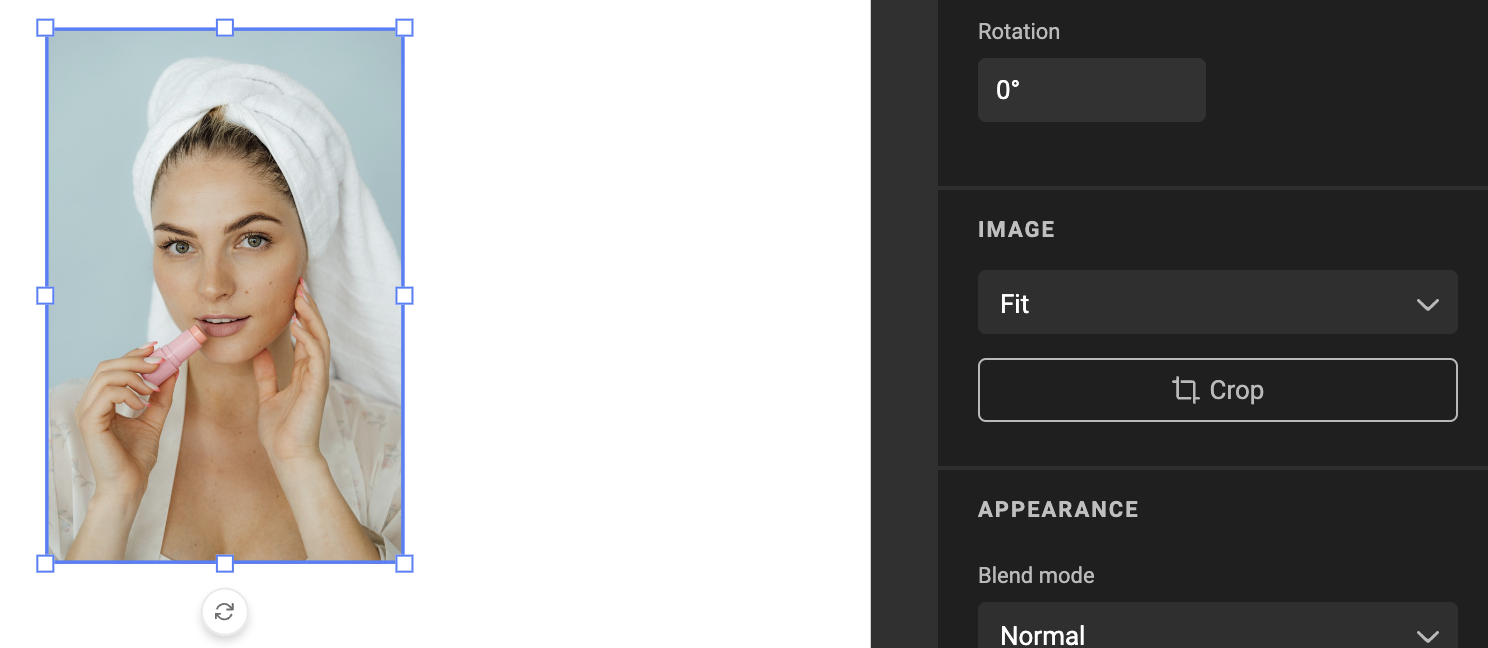
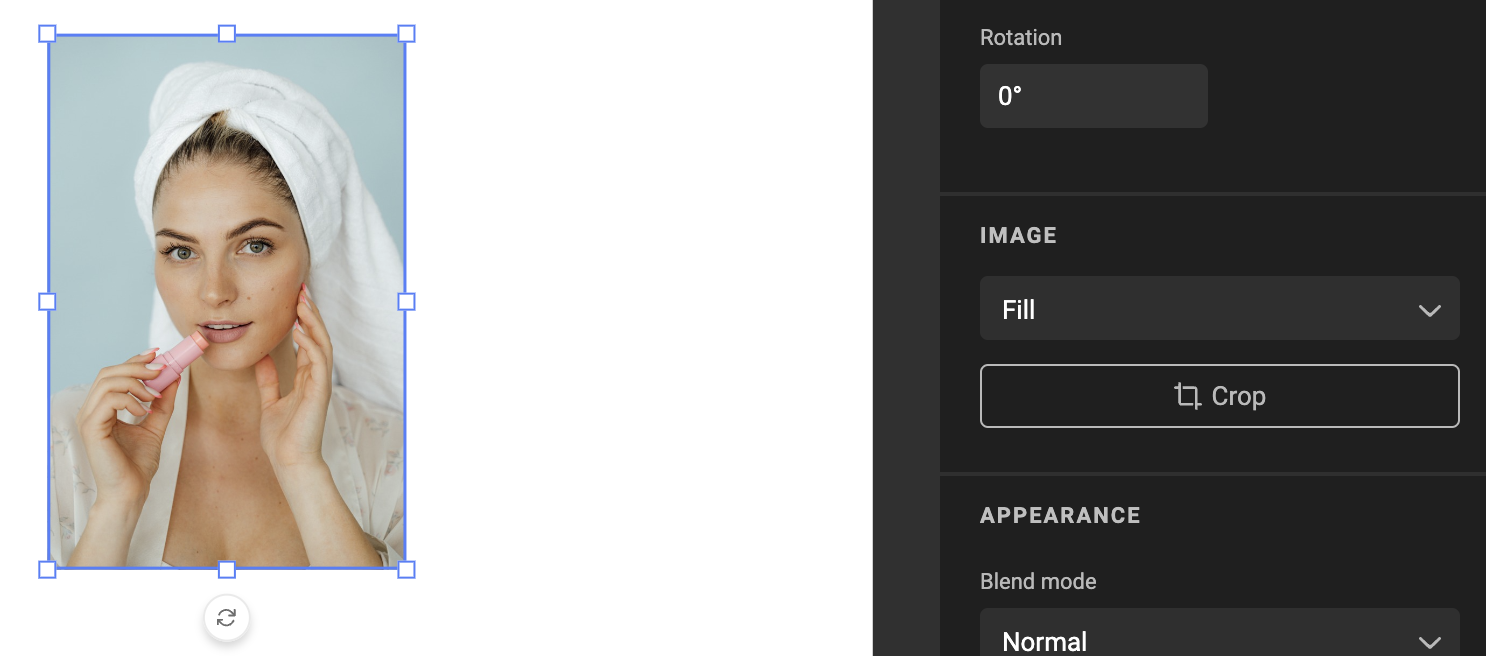
Manual Crop
Appearance
See Blend modes