Section 01: Setting up the project
Installing Node
For this course, we will be using Node.js and using the Node Package Manager (npm) to install Parcel and our GraFx Studio-SDK package. If you do not have Node installed on your system you can install it at the website above, this will also install the Node Package Manager.
Initializing the project
Now that we have Node installed the real fun can begin. To begin you can simply create a folder that will house your project. You can call this folder anything but I will call my folder "GraFx-Integration-Course"
Next, load up your favorite terminal emulator such as "Terminal" on macOS or "cmd" on Windows and navigate to your newly created folder.
Initializing npm
We first need to tell Node Package Manager that our folder is a Node project. This way Node will setup the necessary files and folders to track our project.
All we need to type to do this is
Now we can install the two packages we need.
Parcel
Parcel is a JavaScript bundler that also includes a local development web server. This is great for our use case because it will take all the JavaScript we create in our integration and the JavaScript we use from the GraFx Editor-SDK package and bundle them together for our integration to use.
We can also run our integration on a local web server and see the changes to our website every time we save our code thanks to a feature called "hot-reloading".
To install Parcel all we need to do is type this command
GraFx Studio-SDK
The GraFx Studio-SDK is a package created by CHILI to make interacting with the Studio editor easy. This package handles the hard parts like communicating with the editor and lets you focus on getting your integration up and running in a fast and hassle-free manner.
To install the GraFx Studio-SDK you simple type this command
Creating the base files
So now that we have our dependency packages installed we can start actually creating our website files. We will just be making two files that will run our integration.
First we will create a new folder in our project directory called src. We will put our source code in this folder that will run our website.
Once we have our src folder created we can navigate to it and create our website files.
index.html
Our first file will be the index.html file that will hold the HTML code for our integration. For now let's just use the bare minimum HTML code for a website that will say "Hello World".
<!DOCTYPE html>
<html lang="en">
<head>
  <meta charset="UTF-8">
  <meta http-equiv="X-UA-Compatible" content="IE=edge">
  <meta name="viewport" content="width=device-width, initial-scale=1.0">
  <title>GraFx Studio Integration</title>
</head>
<body>
  <h1>Hello World</h1>
</body>
</html>
Starting our local server
Now that we have the Node project initialized, our dependencies installed, and our source code created, we can test that our project is working as intended.
We will start our website with this command by navigating to our directory in our terminal and running
Hopefully you will see a message like this

Then you can visit our newly created website by going to
Creating our JavaScript file
Our next step is to create a file to hold the JavaScript code for our integration. This JavaScript file will import our Editor-SDK so that we can use the nice features the SDK provides within our own JavaScript logic.
Let's start by creating a index.js file in our src directory
For now we can just include two lines in our src/index.js file
Linking our JavaScript to our index.html
Next, we need to inform our index.html file about our fancy JavaScript to do this we will edit our index.html file and add a <script> tag.
The body of our index.html file will now look like this
Note: We must state type="module" because we will be using the JavaScript module syntax, which is a way to break up JavaScript code into small reusable pieces and import them into other modules for use. You can find out more on the Mozilla documentation page for JavaScript Modules.
If your server is still running from the previous lesson you can simply navigate to
If the server is not running, simply start it up with
Now the we should open "Developer Tools" in our browser (if you need help doing this you should google "how to open developers tools in [your browser here]")
I will be using Chrome for this example and so by opening the "Console" tab in my developers tools and reloading my integration page I can see that our "I'm alive!" console log is firing.
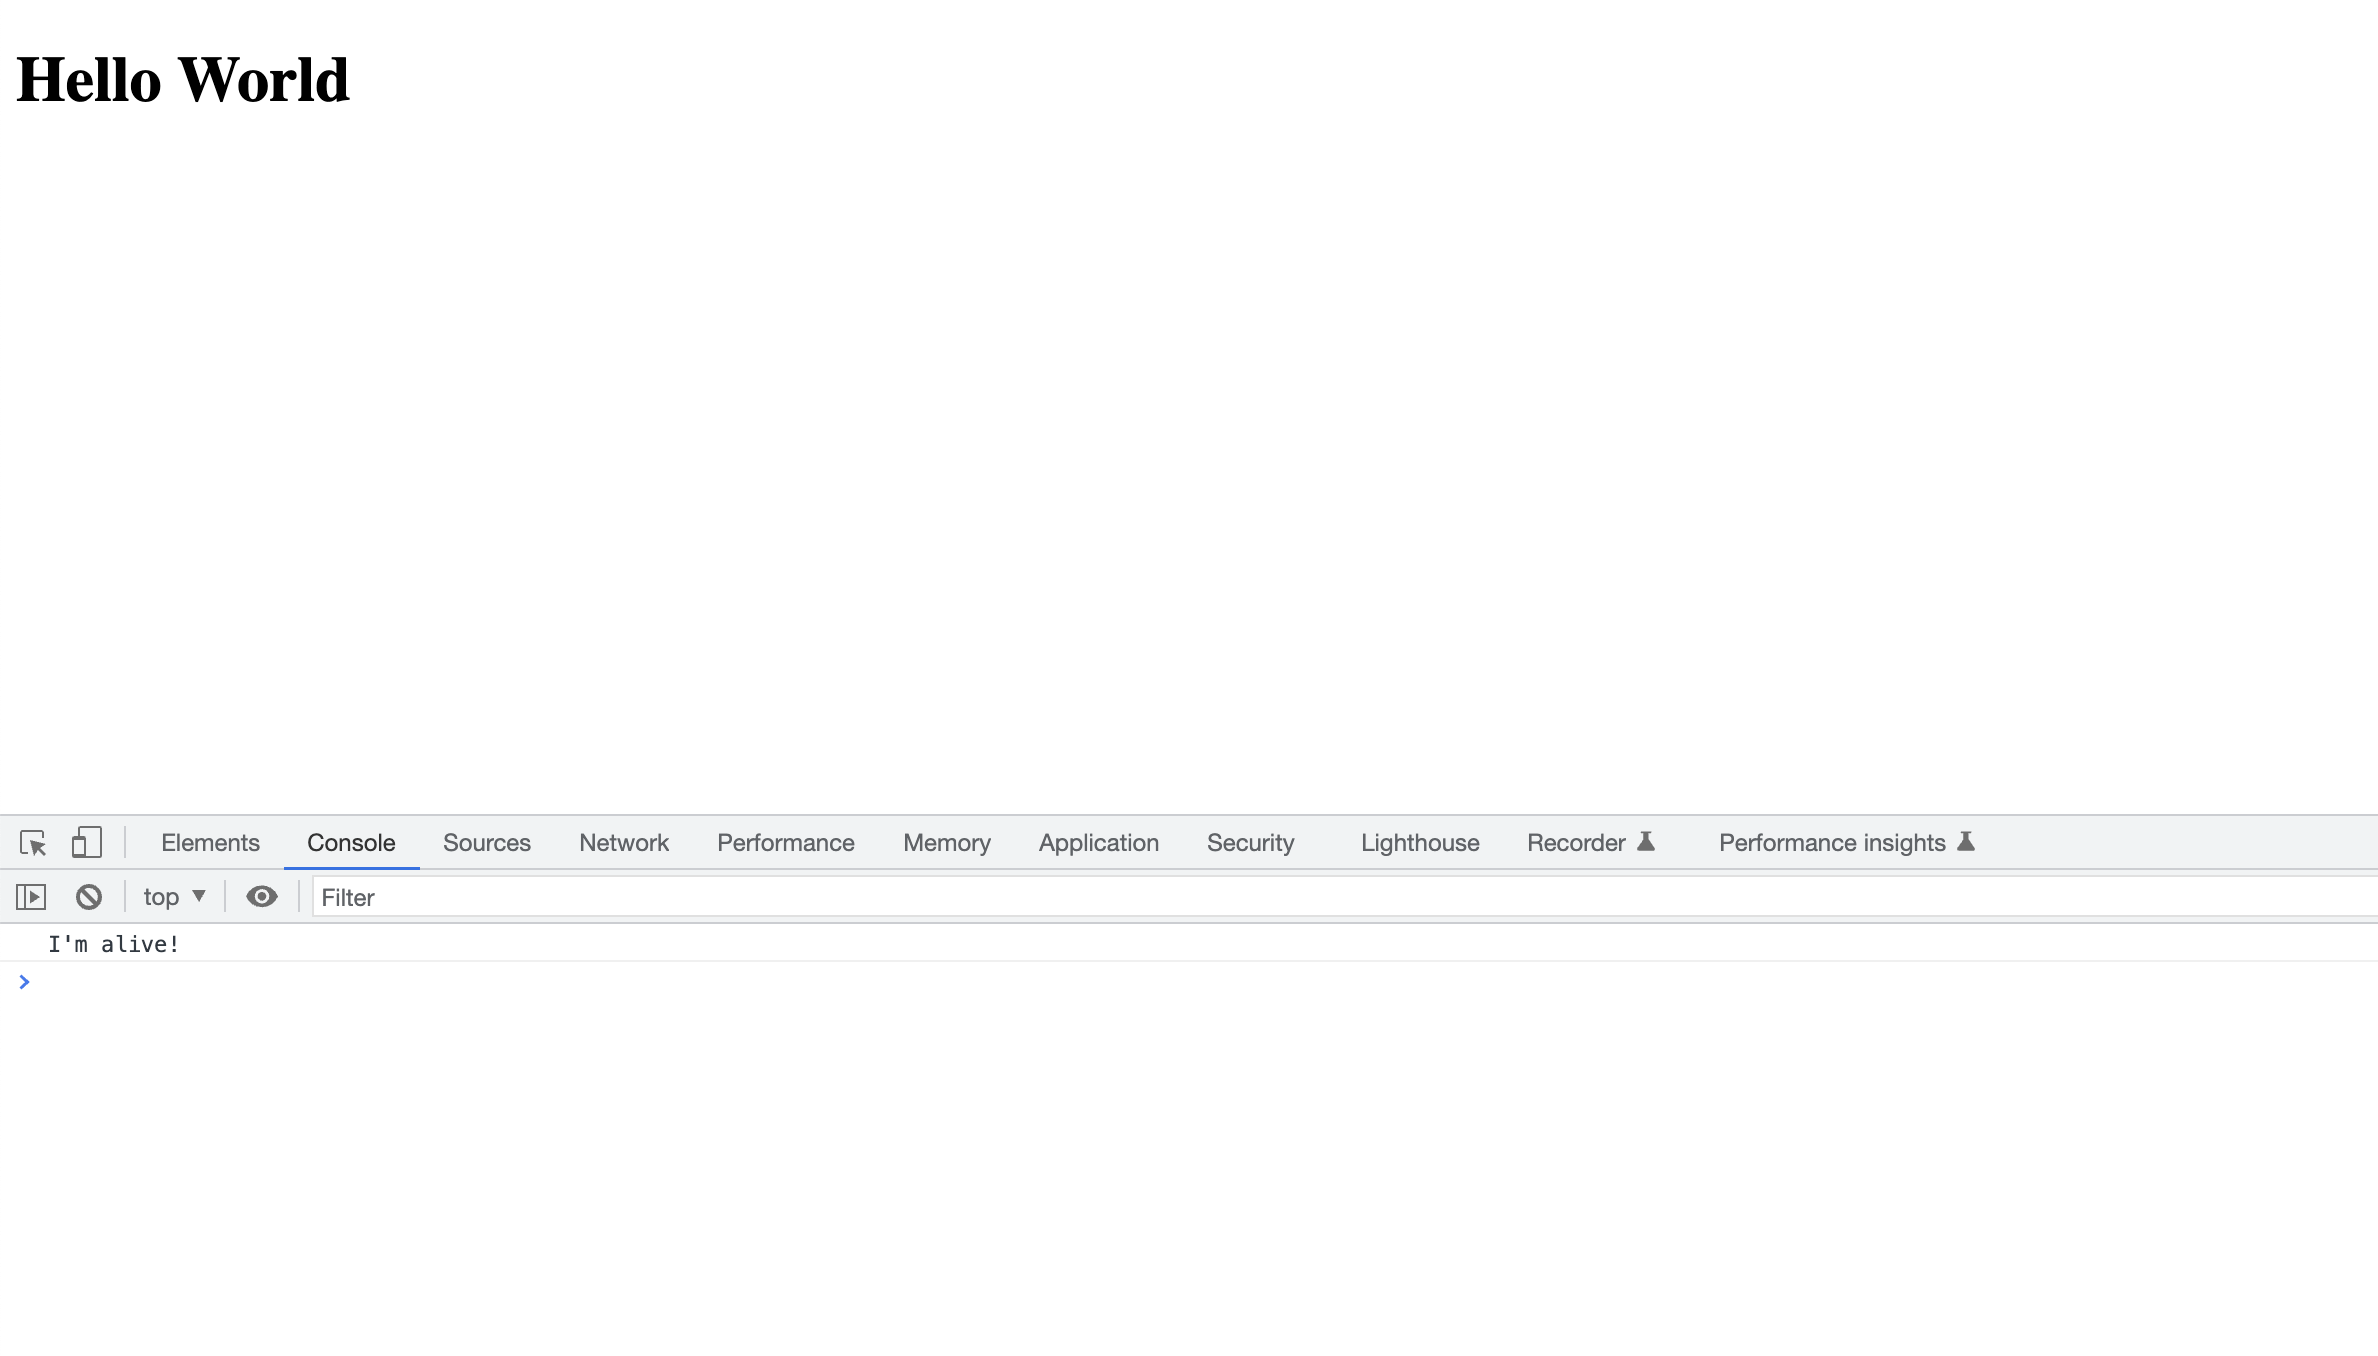
Wahoo! this means that our custom JavaScript code is now being called from our integration :D
In the next section, we will get the editor loaded on our integration