Section 02: Loading the Editor
Creating our editor <div>
The first step to displaying our editor is to create a <div> element on our page that our JavaScript will target to create the editor <iframe>. We can simply add a basic <div> element to our index.html file. We need to give the created div element an id attribute so that we give our JavaScript an identifier to locate the element with. I will use "studio-editor" for the id.
<body>
  <h1>Hello World</h1>
  <div id="studio-editor"></div>
  <script type="module" src="./index.js"></script>
</body>
So now that we have created the editor div we can switch over to our index.js file and use the Studio SDK to actually load the GraFx Studio Editor!
First we will create a function called initEditor to load the editor. All this function will do will is use the Studio SDK to create the editor at the <div> we specify.
function initEditor() {
  const SDK = new StudioSDK({
    editorId: "studio-editor"
  });

  SDK.loadEditor();
  window.SDK = SDK;
}
We first start by creating a constant named SDK that is the instance of a new StudioSDK. When we create the the instance we need pass some information over. For now, all we need to pass is the editorId property which is the id of the <div> we created in our HTML file. For this course we used id="studio-editor" so we will just pass that value.
Next we tell the StudioSDK to actually load the editor in with the loadEditor() method.
And finally we bind the SDK to the Window object so that we can access it later in other functions by calling window.SDK.
So our final index.js file will look something like this.
import StudioSDK from "@chili-publish/studio-sdk";

function initEditor() {
  const SDK = new StudioSDK({
    editorId: "studio-editor"
  });

  SDK.loadEditor();
  window.SDK = SDK;
}

initEditor();
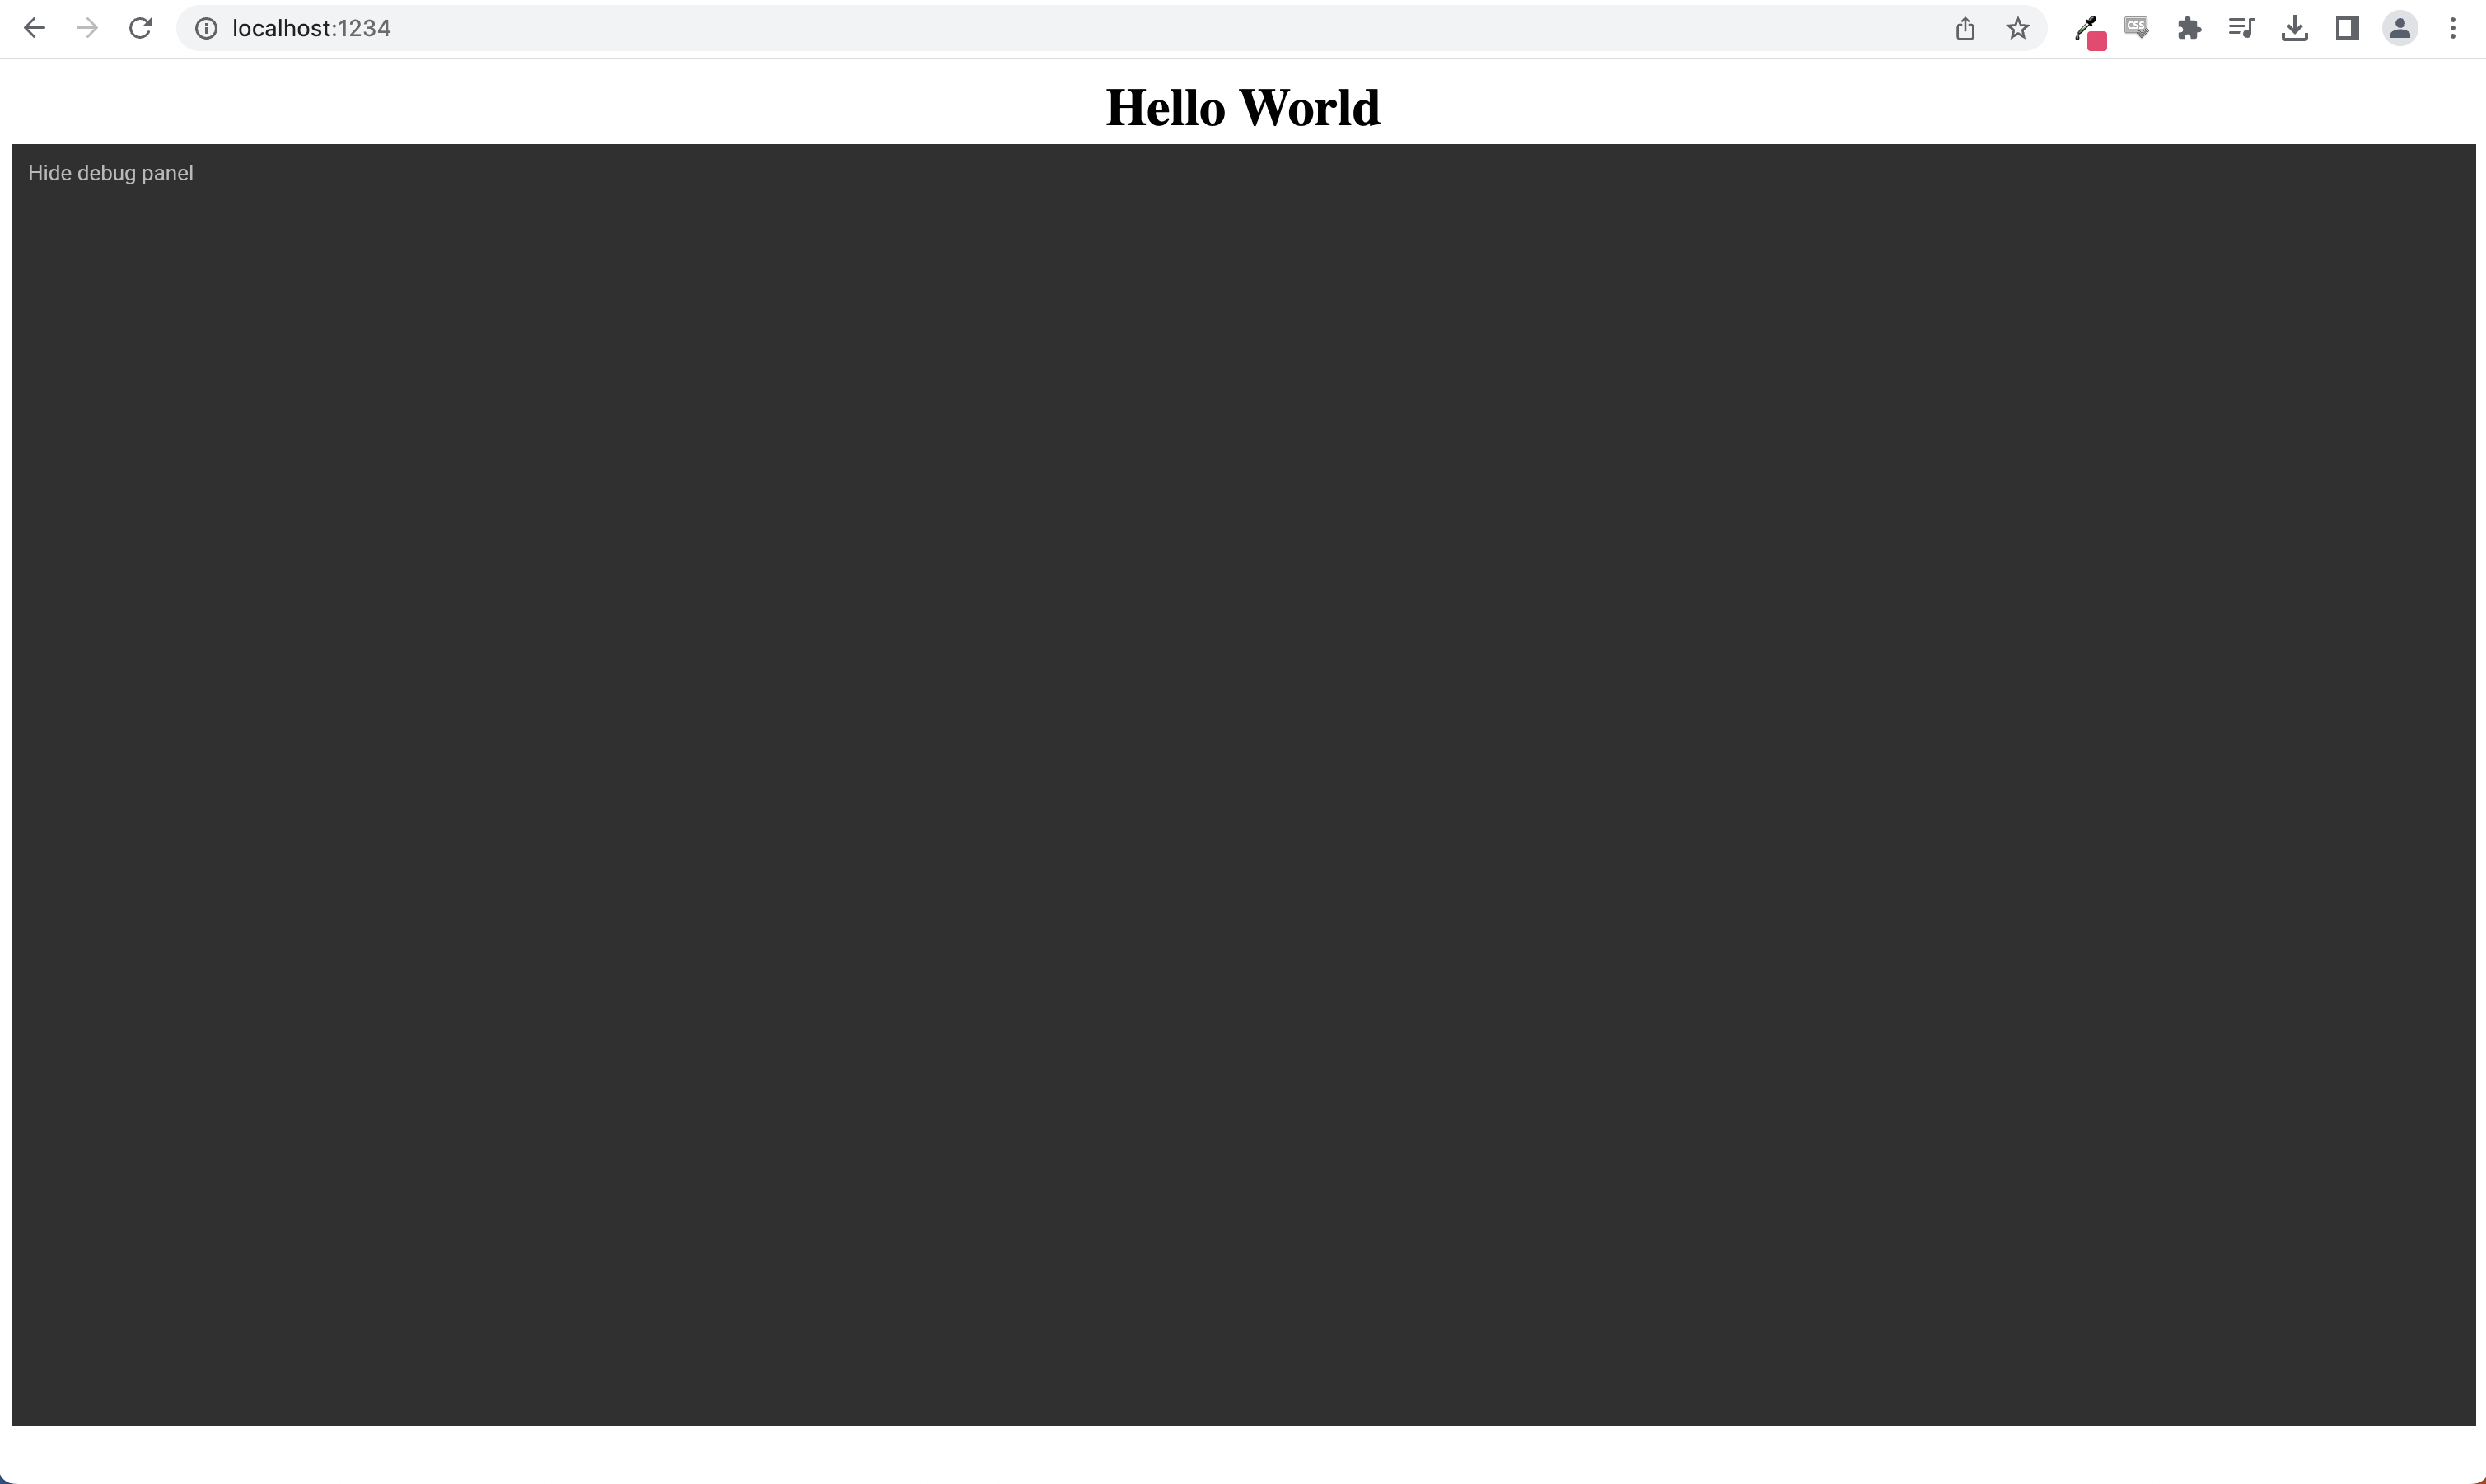
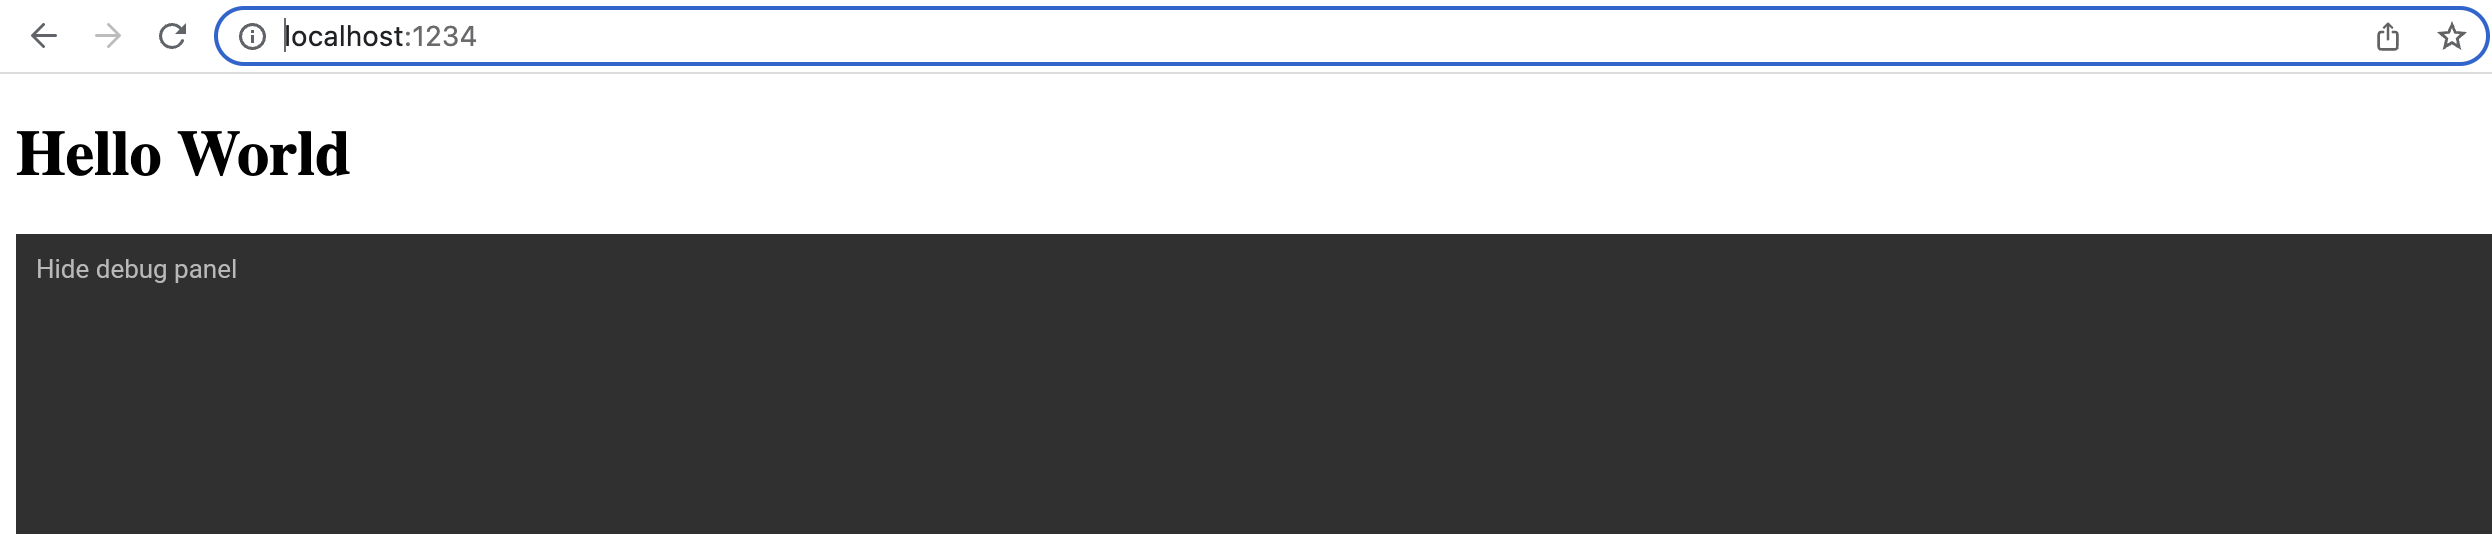
Now, if our webserver is still running we can see that it will refresh when we save our JavaScript file and a blank editor should appear!
Making our page look better
This section assumes a basic knowledge of some CSS, this section will not explain the CSS in depth but web.dev has great information for learning if you are interested. If not you can simply just copy the final HTML with the styling.
Let's add some basic styling to our integration since our editor isn't very user friendly at the moment. To do this we are simply going split our index.html in to two sections. A top panel that will have our integration buttons and text, and then the editor that will take up the rest of the page.
We will wrap our <h1> in a <div> with a couple properties
- a height of 5vh
- Setting the display to flex so we have an inline panel
- justify-content: space-evenly to space all the items in the div evenly apart
- align-items: center to center the items vertically in the div
<div style="height: 5vh; display: flex; justify-content: space-evenly; align-items: center;">
  <h1>Hello World</h1>
</div>
The editor <div> will get a height property of 90vh
We can save our file and the web browser should refresh. Now our editor is a little more visible. The editor still does not show much because we have not loaded a document yet, but we will soon when we use the DocumentController in section 4.