Media Connector for Keepeek
Built-in
Built by CHILI publish
Third Party
Solution vendor website
See Graphique Alliance's website
Installation
The installation is done by enabling the Keepeek Connector in your environment.
See Installation Through Connector Hub
Keepeek Configuration
Contact Graphique Alliance to obtain the correct values for the fields.
CHILI GraFx Connector Configuration
From the Environments overview, click on "Settings" on the right in the environment where you want to install or configure the Connector.

Then click the installed Connector to access the configuration.

Configuration
Your instance of the Connector needs to know which Keepeek instance it should communicate with and how to authenticate.
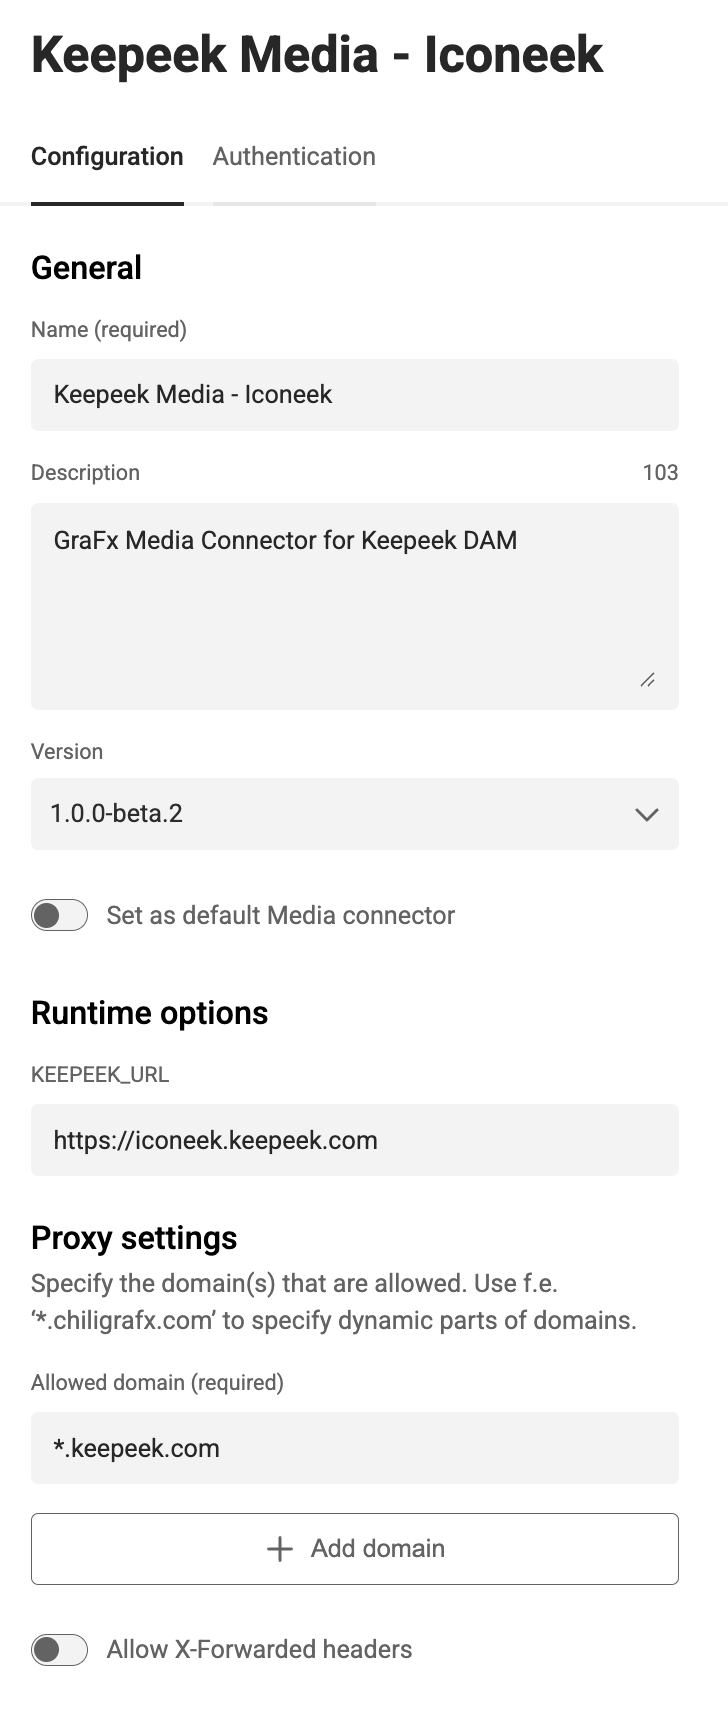
baseURL
Your Keepeek System Administrator will provide you with this information.
For example:
Proxy settings
CHILI GraFx needs to know what domains are allowed.
For example:
Authentication
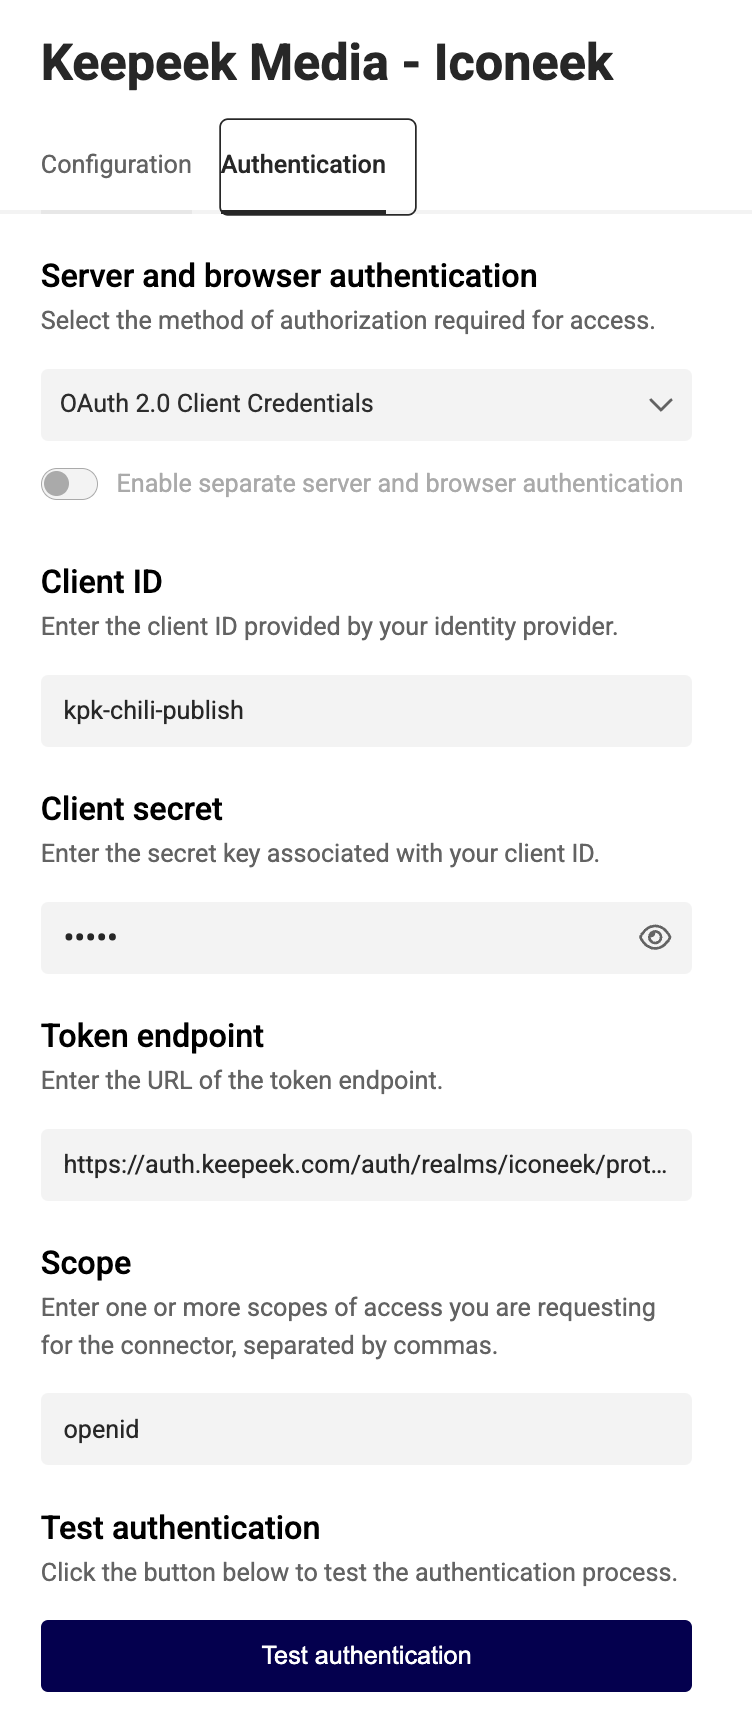
Select your type of authentication:
Server and Browser: OAuth 2.0 Client Credentials
- Client ID and Client Secret: These are customer-specific credentials provided by the Keepeek Admin.
-
Token Endpoint:
-
Scope: Consult your Keepeek Admin to determine the appropriate scope.
Consult your Keepeek System Admin for assistance in configuring these fields.
Using Assets from Your Keepeek Dam
Place Assets in Your Template
- Select the Keepeek Connector.
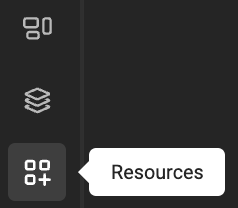
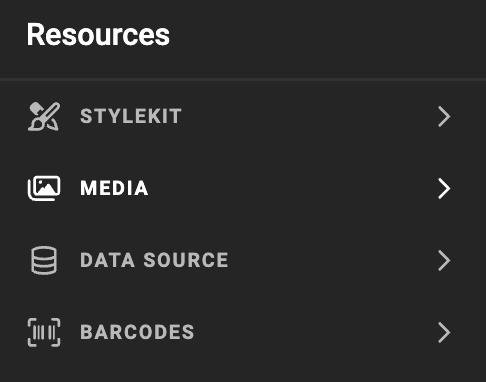
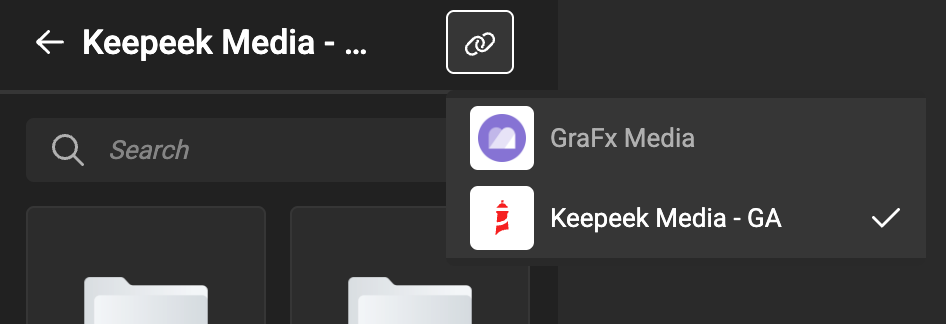
Image Variables
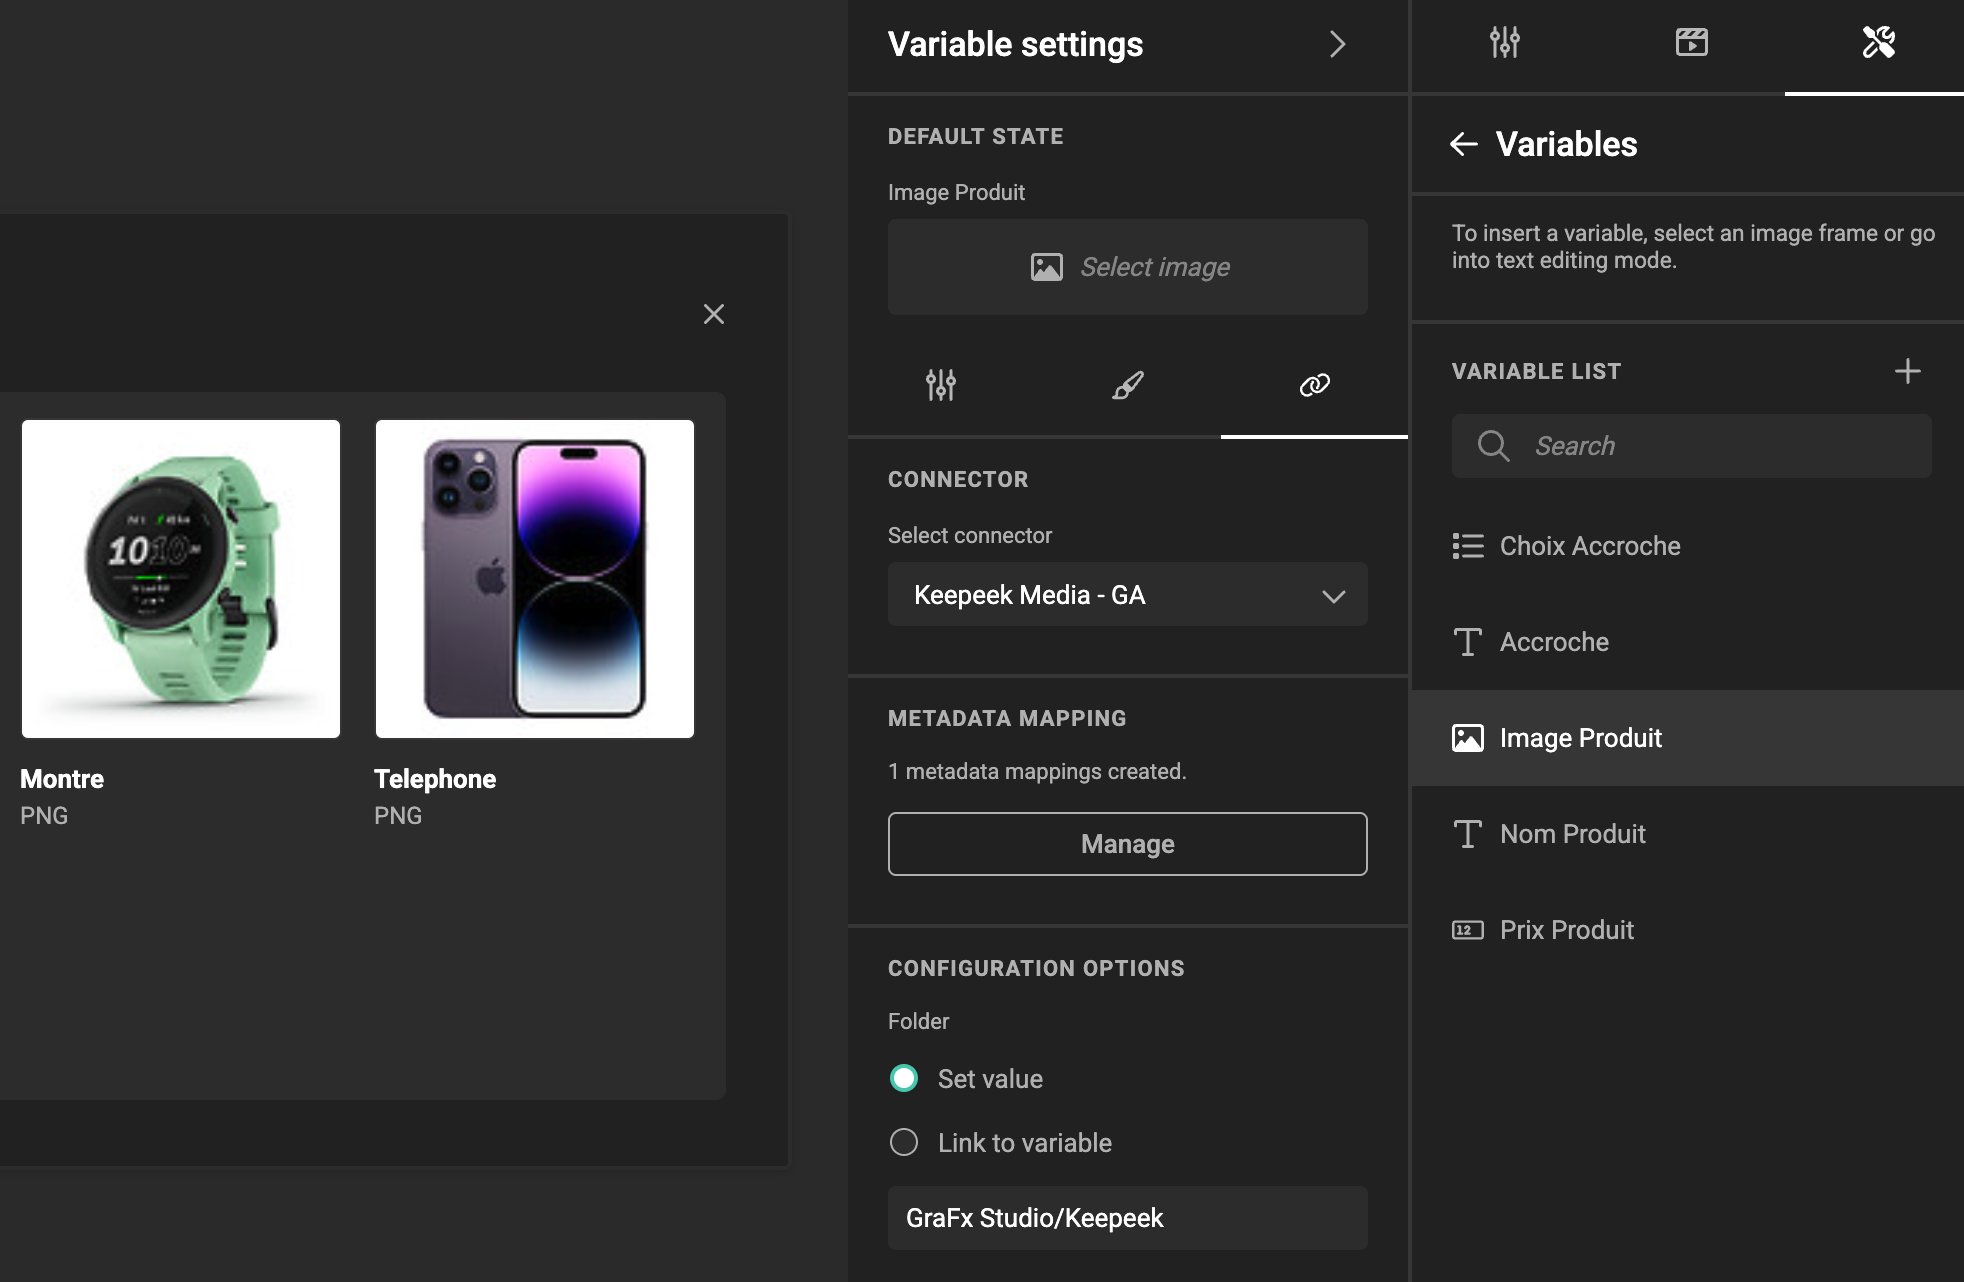
When using image variables, you will see the familiar grid of assets used when selecting an image, but also the Connector configuration options (see below).
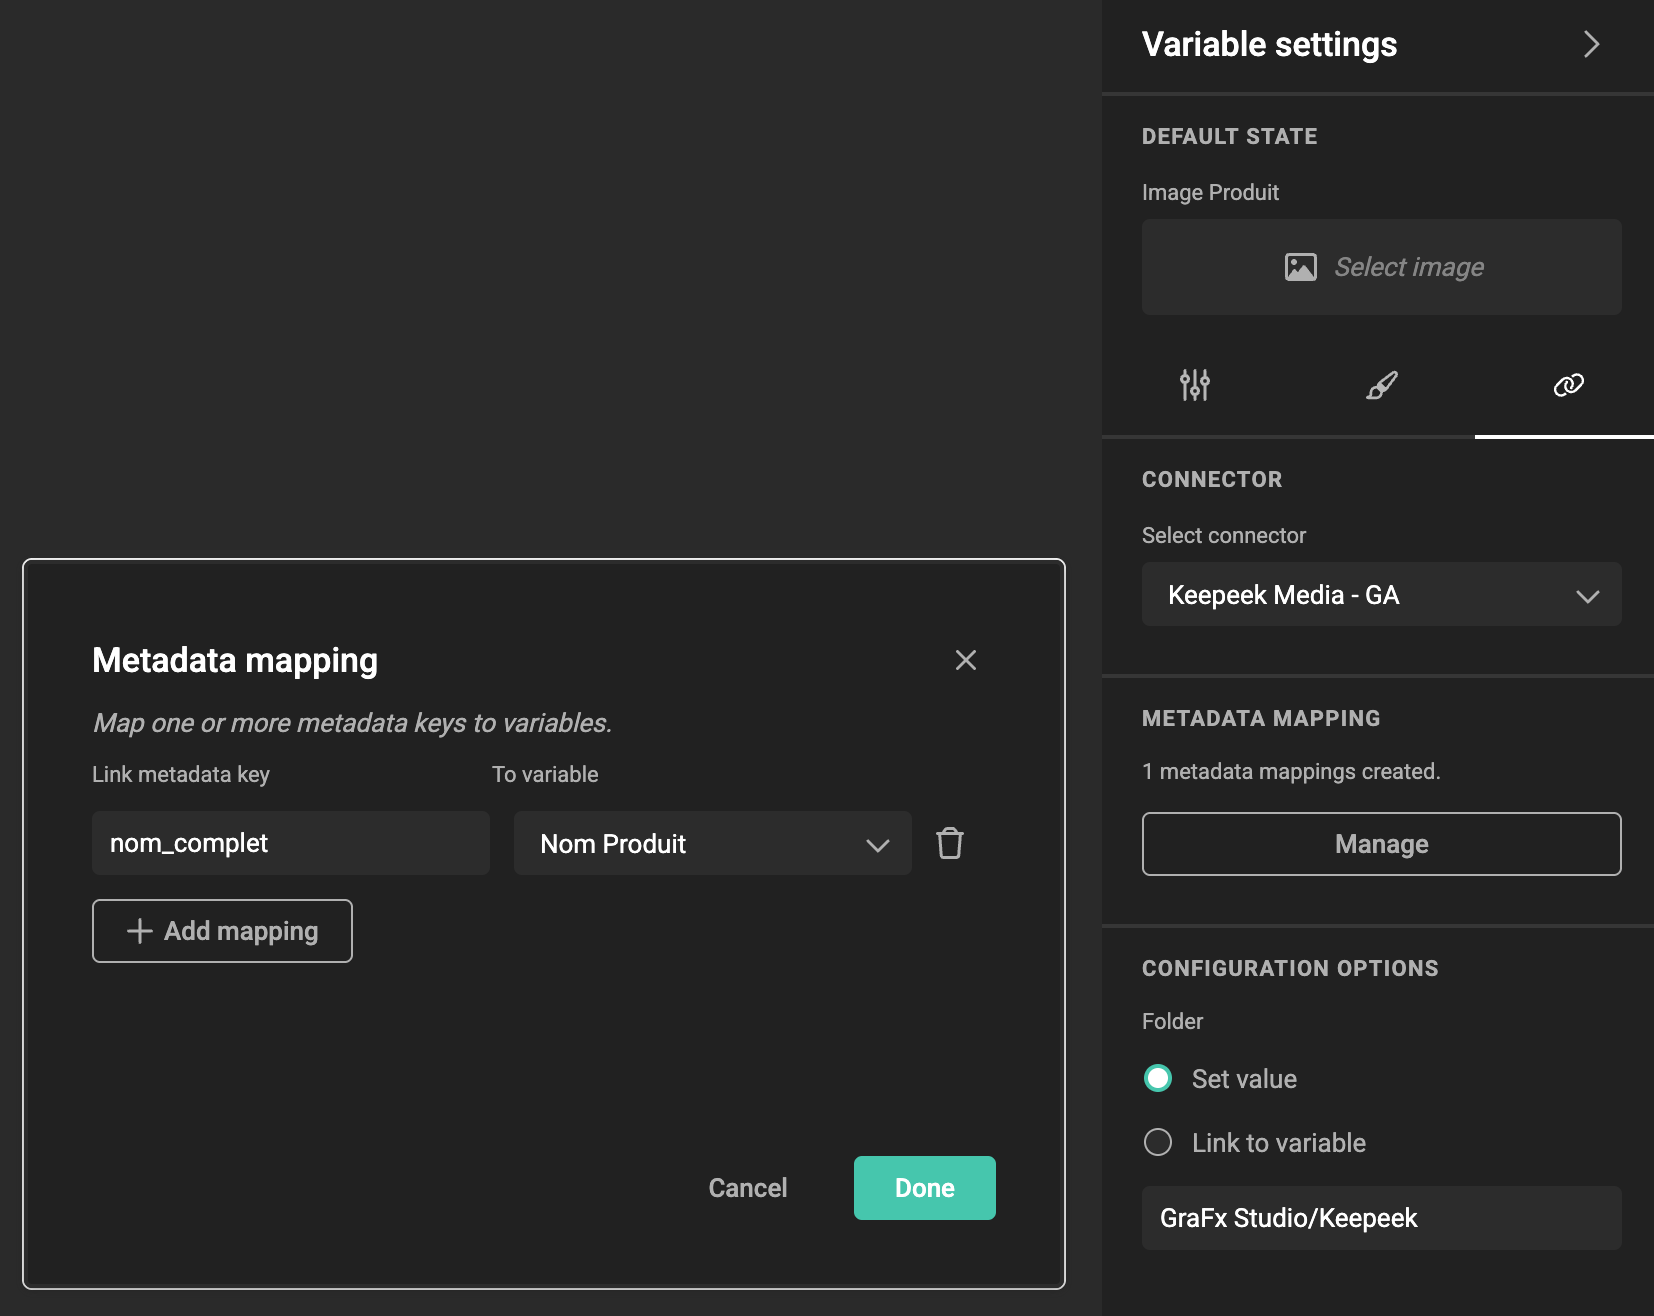
Metadata mapping
See Concept of metadata mapping for more details.
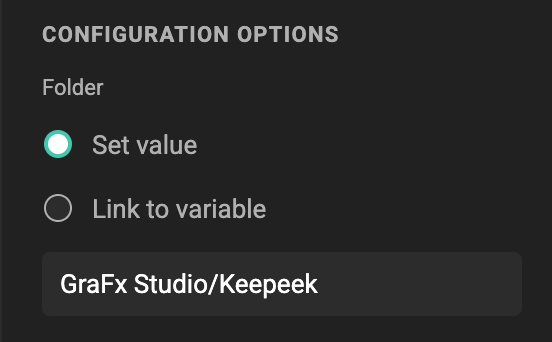
Configuration Options
To filter the assets suggested to template users, you can use several methods, including:
Folder
When set, the user will be offered assets from this folder only.
The value can be fixed, or can be guided through another variable.