Mocktopus Data Connector
Mocktopus
 A many-tentacled connector that pretends to connect to everything but actually connects to nothing.
Built-in
Built by CHILI publish
Third Party
Mocktopus is a data connector that generates realistic-looking fake data from a declarative schema. No external service, no credentials, no network required. It is designed for testing and prototyping GraFx Studio templates before a real data source is available.
Installation
Mocktopus is installed through the Connector Hub. Once installed, make sure to enable it using the toggle on the right of the connector row — without this, the connector will not be available to templates.

See installation through Connector Hub
Setting up Mocktopus in a template
Each template can have its own schema and settings, so a single Mocktopus instance is enough — there is no need to deploy multiple connector instances.
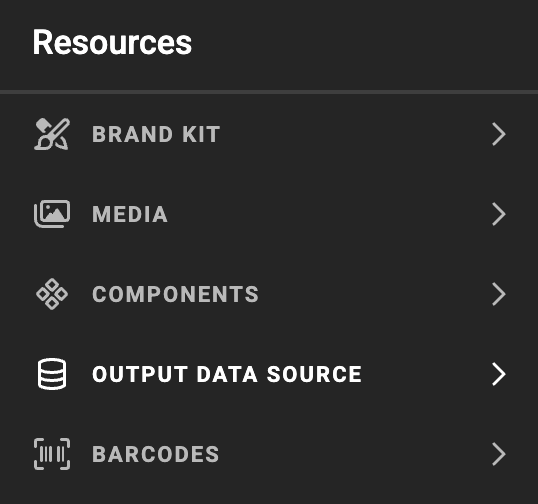
1. Open the Output data source panel
In your GraFx Studio template, open the Resources panel and select Output data source.
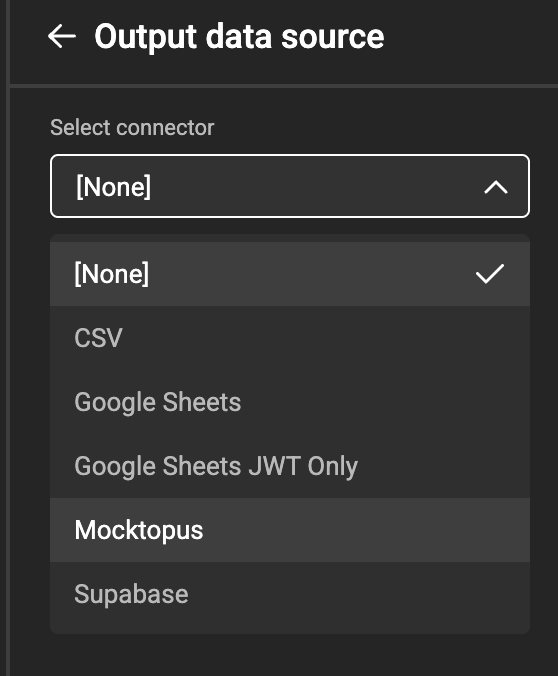
2. Select Mocktopus as the connector
In the Select connector dropdown, choose Mocktopus.
3. Configure Mocktopus
Once Mocktopus is selected, the panel reveals the full set of configuration options.
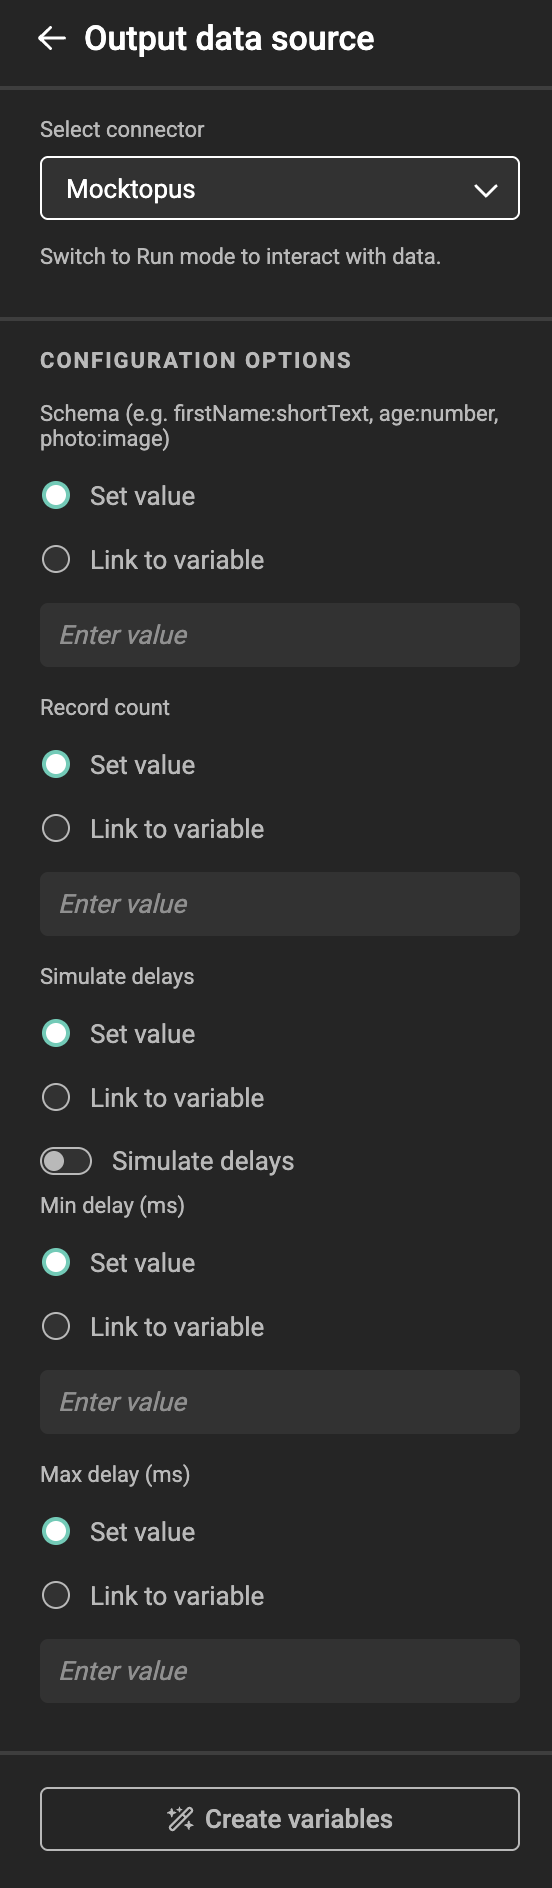
Each option can be set directly via Set value, or bound to a template variable via Link to variable.
Schema (required)
Defines the fields and types Mocktopus should generate, using a comma-separated DSL. Paste an existing schema string into the field, or build your own — see Schema reference below.
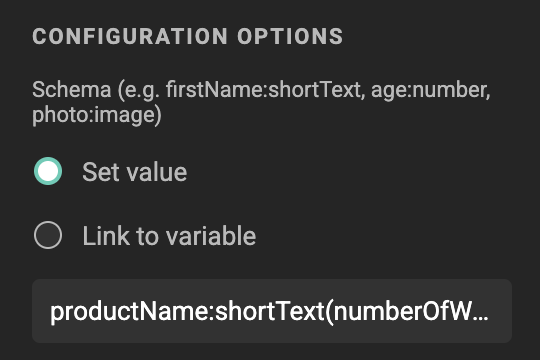
A ready-made example schema for a product card template:
productName:shortText(numberOfWords=3), description:longText(numberOfParagraphs=1), price:number(min=5,max=500), inStock:boolean, category:list(values=Electronics|Clothing|Food|Sports), photo:image
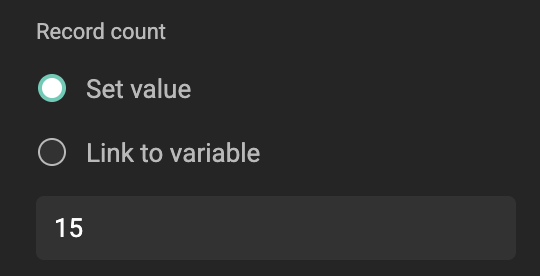
Record count
The number of records Mocktopus should generate. Defaults to 10. You can set your value.
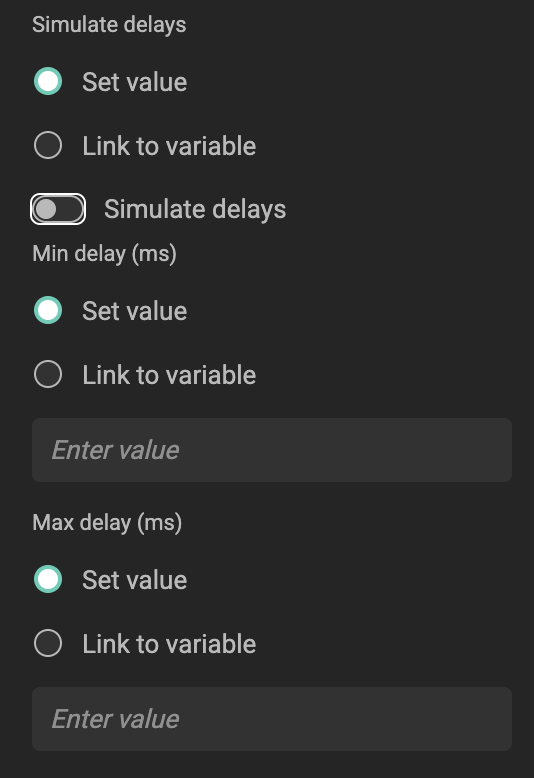
Simulate delays
To imitate a slow real-world data source, enable Simulate delays and set Min delay (ms) and Max delay (ms). When enabled, the connector waits a random duration between these two values before returning each response — useful for testing how a template behaves while data is loading. Defaults are 100 ms and 1000 ms.
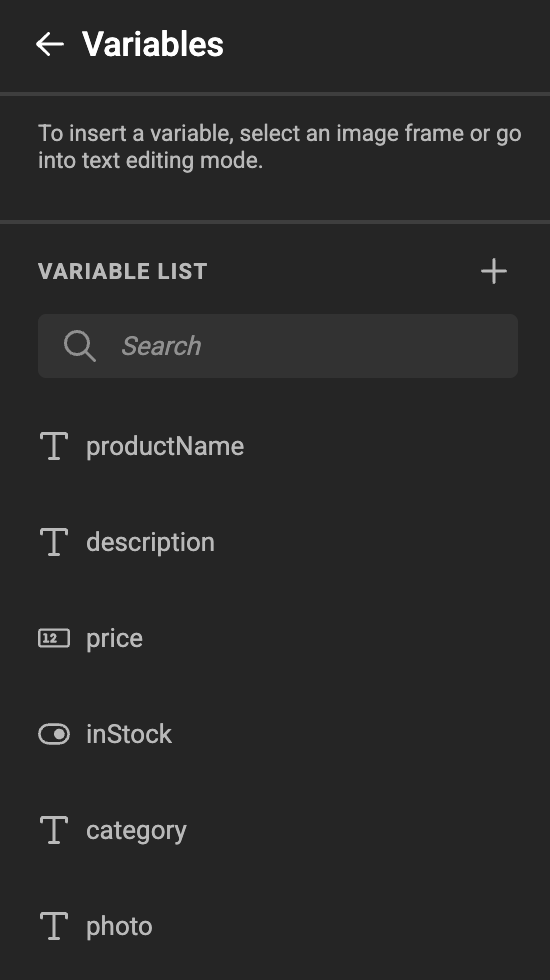
4. Create variables from the schema
If the template does not yet have variables matching the schema fields, click Create variables at the bottom of the panel.

Each schema field becomes a corresponding template variable, with the right type icon (text, number, boolean, image), ready to be mapped onto the design.
5. Preview the data
Switch to Run mode to preview the template with the generated mock data. Variables update on each run, giving you realistic content to design against without waiting on a real data source.
Working with image fields
The image field type does not return an actual image — it returns a seeded image ID. To display a real picture in your template, the value needs to flow through an image variable that has its own media connector configured.
The setup is:
- Create an image variable in the template (for example
ProductShot). -
Add an action that copies the value of the Mocktopus
photofield into that image variable. The action has two parts:Trigger — fire the action whenever the
photovariable changes, so the image updates every time Mocktopus produces a new record: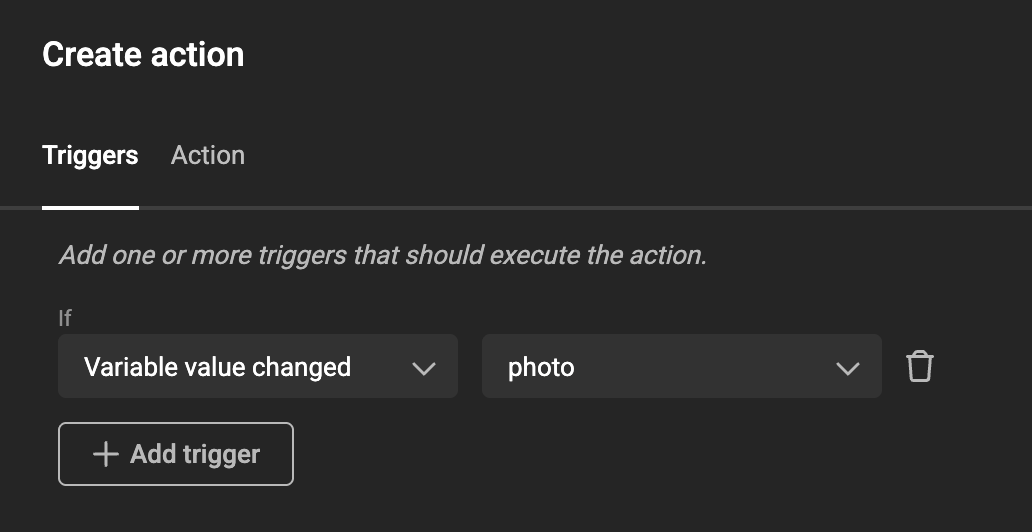
Action — a one-line JavaScript snippet that copies the seeded ID from
photointo the image variable: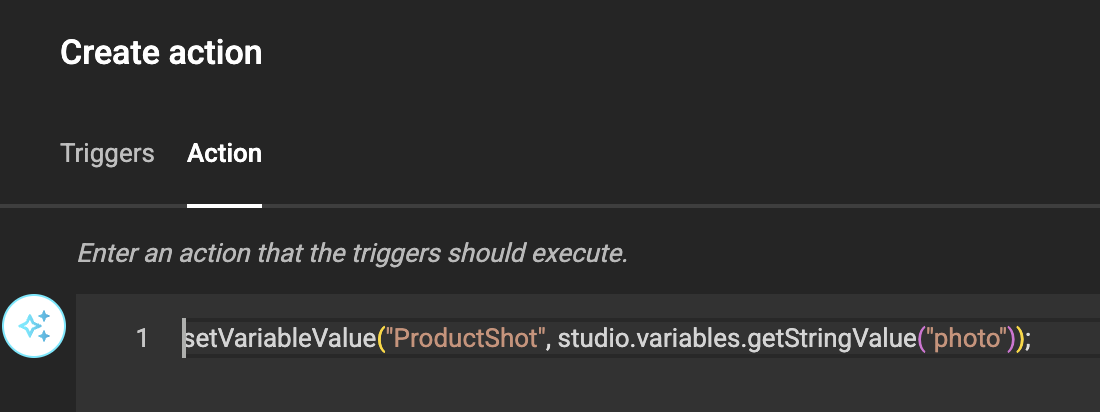
-
The image variable then resolves the actual asset using its own media connector, with the seeded ID as the lookup key.
This separation means Mocktopus can stand in for any media source — point the image variable's connector at whichever asset library you would use in production, and Mocktopus will supply the IDs.
Schema reference
Supported field types
| Type | Description |
|---|---|
shortText |
Short mock text (1–2 words by default) |
longText |
Multiple sentences and paragraphs |
number |
Random number within a configurable range |
boolean |
Random true or false |
date |
Random date between 2020-01-01 and 2030-01-01 |
list |
A single value picked from a pipe-delimited list |
image |
A seeded image ID (for use with an image variable) |
Field format
Each field follows the format fieldName:type or fieldName:type(param1=value1,param2=value2). Multiple fields are separated by commas:
firstName:shortText, age:number(min=18,max=65), active:boolean, joinDate:date, status:list(values=active|inactive|pending)
Field type parameters
shortText—numberOfWords(default:2)longText—numberOfParagraphs(default:2)number—min(default:0),max(default:1000)list—values: pipe-delimited list, e.g.active|inactive|pending
Any field type also supports the values parameter to pick randomly from a fixed set:
External setup
None required. Mocktopus generates all data locally — there is no external service to configure, no API key, and no authentication.
Generating a schema from an existing template
If you have a GraFx template with variables already defined, use the ConvertTemplateToSchema.ps1 PowerShell script to automatically generate a ready-to-paste schema string. You can find the script in the connector's repository.
Requirements: PowerShell 7+ (pwsh)
# Basic usage — prints the schema to the terminal
.\ConvertTemplateToSchema.ps1 -TemplatePath .\template.json

# Save output to a file and include read-only variables
.\ConvertTemplateToSchema.ps1 -TemplatePath .\template.json -OutputPath .\schema.txt -IncludeReadonly
The script maps all standard GraFx variable types (shortText, longText, number, boolean, date, list, image) directly to their Mocktopus DSL equivalents. Variables with unrecognised types are skipped with a warning.