Overprint
Overprint tells the press to print one ink on top of another, instead of leaving a hole in the inks underneath.
By default, print production does the opposite. When a black headline sits on a magenta background, the magenta plate is punched out in the exact shape of the letters so the two inks never mix. That hole is called a knockout.
Why overprint matters
Knockouts only look right if every printing plate lines up perfectly. In practice they shift by a fraction of a millimeter, and the paper underneath shows through along the edges — thin white lines around type, hairline strokes, and barcodes.
Setting an element to overprint removes the knockout: the background ink prints straight through, and the element prints over it. A small registration error becomes invisible, because there is no hole to misalign.
Typical cases where designers reach for overprint:
- Black text placed on a colored background
- Fine strokes and rules that would break up if the plates shift
- Barcodes printed over a colored panel, where a white halo hurts scannability
- Varnish, foil, and other finishing layers
When overprint applies
Overprint only works on spot colors defined in CMYK
In GraFx Studio, overprint takes effect only when the fill or stroke uses a spot color whose secondary color is defined in CMYK.
It has no effect on:
- process CMYK colors
- RGB colors
- spot colors whose secondary color is defined in RGB
The toggle can still be switched on for those colors, but the exported PDF prints them as a normal knockout. Before you rely on overprint, check that the color is a spot color and that its secondary color is CMYK.
Overprint is a press instruction, so it only means something in a print context:
- Print intent only. The overprint controls appear in the frame properties panel when the layout uses the Print intent. They are hidden for digital intents. See Layout intent.
- CMYK-based spot colors only. See the warning above. Spot colors are defined in the Brand Kit panel — see How to work with colors.
- Fill and stroke are separate. Each has its own toggle, so you can overprint a stroke while the fill stays a knockout, or the other way round. Switching a color between CMYK and RGB and back preserves the overprint setting.
Where you set it
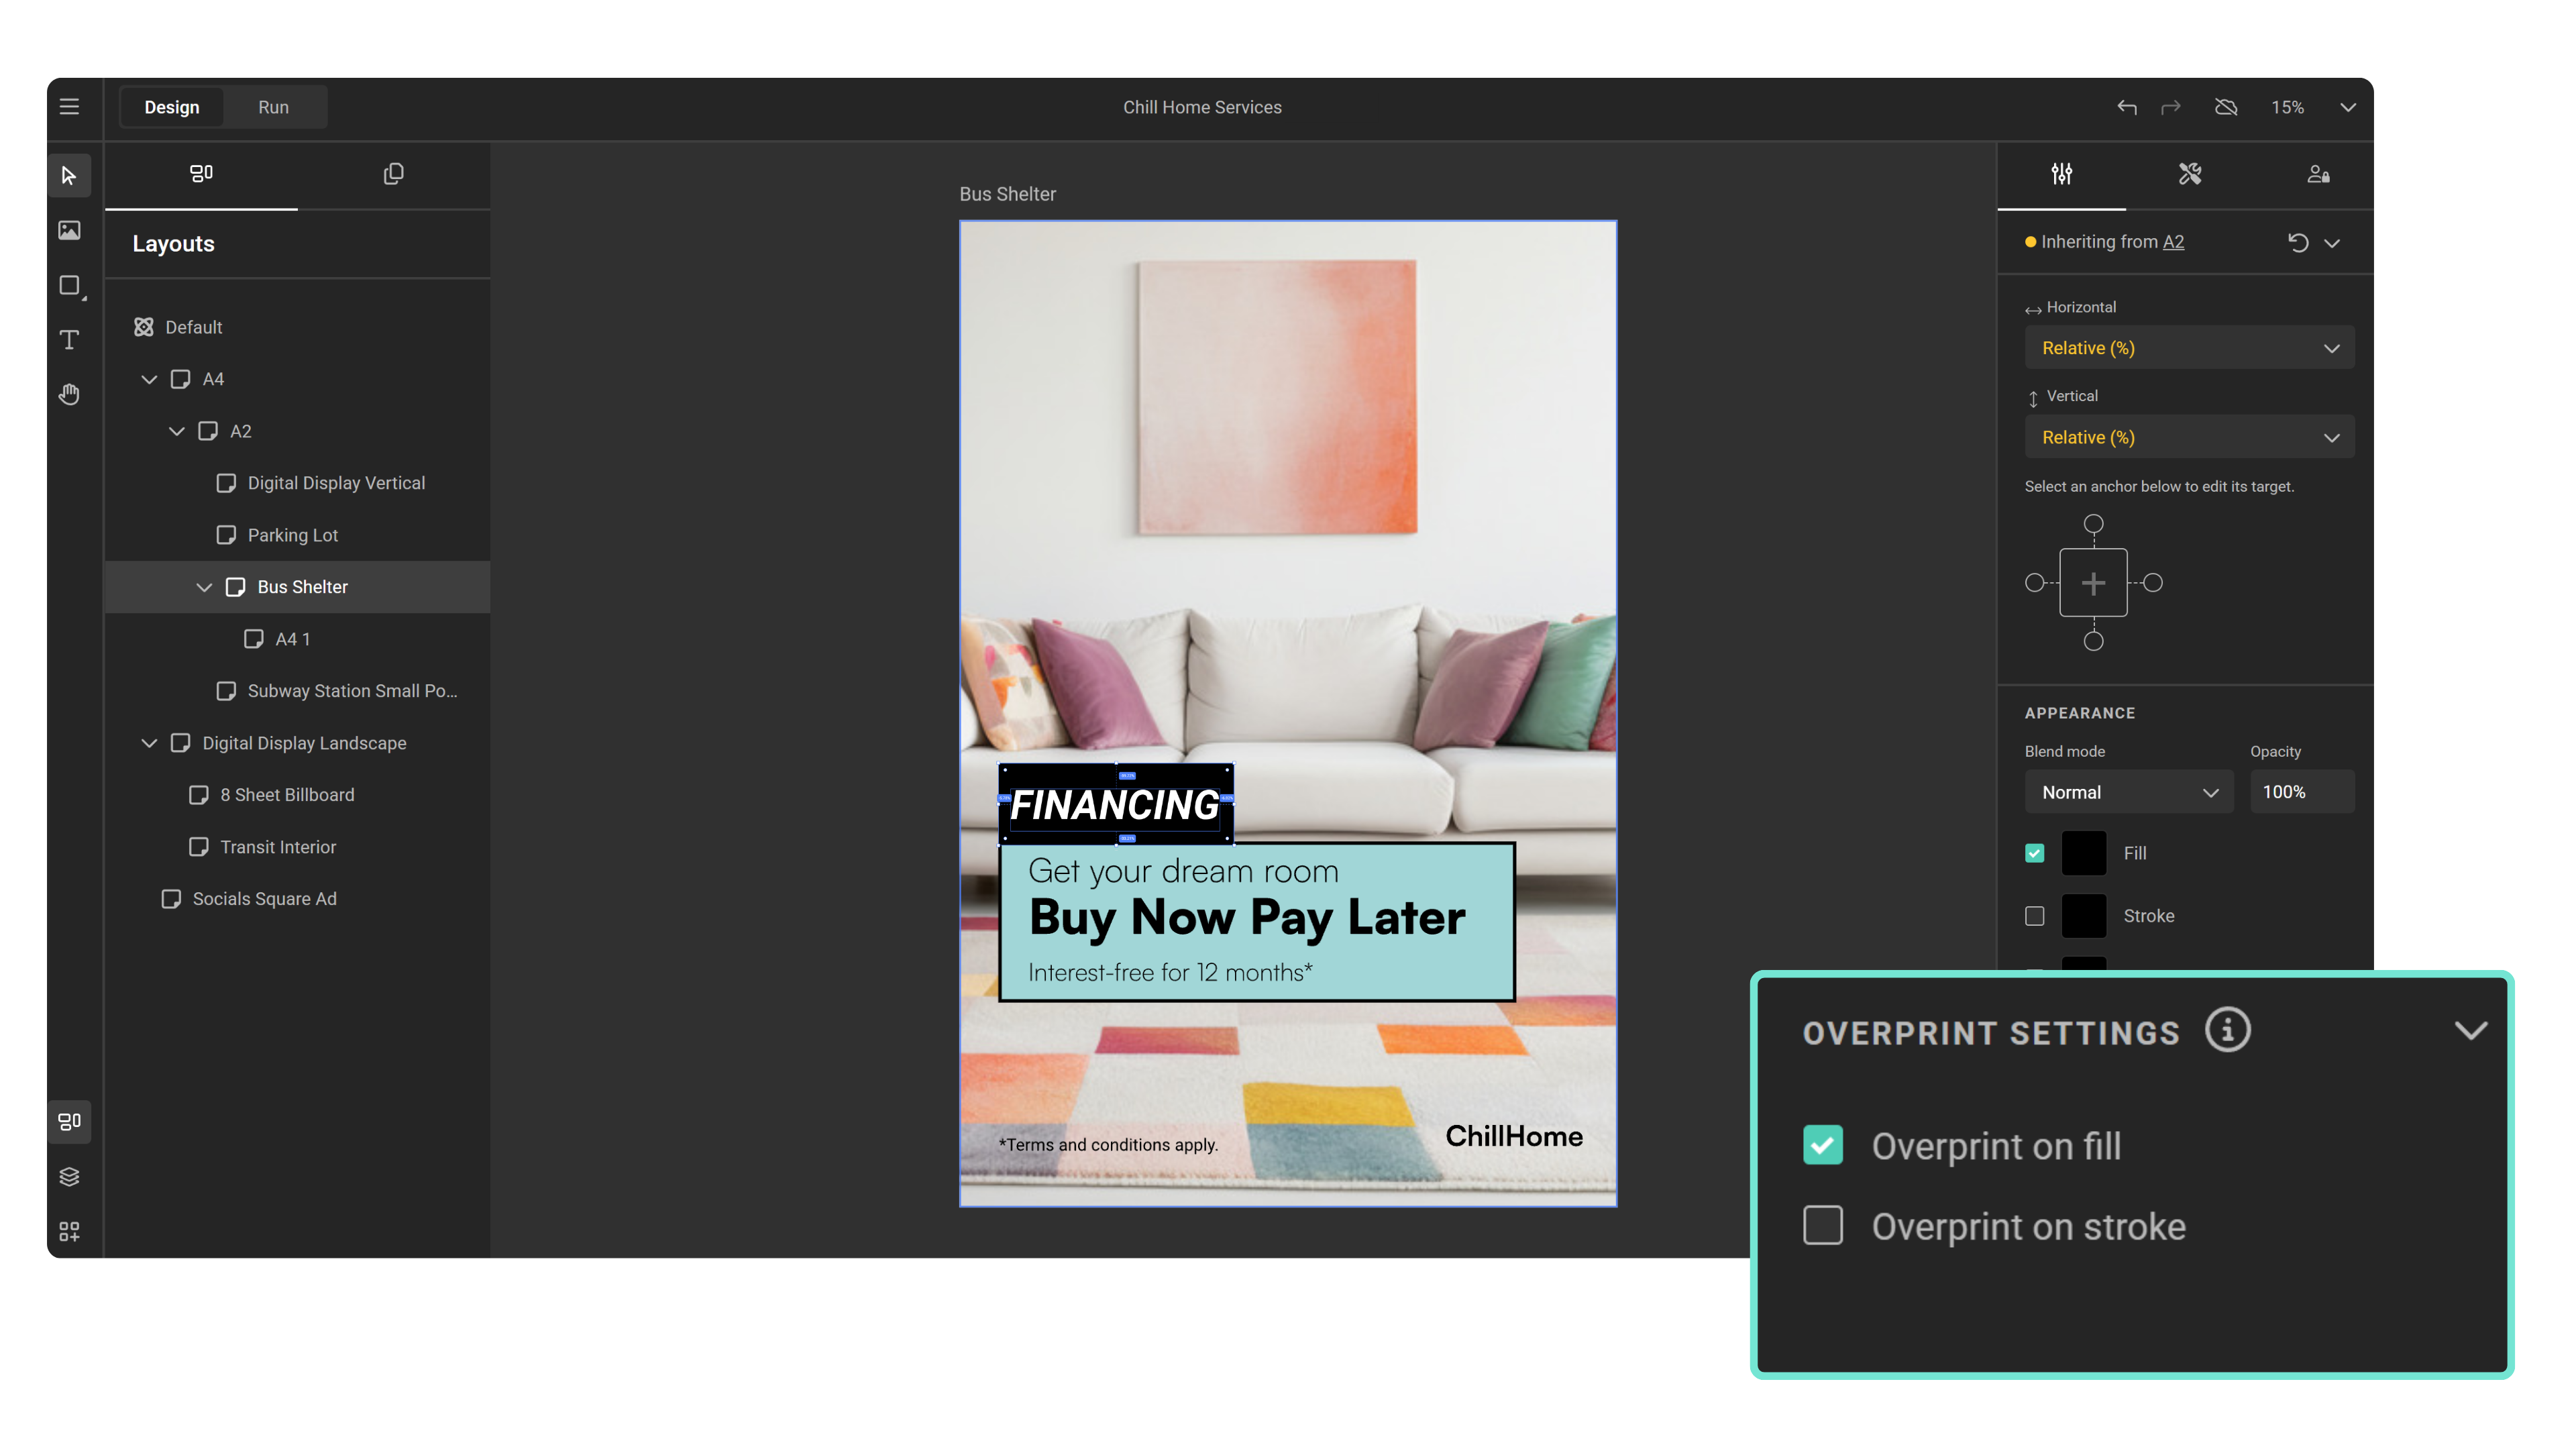
Overprint is set per element, in the frame properties panel:
| Frame type | Available toggles | Guide |
|---|---|---|
| Text | Fill, Stroke | Text frames |
| Shape | Fill, Stroke | Shape frames |
| Barcode | Fill, Background | Add a barcode |
Overprint is off by default on every frame, and a toggle is only selectable when the matching fill or stroke is active.
For text, overprint is applied to the text you select, not to the frame as a whole. That lets a single frame mix overprinted and knocked-out type.
Overprint in PDF output
When you generate a PDF, GraFx Studio writes the overprint setting into the graphics state of the exported file, so your production partner and their RIP read exactly what you set in the template. The result is compatible with PDF/X-4 and PDF/A-2 workflows.
Overprint statements inside embedded PDF assets are preserved as well — see PDF output.
Known limitation in this version
The canvas in GraFx Studio does not simulate overprint, so an overprinted element looks the same on screen whether the toggle is on or off.
To verify the result, open the exported PDF in Adobe® Acrobat® Pro and use Print Production > Output Preview, with Show Overprinting switched on under color warnings.