GraFx Studio Exporter for Figma
Introduction
The Figma plugin lets you export a frame from Figma and import it into GraFx Studio as a template. Figma is a great place to design, but it isn't built to produce hundreds of variants across formats and channels — that is what GraFx Studio does. The plugin turns finished Figma design work into a starting point for automation instead of something you rebuild by hand.
Experimental
The Figma plugin is released as experimental. It is not published on the Figma Community, so you download it from the plugin downloads page and install it yourself. Behavior and supported features can still change between versions.
Current version: 0.8.0 Experimental Supported operating systems: Windows and macOS
Elements of the conversion
- GraFx Studio Exporter (Figma plugin)
- Importer in GraFx Studio
How to install the plugin
Get the latest plugin from the GraFx Studio plugin downloads page.
The download is a .zip file — GraFxStudioExporter_Figma_0.8.0.zip — rather than a Figma Community install. Unpack it, then add it to Figma as a local plugin.
Version-specific download
Unlike the Adobe plugins, the Figma download points at a specific version. When a new experimental build is released, the download link changes with it.
How to convert a document
Prepare your Figma file
- Open the Figma file you want to export
- Make sure the design you want to convert sits inside a single frame — the frame's size becomes the template size in GraFx Studio
Export to GraFx Studio
- Run GraFx Studio Exporter from Figma's quick actions or plugin menu
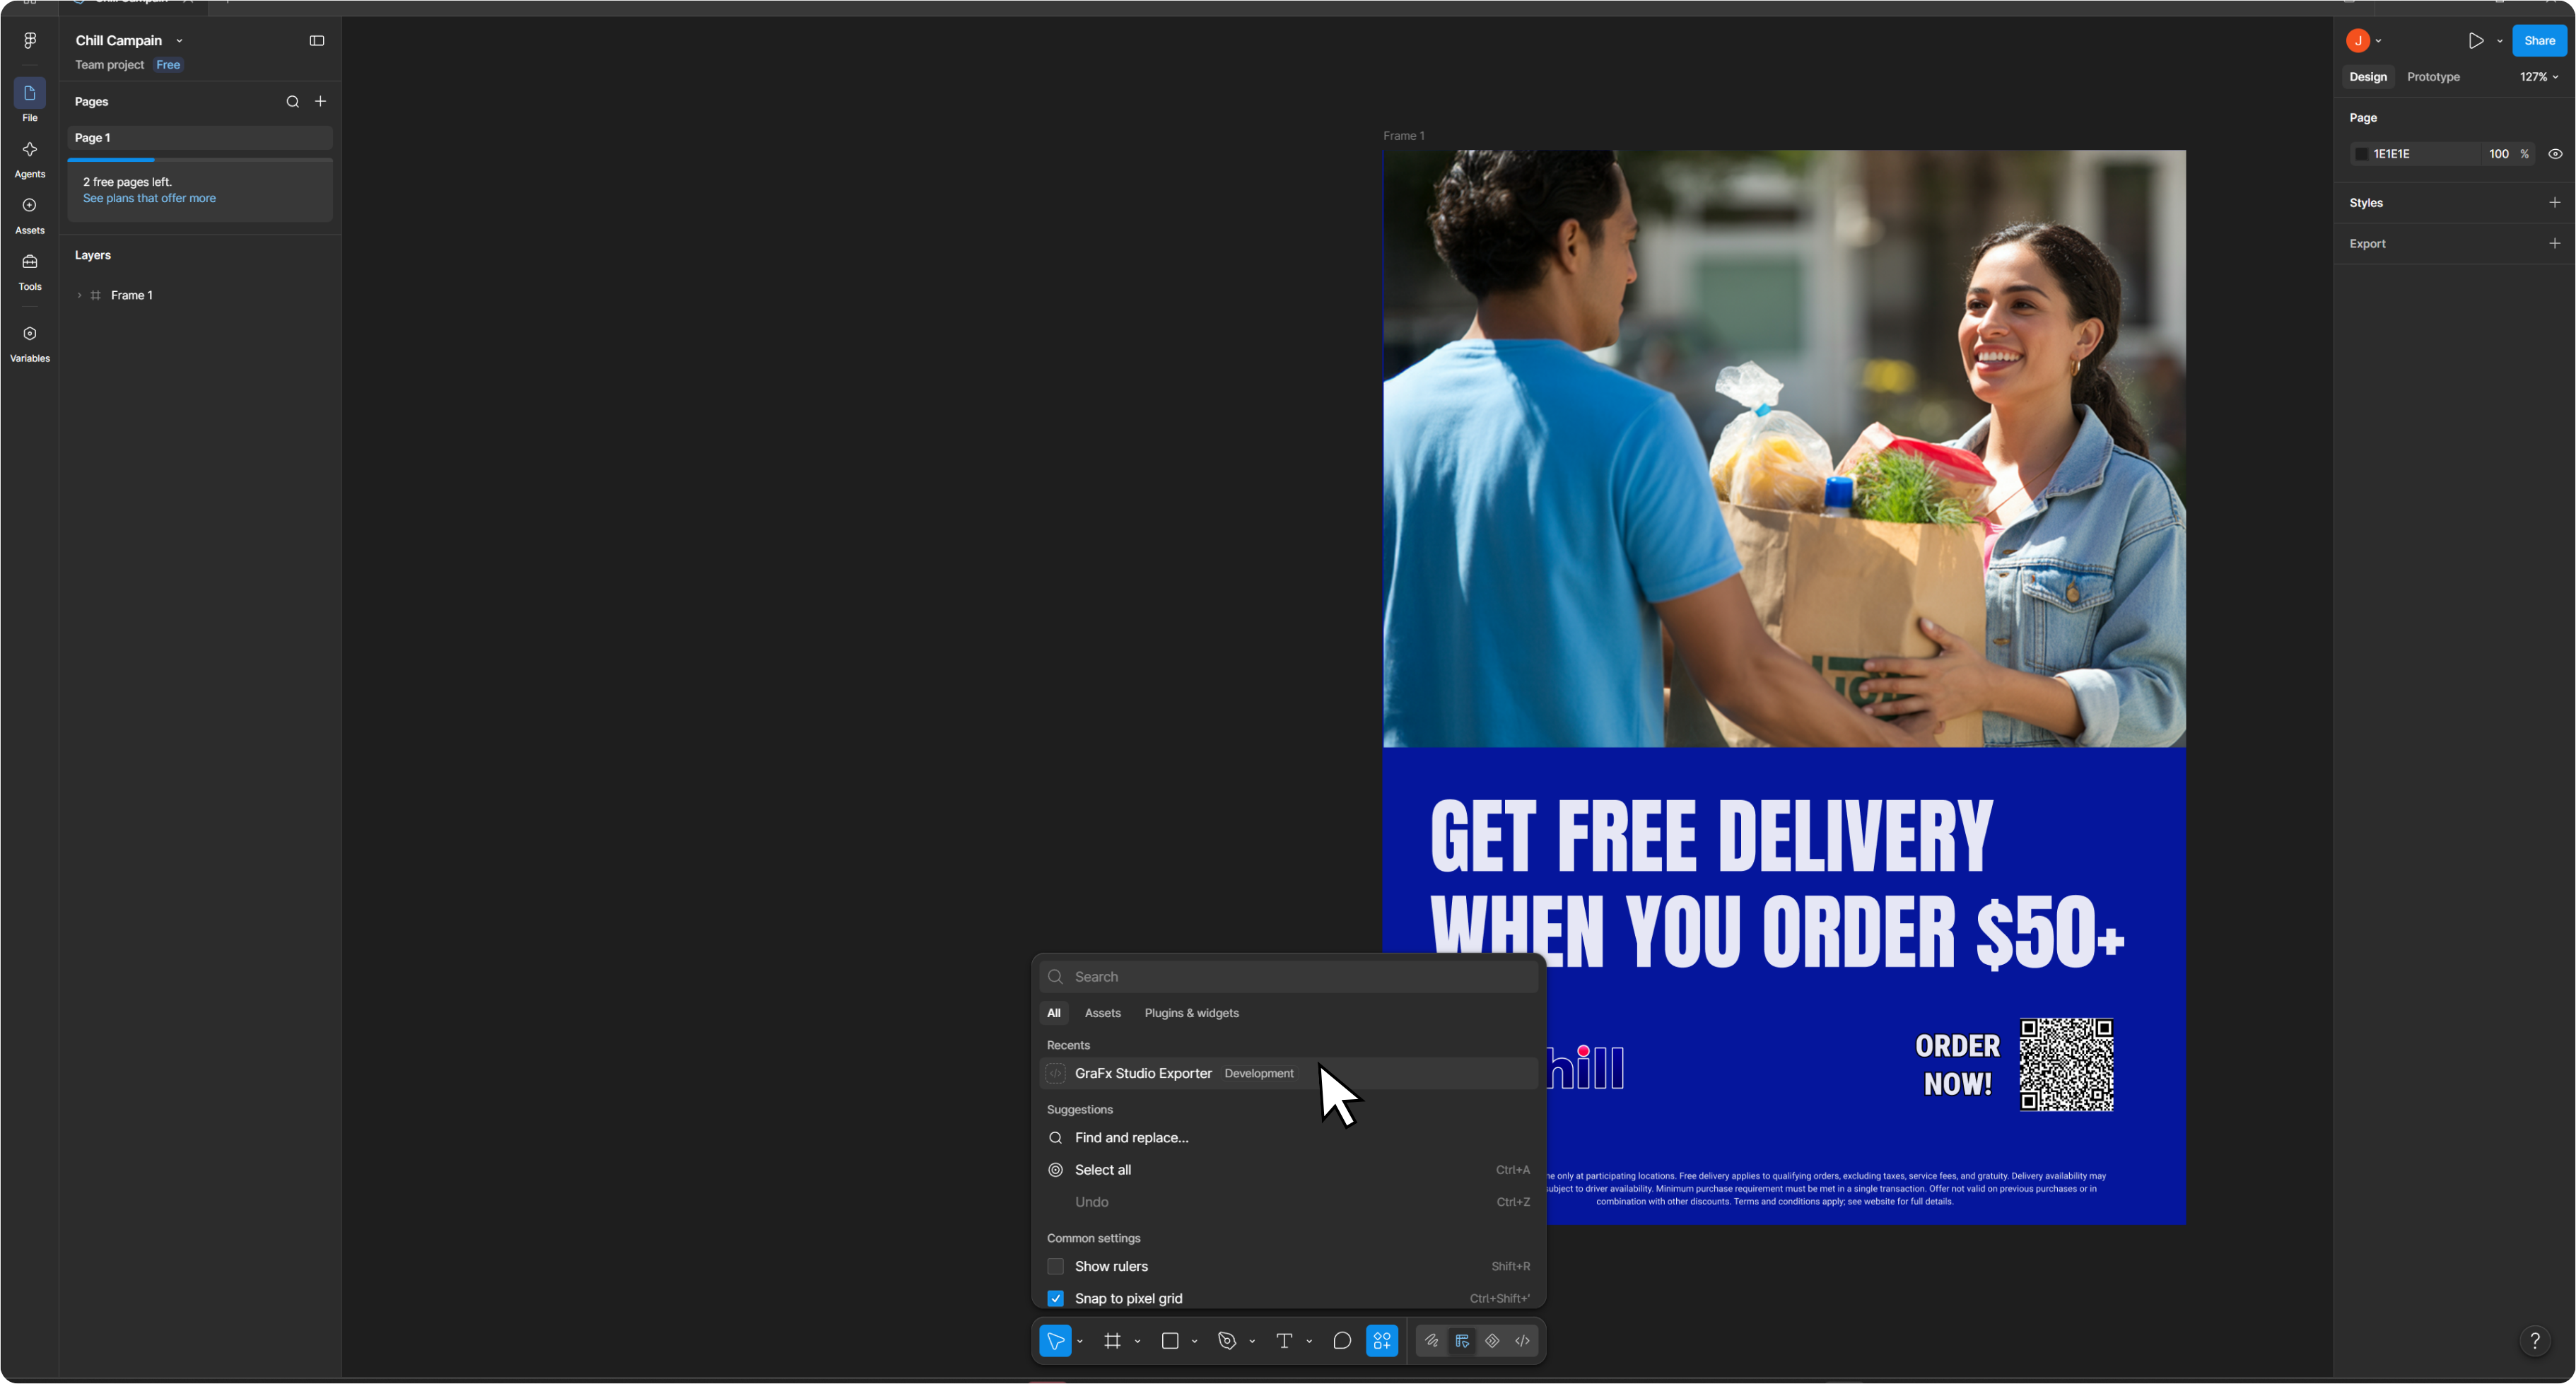
- Select the page and frame to export at the top of the panel
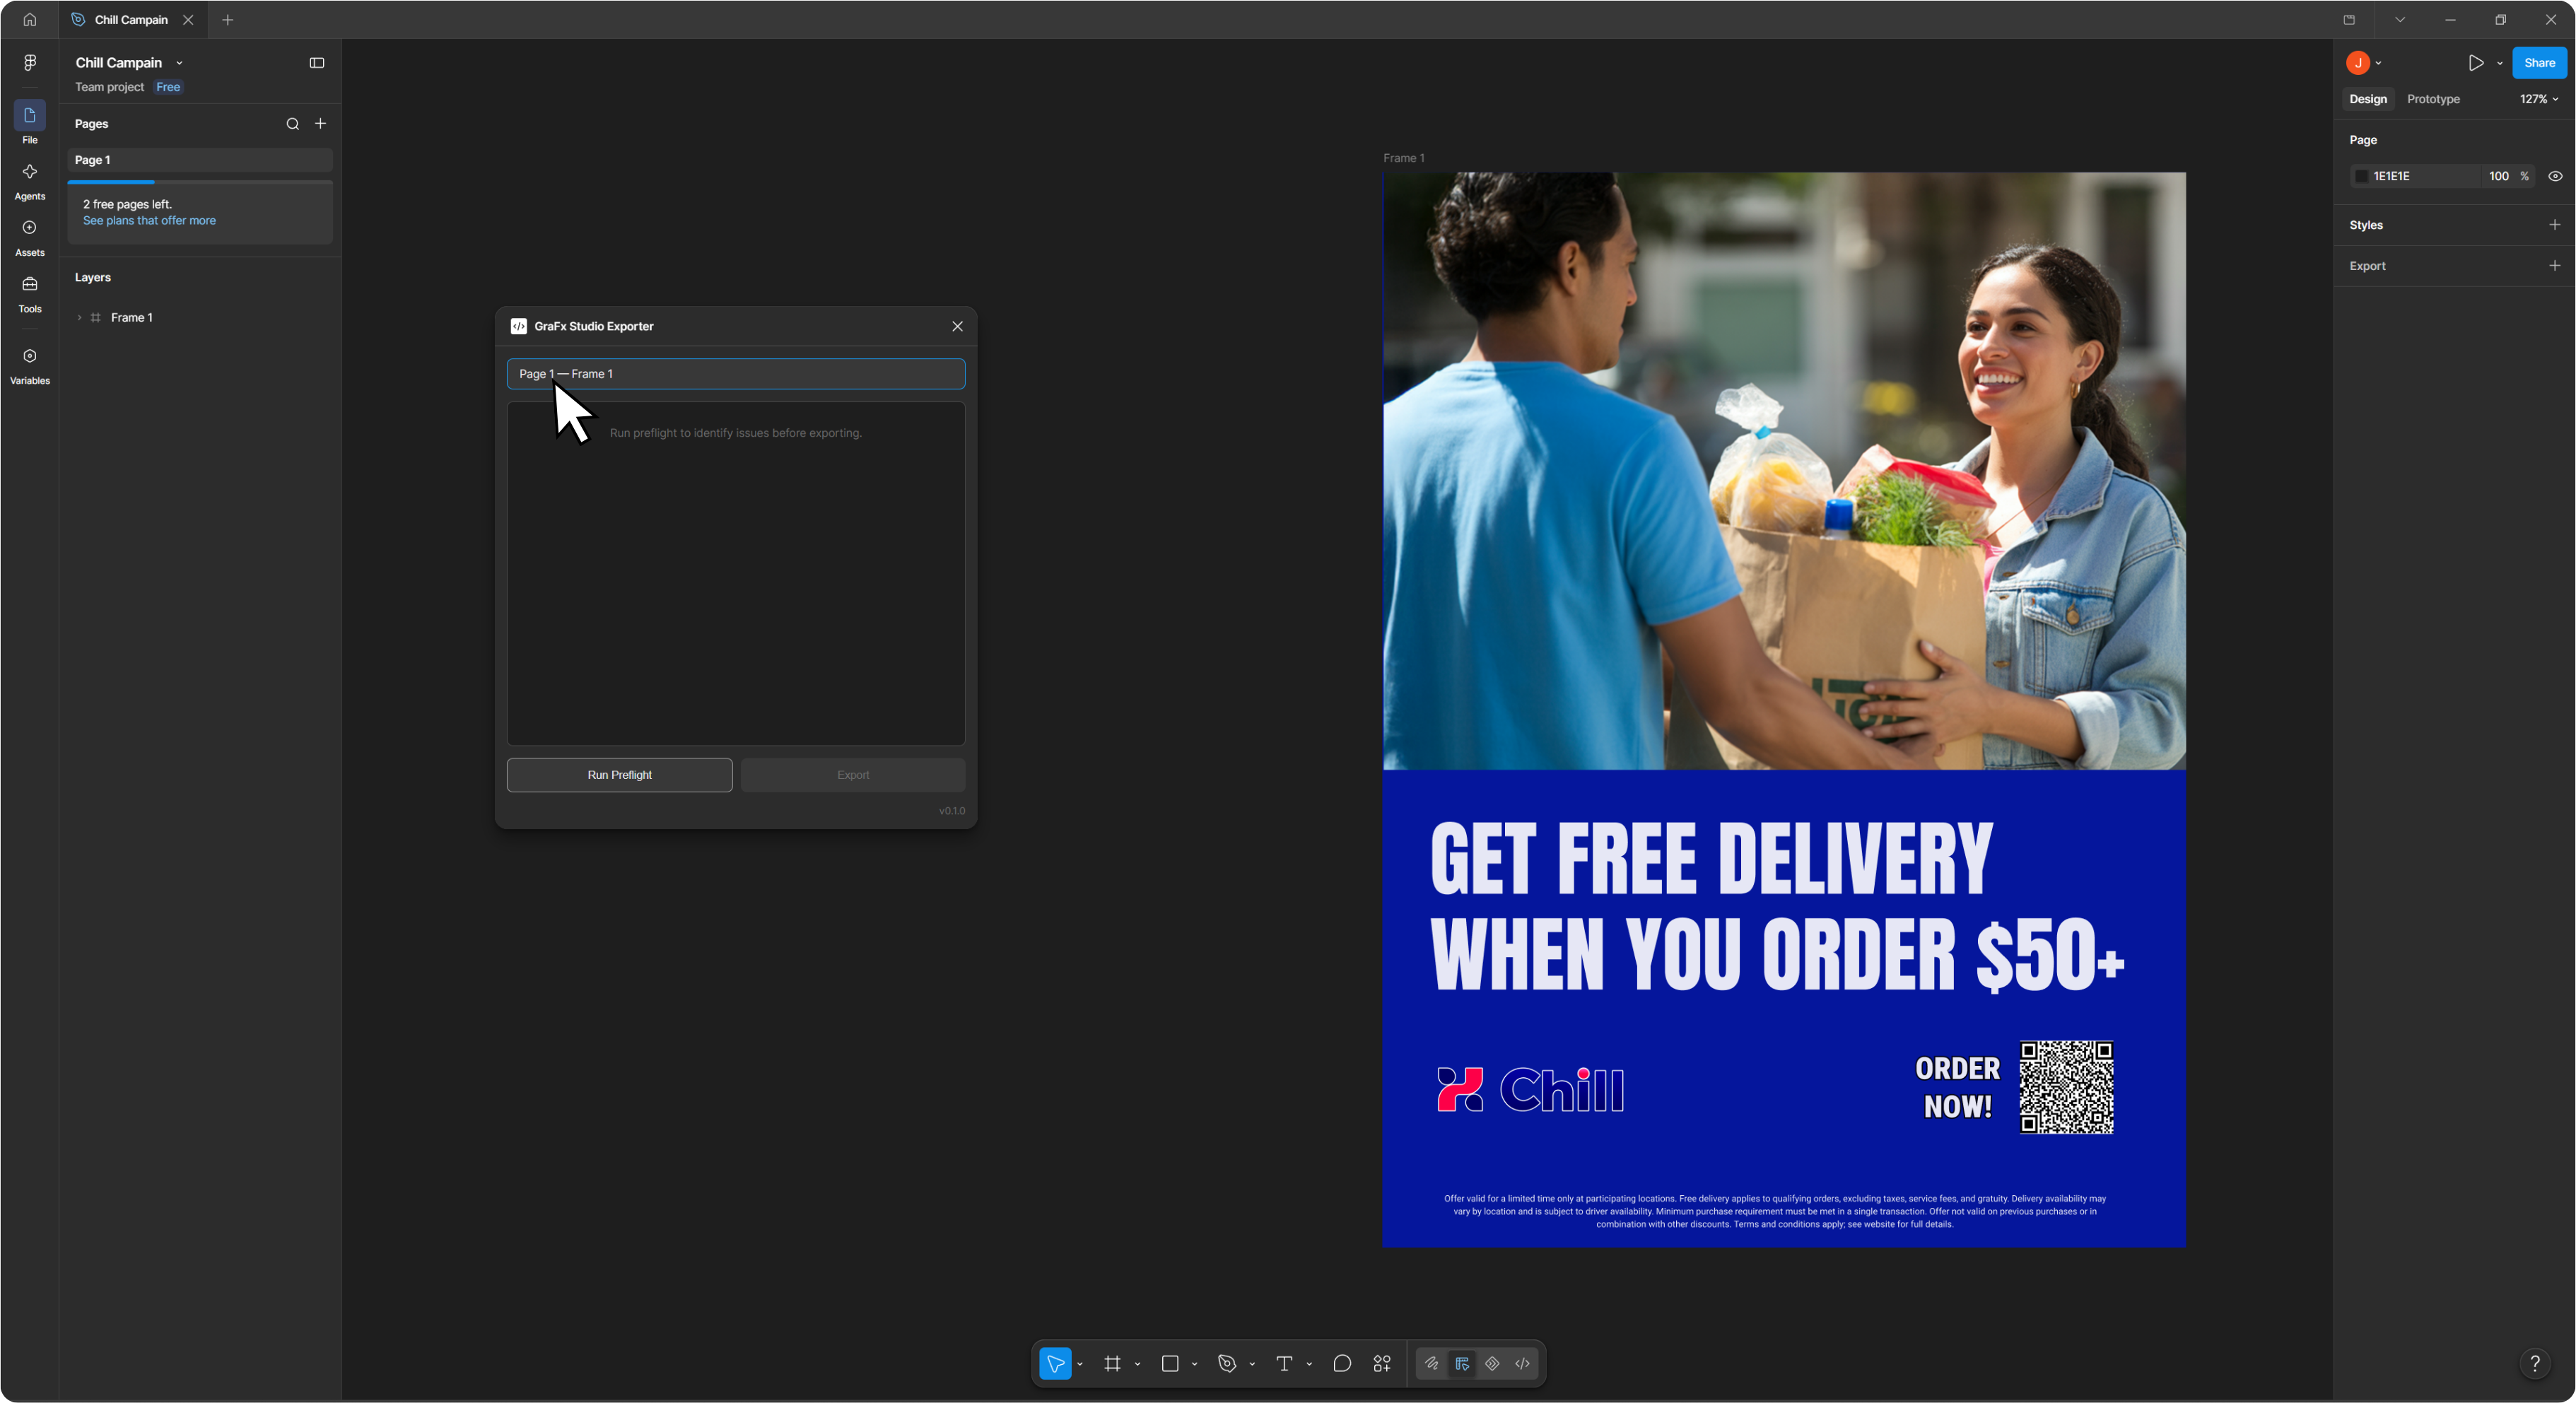
One frame per export
Only a single frame can be exported at a time. Everything inside that frame is included.
- Run Preflight to identify issues before exporting
- Review the warnings, then click Export — which stays disabled until preflight has run
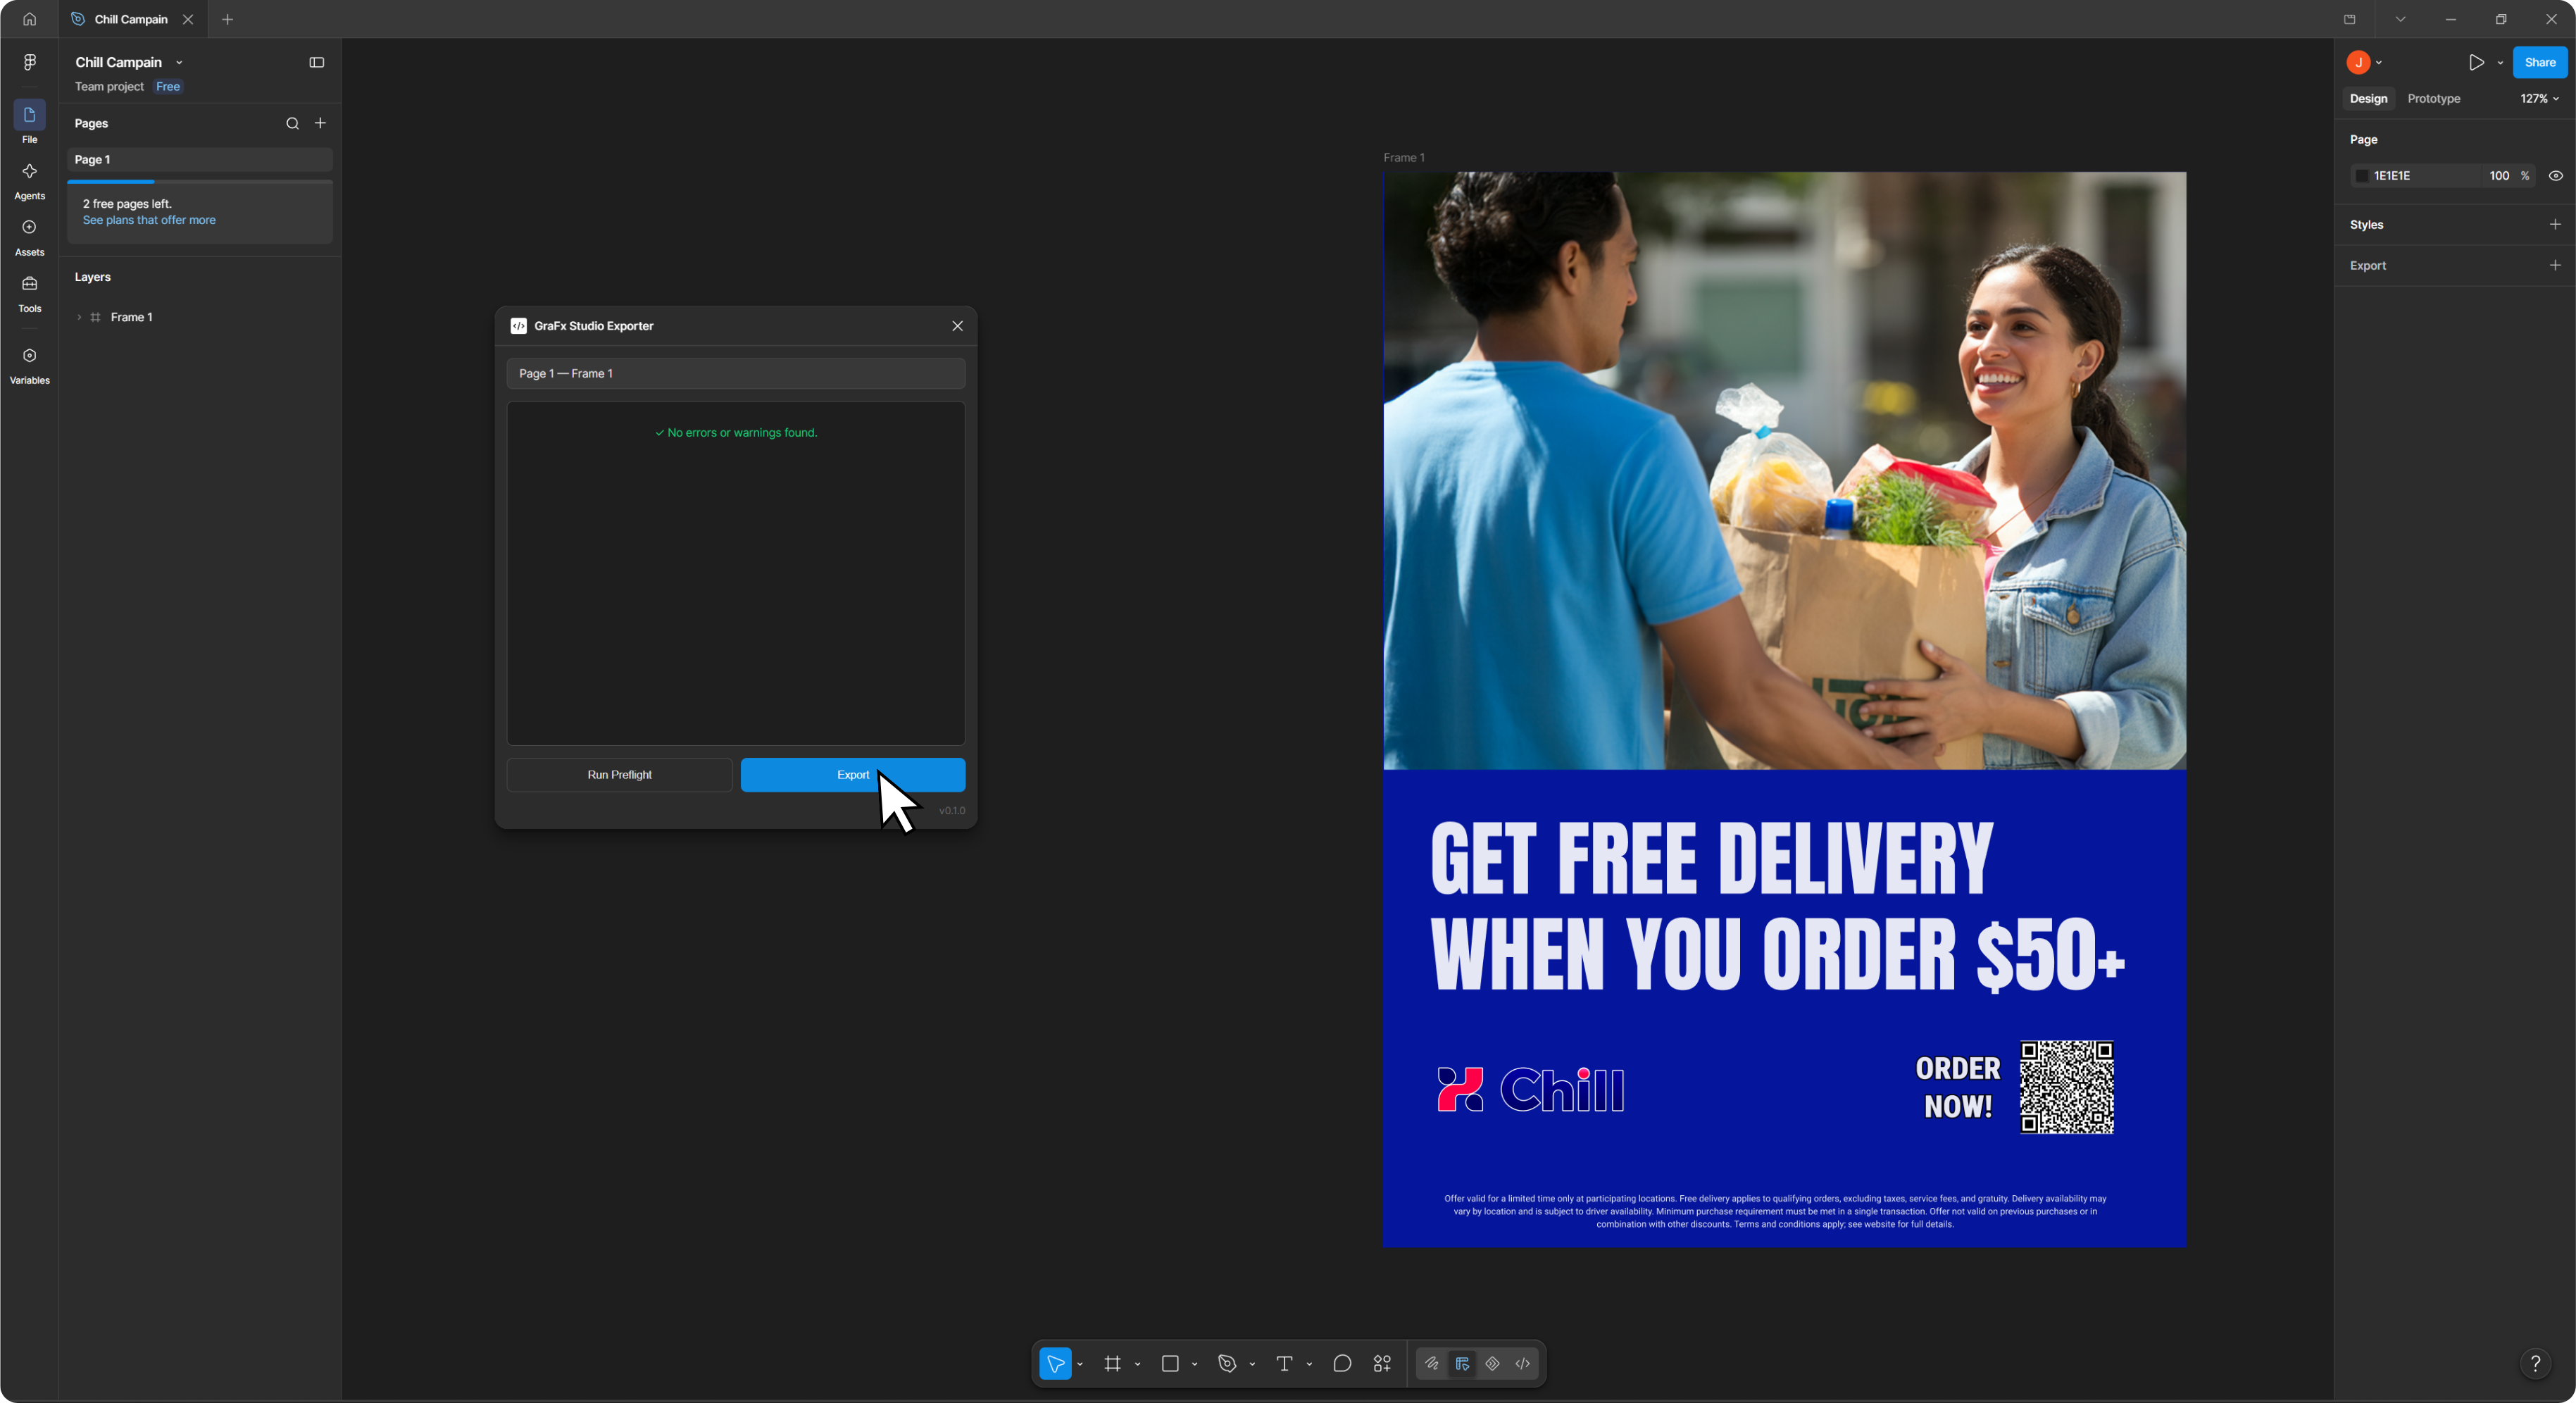
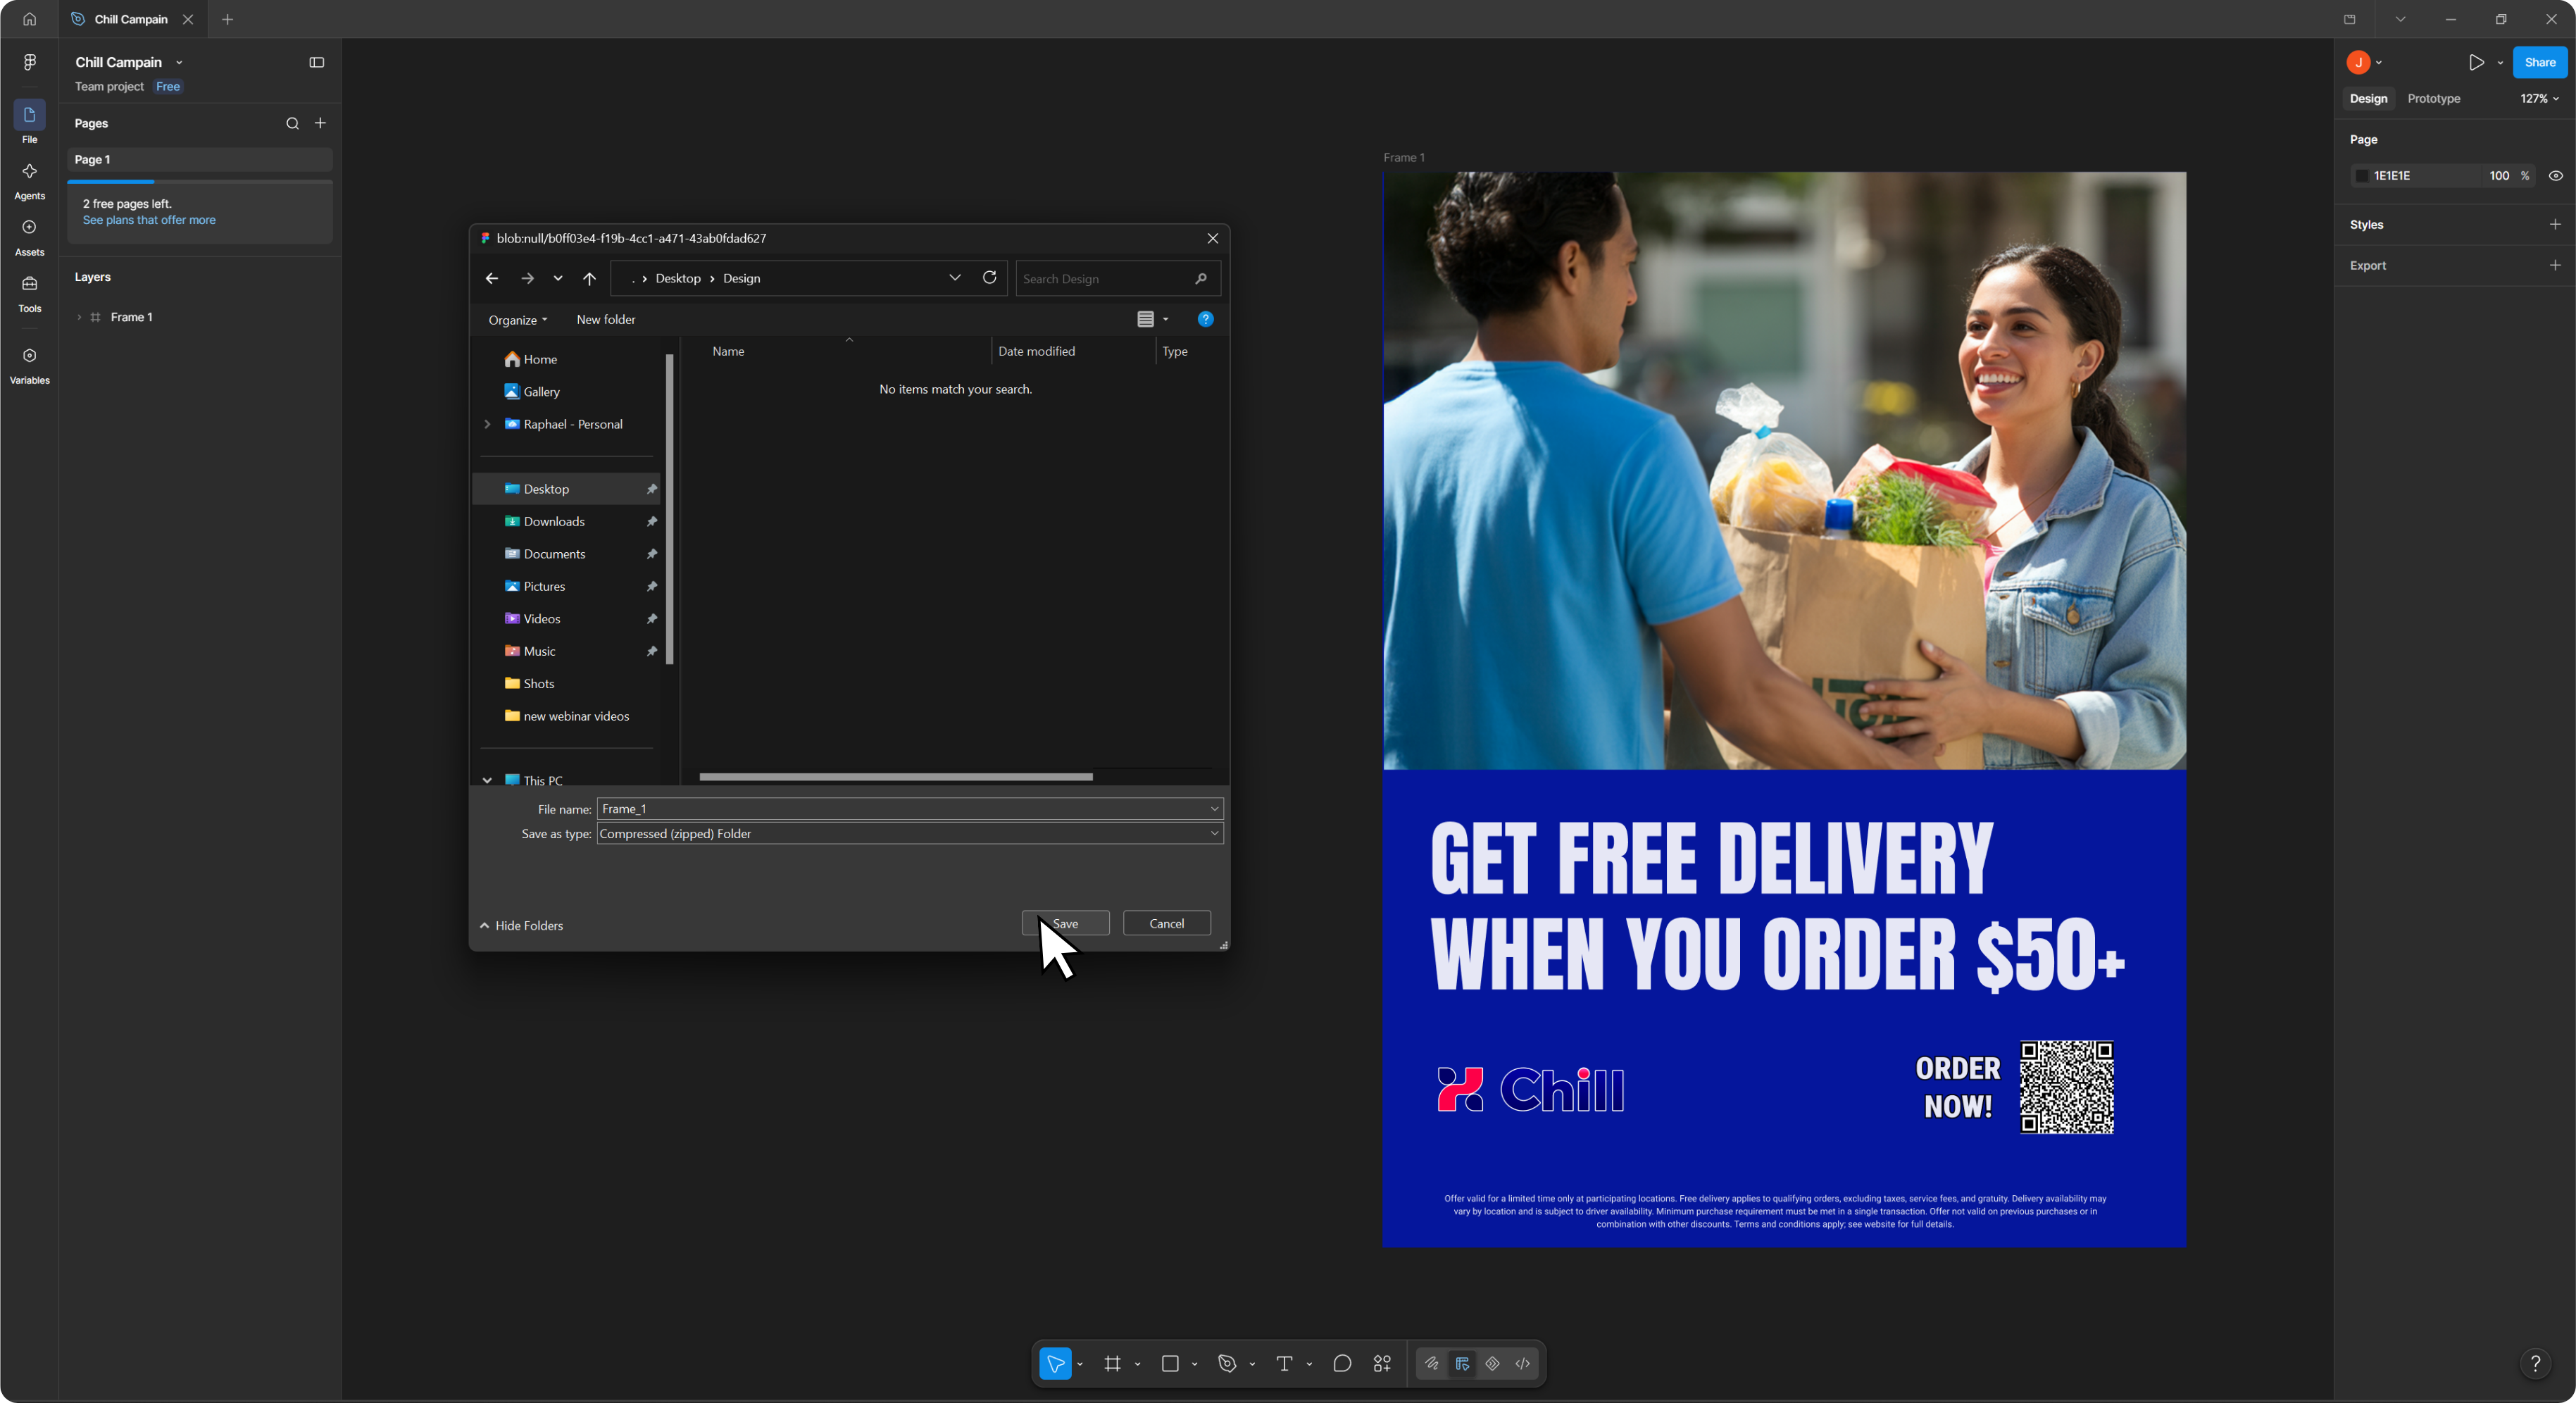
- Choose a destination folder — you are asked for this on every export
- The plugin creates a
.zipfile containing the document and all necessary assets
Import into GraFx Studio
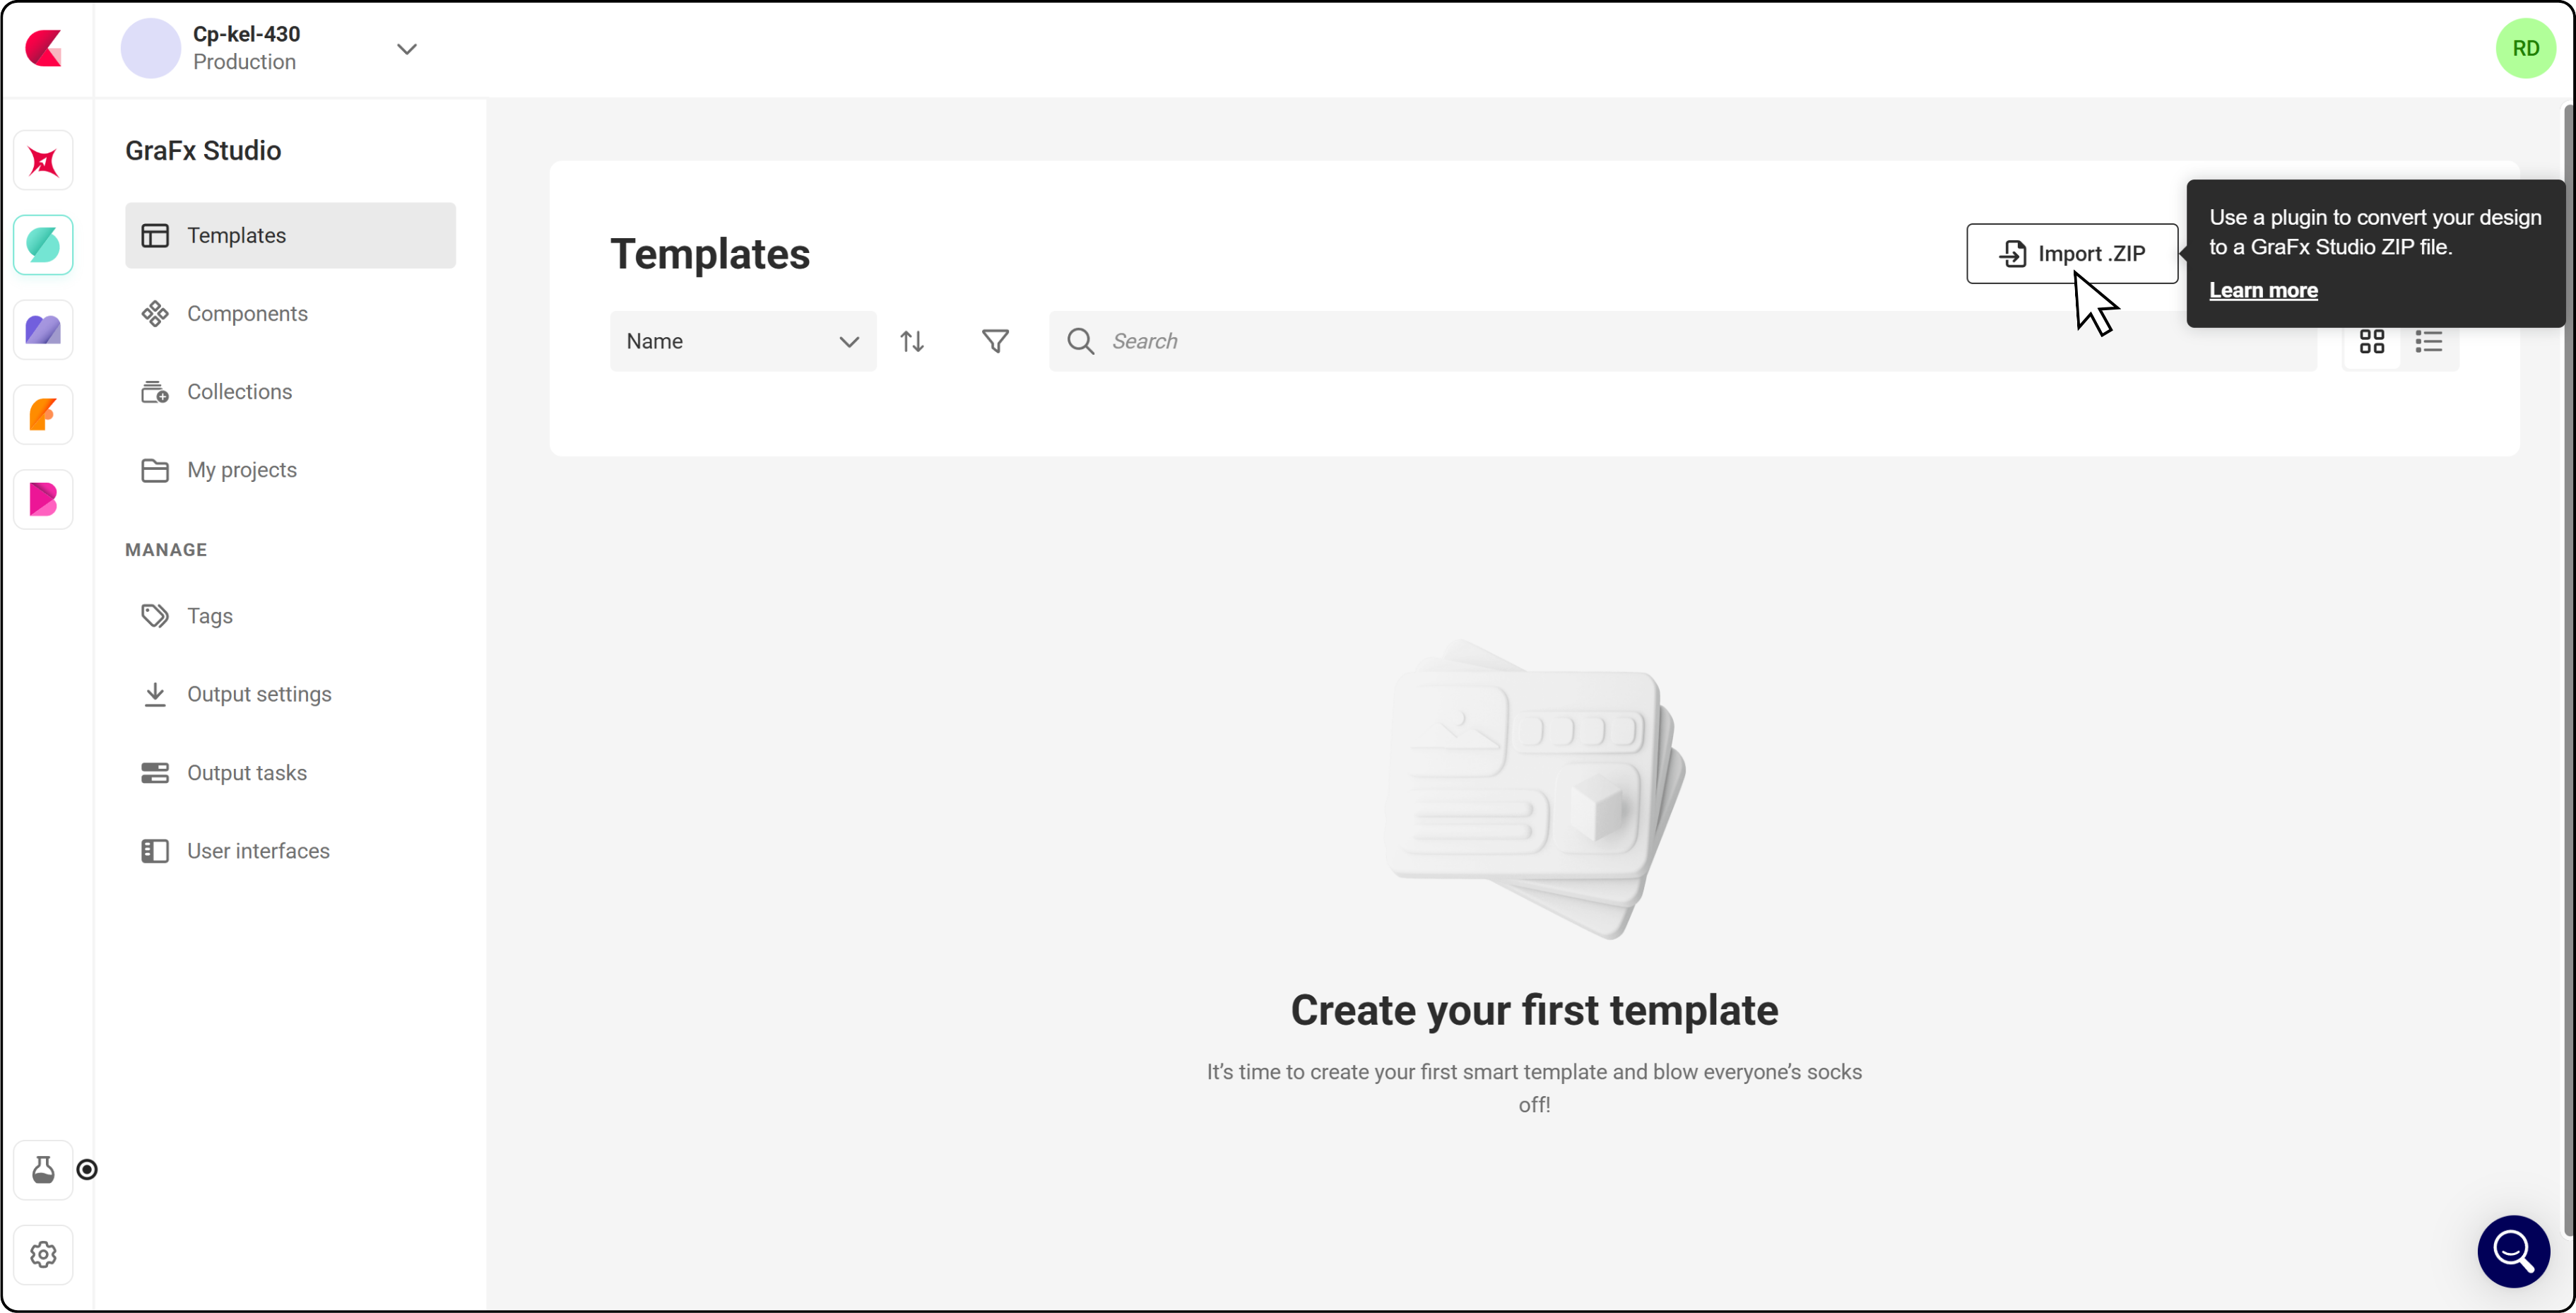
- Open GraFx Studio and go to Templates > Import .ZIP
- Select the exported
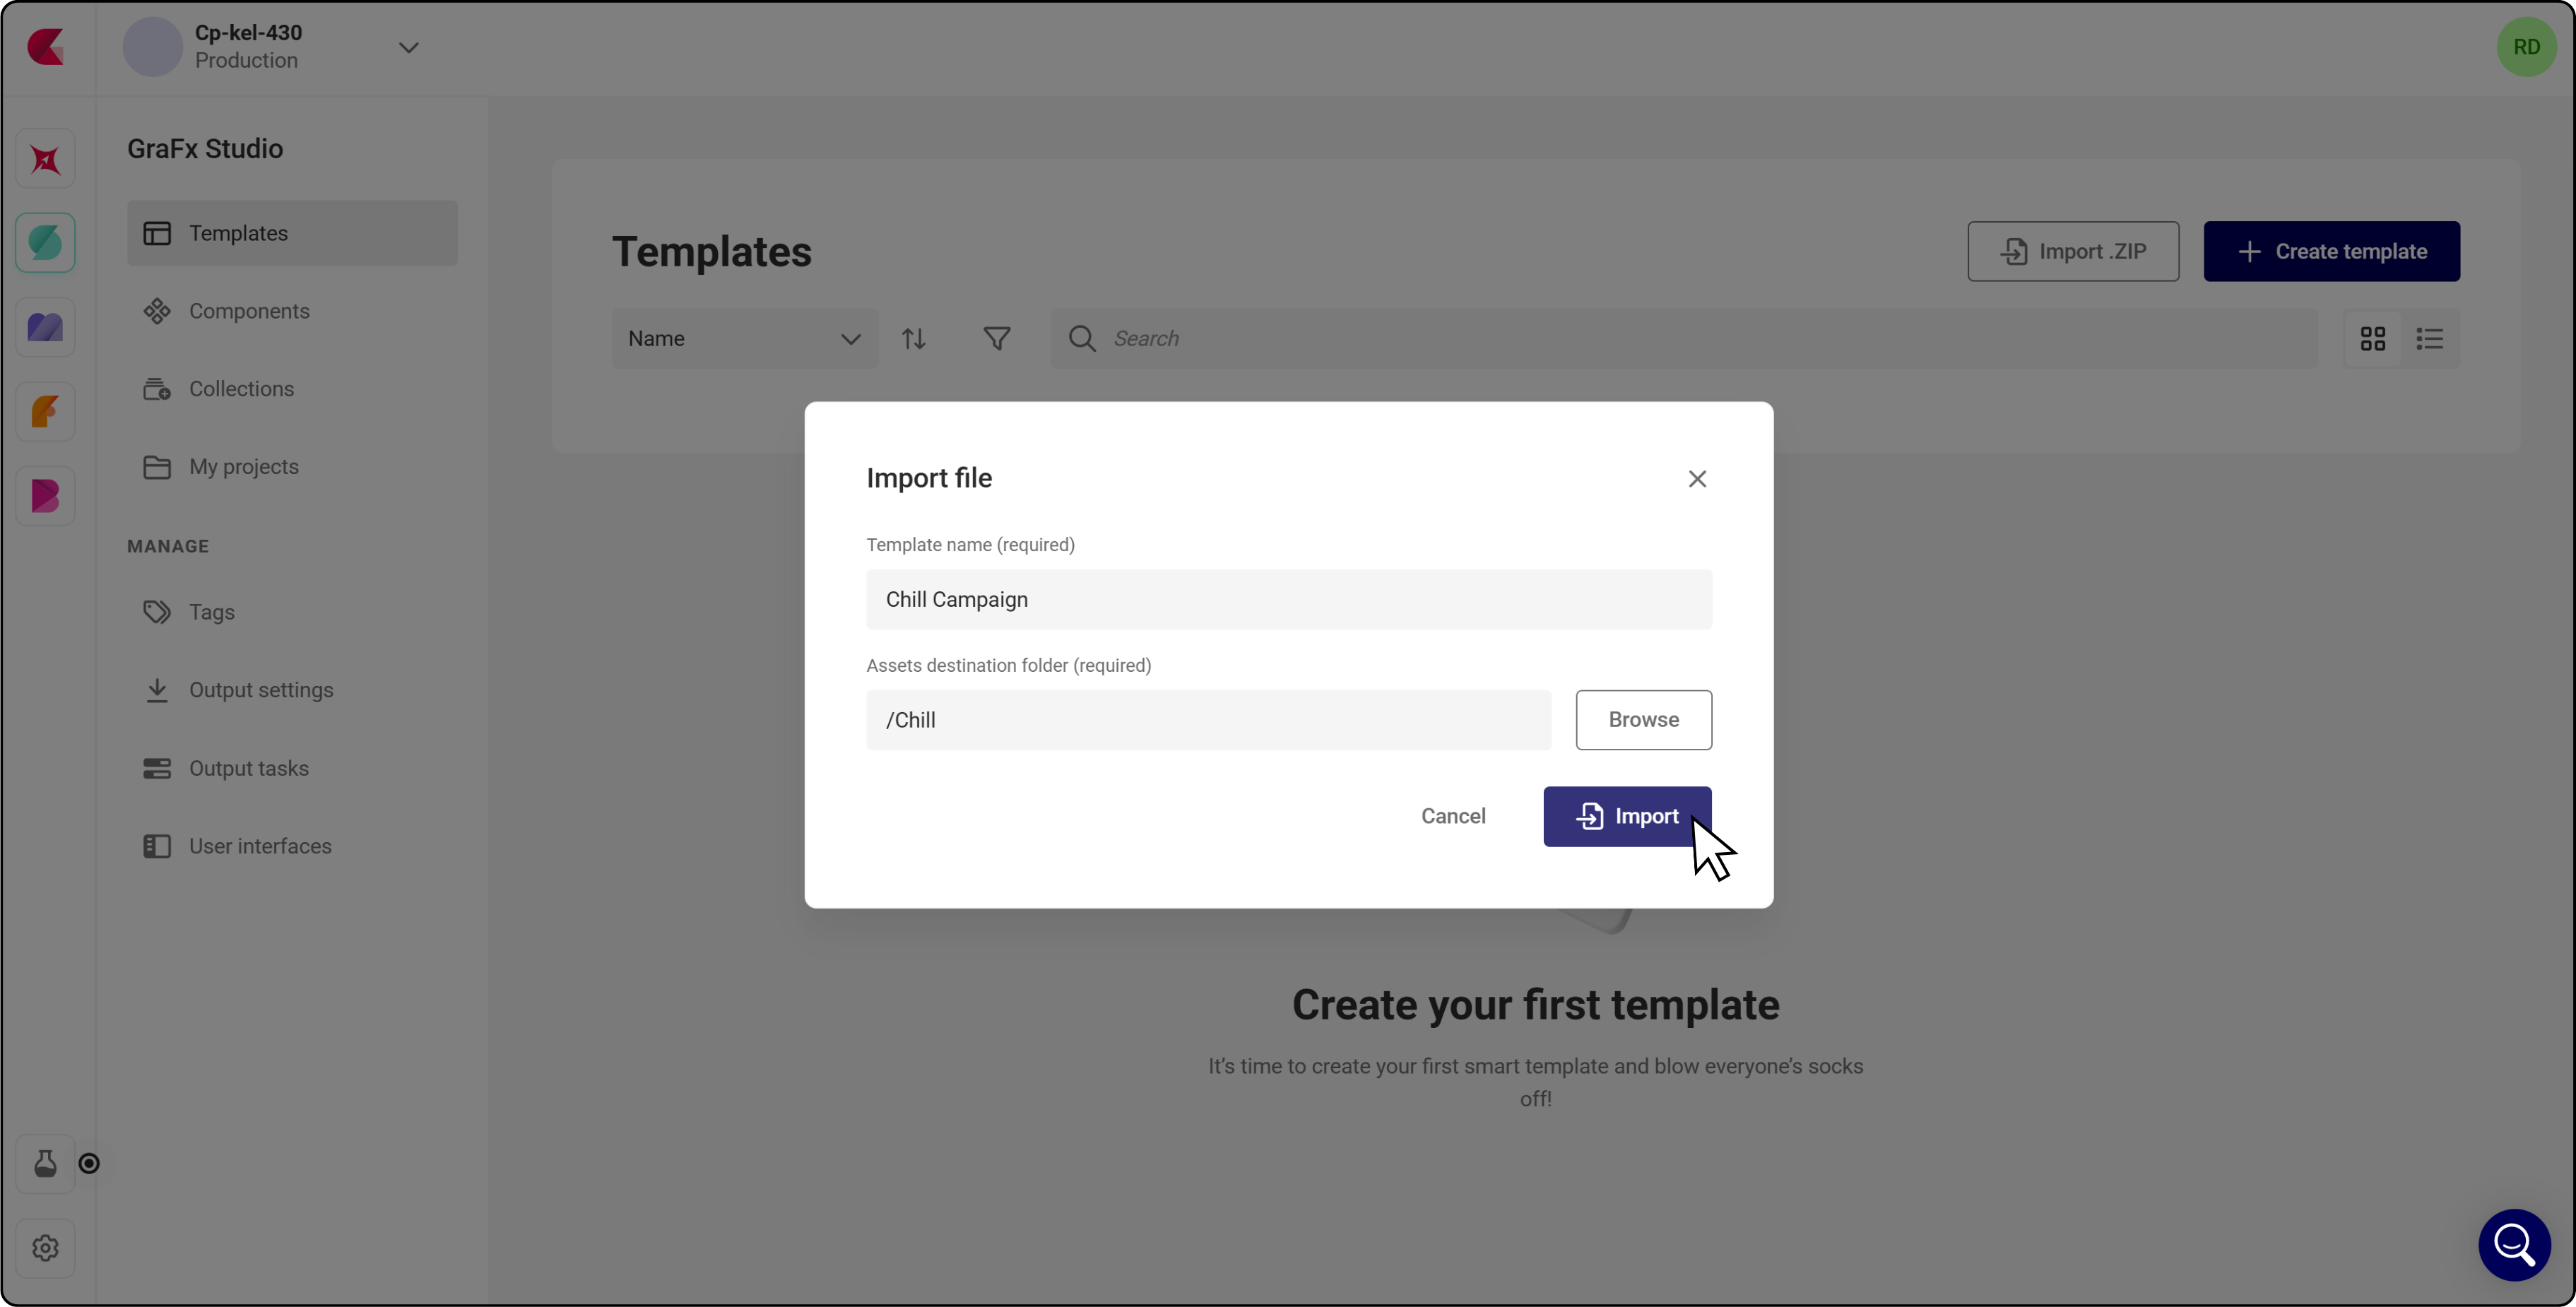
.zipfile, then name the template and choose the folder for the assets
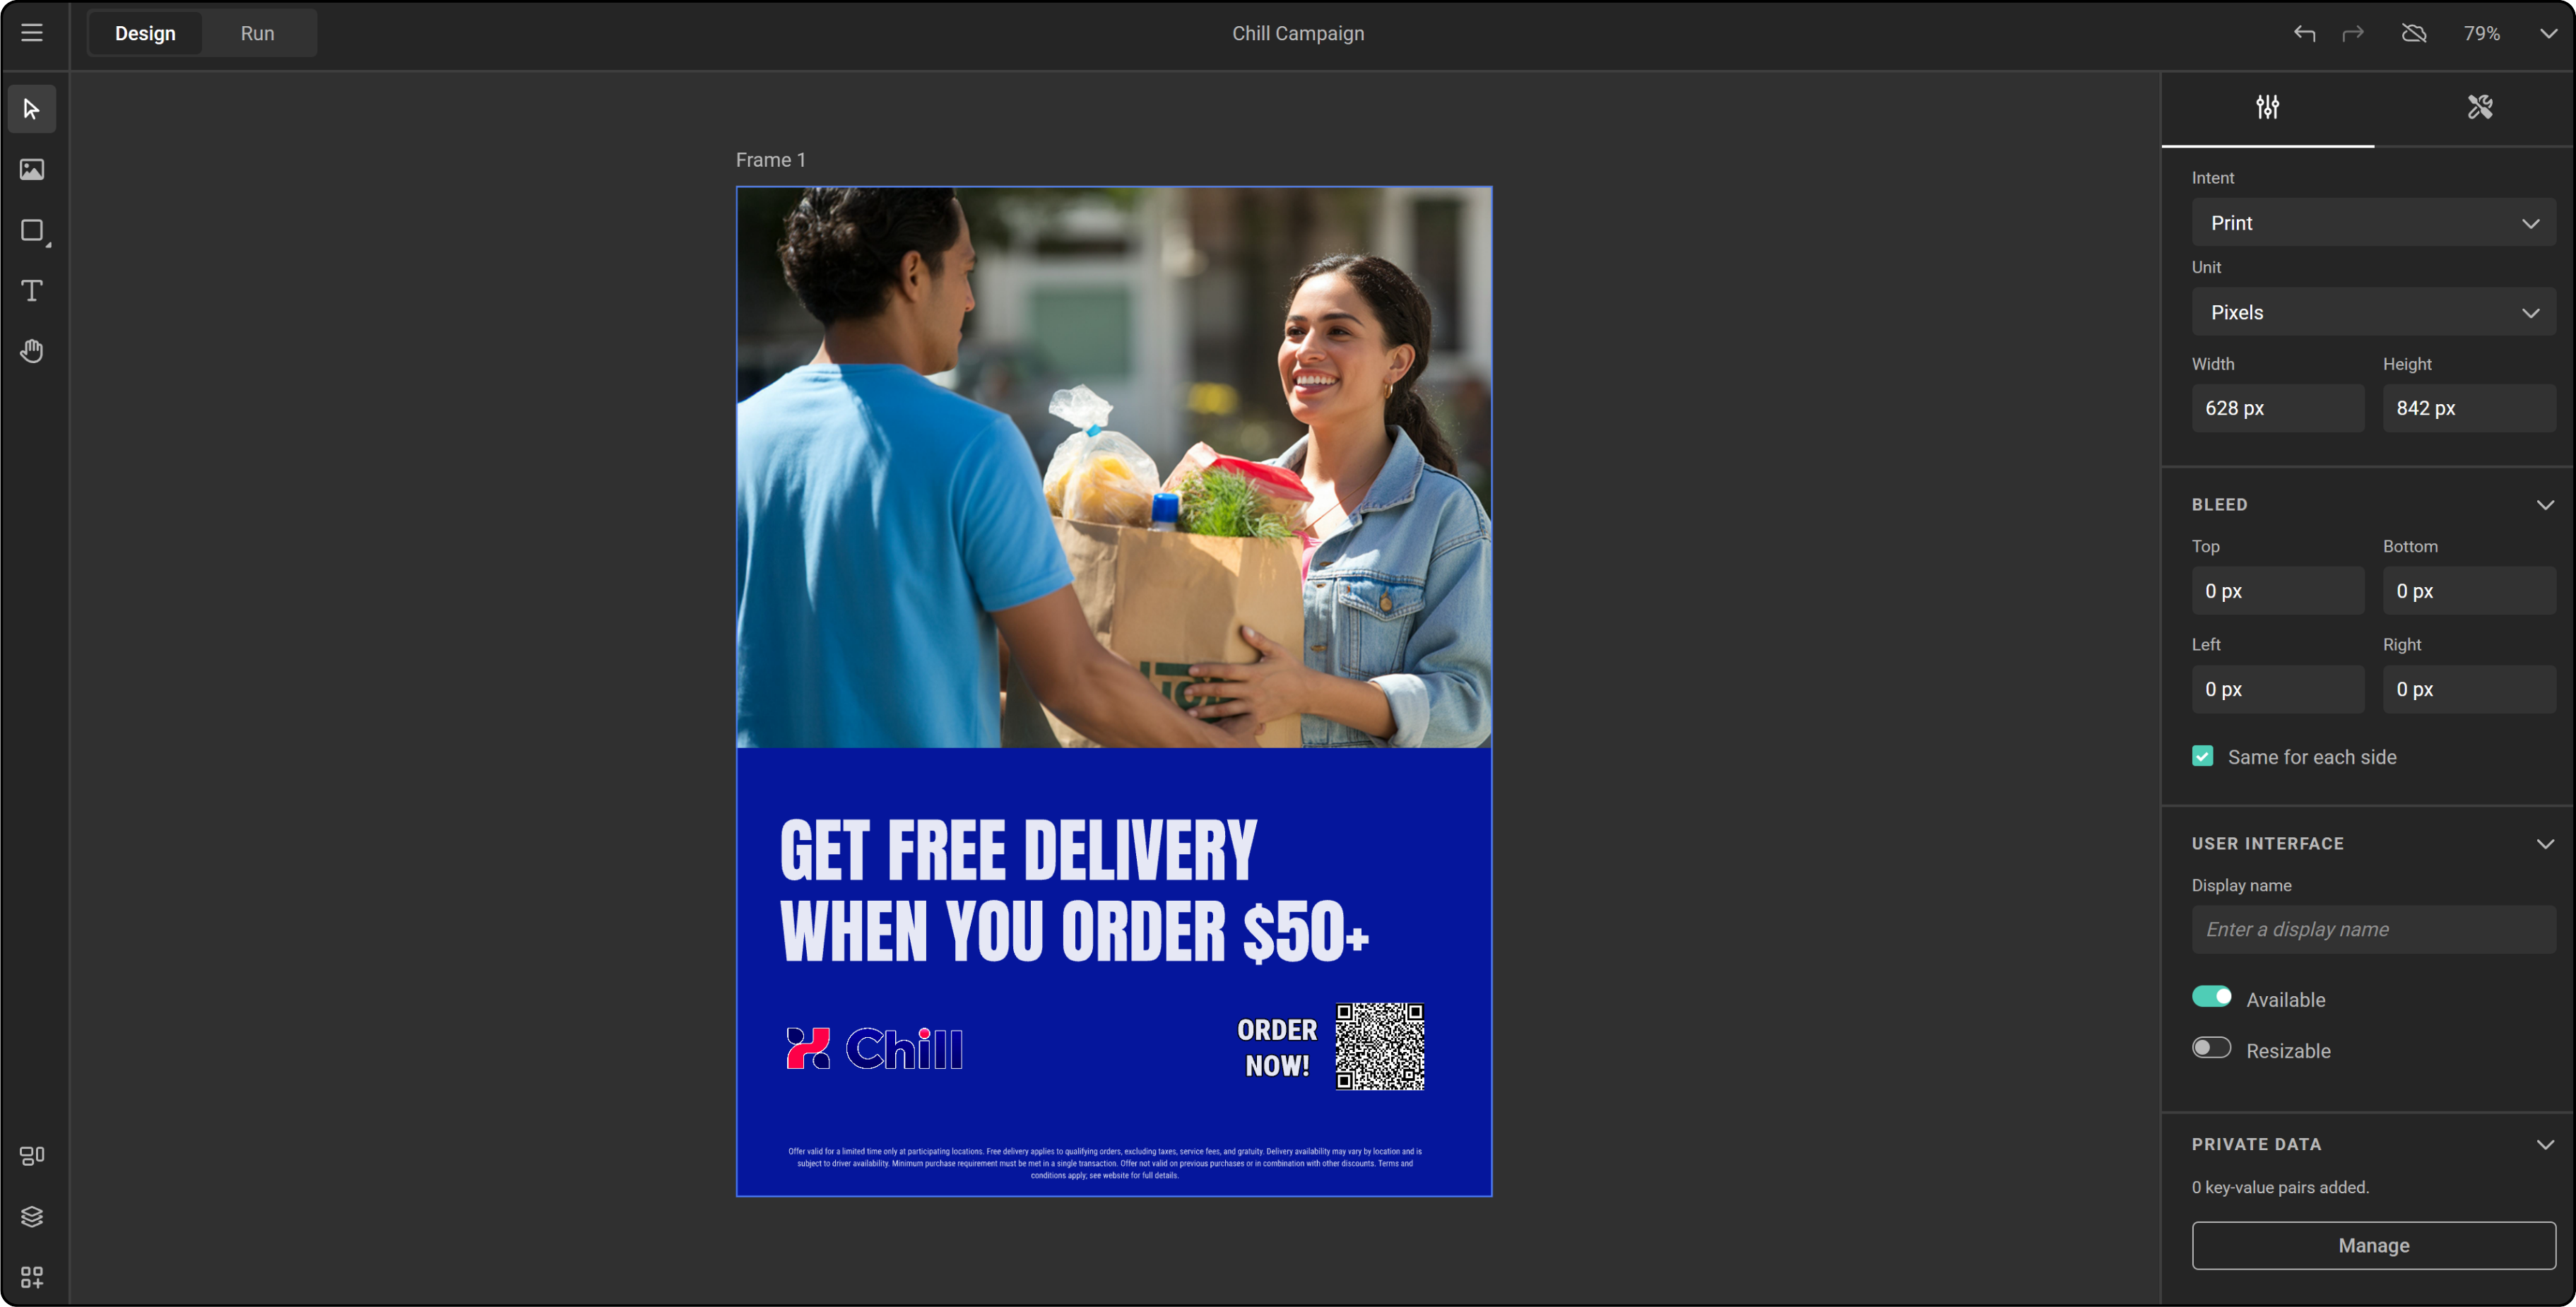
- Your Figma design is now ready for automation in GraFx Studio
Preflight
Preflight is the first step in the conversion process. It scans the selected frame for anything that GraFx Studio cannot reproduce exactly, and reports it before you export — so you decide what happens instead of discovering it afterwards in Studio.
Preflight in the Figma plugin works the same way as preflight in the Adobe plugins: you get a list of warnings for the selected frame, and you can expand any warning to choose what to do with that item. When nothing needs attention, the panel shows No errors or warnings found.
Known limitations in this version
- Clicking a preflight warning does not select or center the corresponding frame in Figma
- The export destination dialog shows
blob:null…as its title on Windows - The destination folder has to be chosen on every export
Text
The export supports the following text properties:
- Typography — font, style, and size
- Alignment — left, center, right, justified (horizontal); top, center, bottom (vertical)
- Spacing — line height (in % and pixels), letter spacing (in % and pixels)
- Decorations — underline, strikethrough, superscript, subscript
- Color — text color
- Case handling — upper and lower case transformations are preserved
- Lists — numbered and bullet lists, including multilevel nested lists, with left/center/right and top/middle/bottom alignment
Underline used as a text background color
If an underline uses a negative offset and a thickness of 50% or more, GraFx Studio treats it as a text background color rather than an underline. This is intentional — it is how a highlight behind text is expressed in Studio.
Text wrapping
In Figma, text can wrap to a new line where GraFx Studio does not, which can lead to text overflow in the converted template. Check text frames after import.
Text styles
Figma text styles are exported and recreated in GraFx Studio, covering:
- Font, style, and size
- Line height (% and pixels)
- Letter spacing (%)
- Underline, strikethrough, superscript, subscript
- Background text color (applied when underline + negative offset + thickness ≥ 50%)
Line height set to Auto
Text using the default Line height value Auto converts with a line height of 120%, applied silently — no preflight warning is shown. Set an explicit line height in Figma if you want a different value in the template.
Known limitations in this version
- Figma text styles are currently mapped to a mix of paragraph and character styles in GraFx Studio. The visual appearance of styled text is preserved in the template, but the style structure does not yet line up one-to-one with Figma
- The default Vertical trim value
Standardtriggers a preflight warning
Color styles
Figma color styles with solid colors are exported and created as color styles in GraFx Studio. Colors coming from libraries — for example Accents/Brown — are exported and created as a unique color style in Studio.
Gradient and image fills
Color styles that use a gradient or an image fill are not recreated as color styles in GraFx Studio. The gradient or fill is still applied to the frame itself, so the template looks the same — you just won't find it back as a reusable color style.
Shapes and vector paths
The following shapes are supported:
- Rectangles
- Ellipses
- Triangles
- Polygons
- Lines — exported as PDF
- Custom shapes — exported as PDF
Along with:
- Fill color
- Stroke color
- Stroke weight
- Different corner radius per corner
- Image as a fill, with fill / fit / crop
Known limitations in this version
- Only the center stroke position is supported
- An image used as a fill in a shape acts as a clipping mask. Figma's native Use as a mask clipping is not yet supported
Drop shadows
Drop shadows can be applied to shapes and to text. The following parameters are converted:
- Position (X, Y)
- Blur
- Color, including opacity
Not supported: Spread.
Gradients
- Linear gradients on shapes
- Linear gradients with stops
- Rotated linear gradients
Opacity and blend modes
- Appearance opacity for shapes, text, and images
- Fill opacity for shapes and text
- Blend modes
Known limitations in this version
- Image fill opacity is not supported
- The Plus darker and Plus lighter blend modes are not supported. In preflight warnings they appear under their equivalent names, linear burn and linear dodge
Tips for a successful conversion
- Put the design you want to convert in a single frame, sized as the template should be
- Run preflight and read the warnings before exporting — it is faster than fixing things in GraFx Studio afterwards
- Upload the fonts your design uses to GraFx Fonts, so GraFx Studio can resolve them. See Supported font types
- Check text frames after import for overflow caused by the wrapping difference between Figma and GraFx Studio