Media Connector for Lytho
Built-in
Built by CHILI publish
Third Party
The Lytho connector lets you browse, search, and place images from your Lytho DAM directly in GraFx Studio. It is read-only: assets are never uploaded to or changed in Lytho.
Solution vendor website
See Lytho's website
Installation
The installation is done by enabling the Lytho connector on the environment.
See Installation Through Connector Hub
Setting up the connector is a one-time task for an administrator. Template Designers and end users never enter the connector's credentials. With per-user sign-in, each user signs in once with their own Lytho login.
You need:
- A Lytho account admin, to get the connection values from Lytho.
- A CHILI GraFx administrator, to enter them in your environment.
Often this is the same person.
Setup at a glance
- Lytho Configuration (in Lytho): generate the credentials and copy the values for your GraFx connector.
- CHILI GraFx Connector Configuration (in CHILI GraFx): add the Lytho connector and fill in its two tabs. Then make it available:
- Configuration: paste the runtime options and proxy settings.
- Authentication: choose account-level access or per-user sign-in. With per-user sign-in, you also register the connector in Lytho.
- Make the connector available: switch it on for Template Designers once everything else is done.
When setup is done, Template Designers can start using assets from your Lytho DAM. If something does not work, see Troubleshooting.
Track your progress
Each step below is a short checklist. Tick an item's box when you finish it, and the item collapses so you can see what is left. The boxes are only there for your convenience and are cleared when you leave the page.
Step 1: Lytho Configuration
In Lytho, go to Settings → Advanced → GraFx connector.
Don't see the GraFx connector tab?
The tab is only shown to account admins, and the connector has to be enabled for your Lytho account. Contact Lytho Support if it is missing.
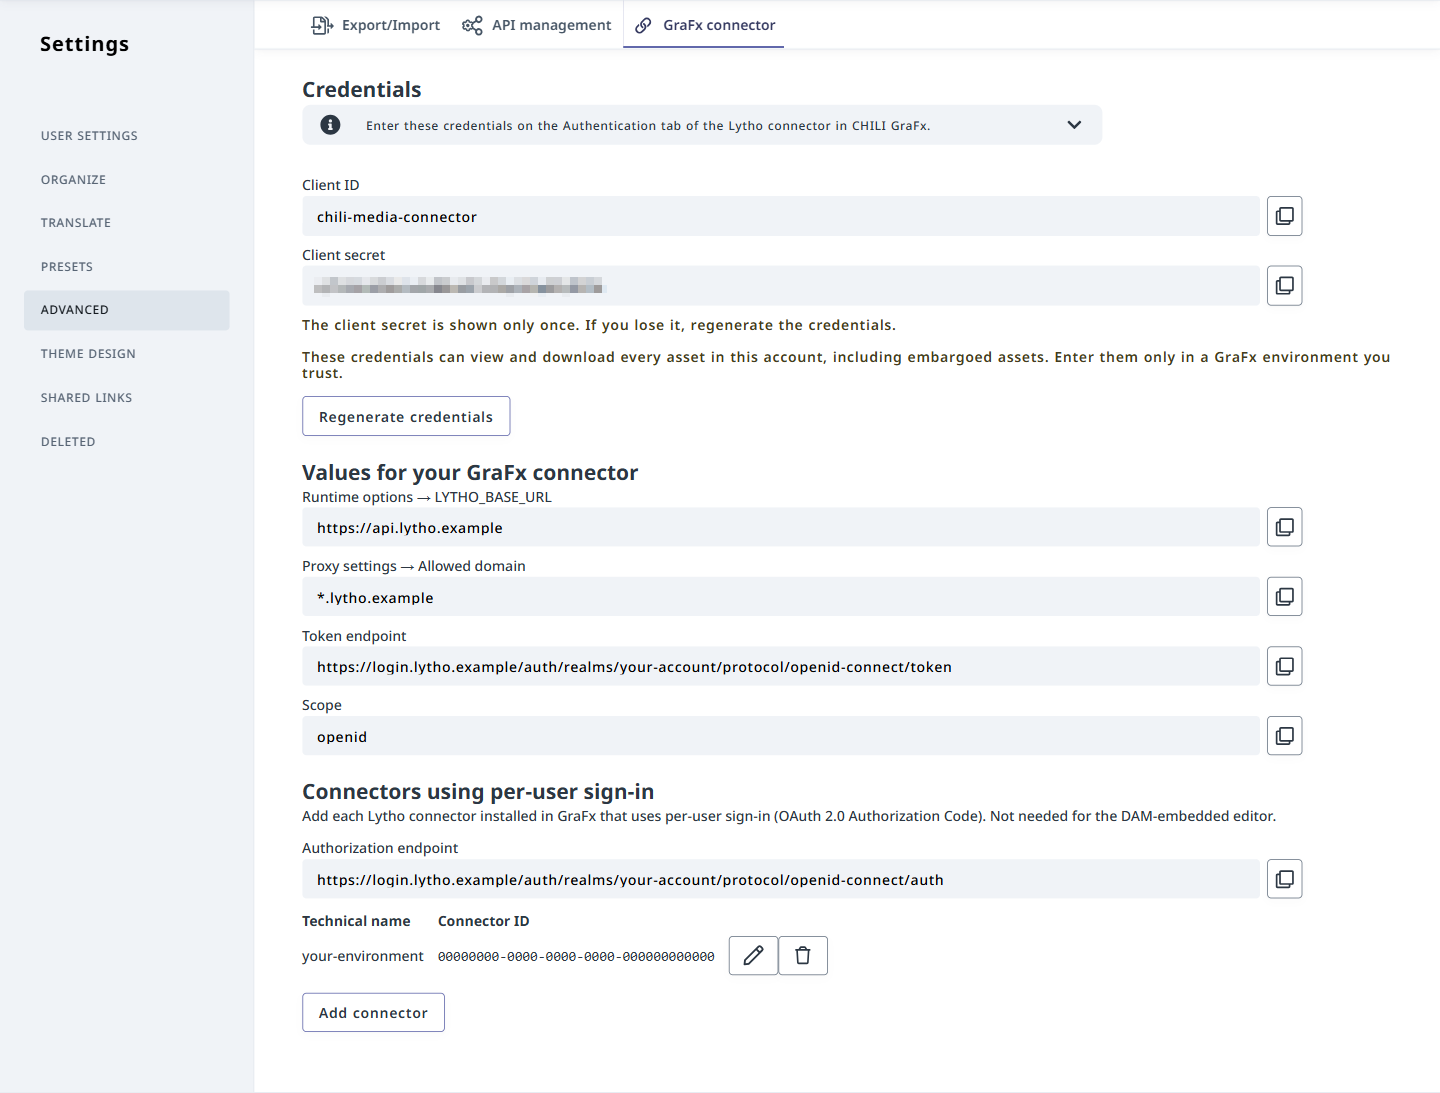
1.1 Generate the credentials
Click Generate credentials. Lytho shows:
- Client ID
- Client secret
The client secret is shown only once
Copy the client secret immediately and keep it somewhere safe. If you lose it, click Regenerate credentials to get a new one.
These credentials can view and download every asset in your Lytho account, including embargoed assets. Enter them only in a GraFx environment you trust.
You need one set of credentials per Lytho account. Use the same Client ID and Client secret in every GraFx environment you connect, for example both your sandbox and your production environment.
1.2 Copy the values for your GraFx connector
The Values for your GraFx connector section lists the other values you need:
- Runtime options → LYTHO_BASE_URL
- Proxy settings → Allowed domain
- Token endpoint
- Scope
Each value has a copy button. The labels tell you where each value goes in CHILI GraFx.
Step 2: CHILI GraFx Connector Configuration
2.1 Add the connector
From the overview of Environments, click on "Settings" on the right of the environment where you want to configure the Connector.

Then click Connectors. If Lytho is not listed yet, click + Add connector and select Lytho (see Installation Through Connector Hub).
Then open the Lytho Connector.
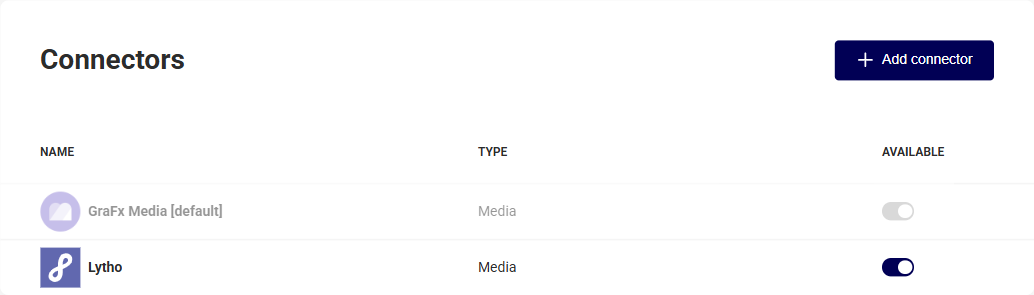
2.2 Fill in the Configuration tab
On the Configuration tab:
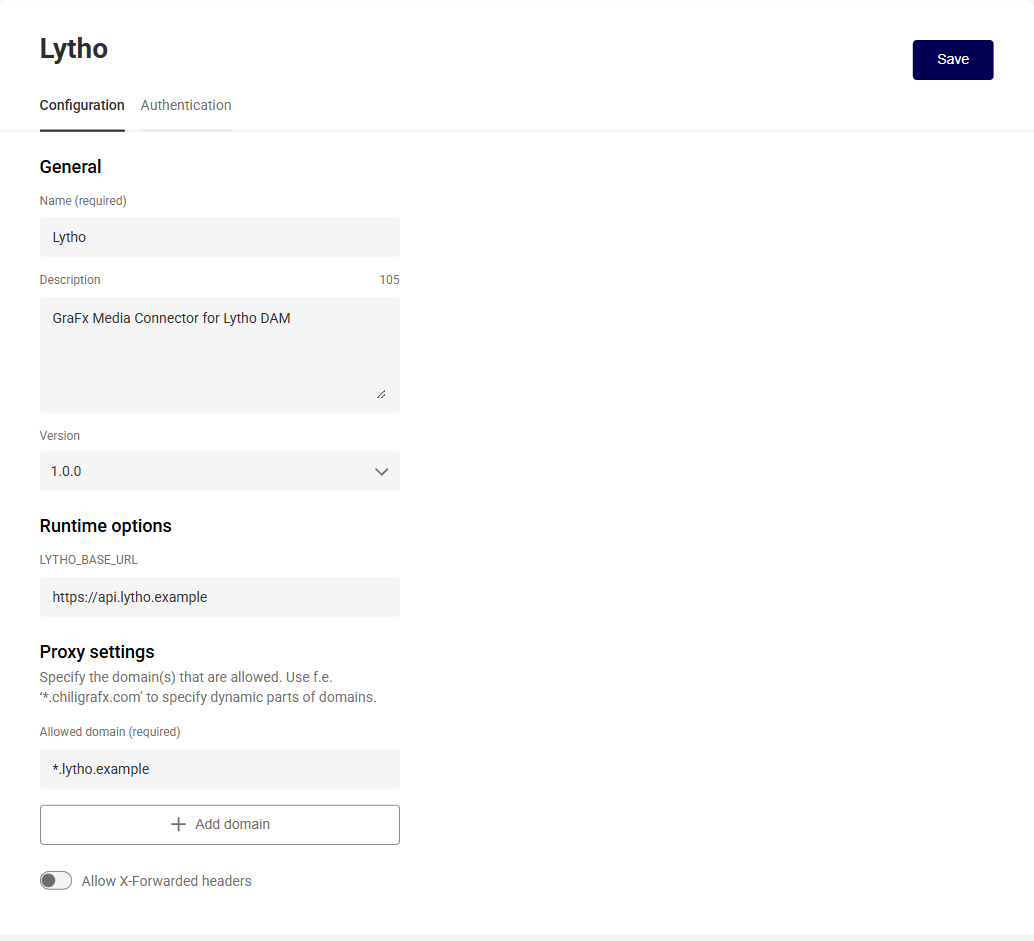
Runtime options
- LYTHO_BASE_URL: paste the value of Runtime options → LYTHO_BASE_URL from Lytho.
Proxy settings
- Allowed domain: paste the value of Proxy settings → Allowed domain from Lytho.
Click Save.
2.3 Fill in the Authentication tab
Before you fill in the connector's Authentication tab, decide how your users reach Lytho. There are two setups:
| Setup | Choose it if | What users see | Sign-in |
|---|---|---|---|
| Account-level access | Everyone who uses your templates may see every asset | Every asset in your Lytho account | None. The connector always connects with the account's credentials. |
| Per-user sign-in | Users should only see what their Lytho permissions allow | Only the assets their own Lytho user may see | Each user signs in to Lytho once in GraFx Studio |
In both setups, only supported file types and assets within their publish dates are shown. See Which assets are available.
Exporting and rendering output always uses the account's credentials, because no user is present at that point. In both setups, this lets templates that contain restricted assets still export.
Select your setup below to see its configuration steps. You can switch between the tabs to compare them, and you can change the setup later.
Leave Enable separate server and browser authentication off.
Server and browser authentication: OAuth 2.0 Client Credentials
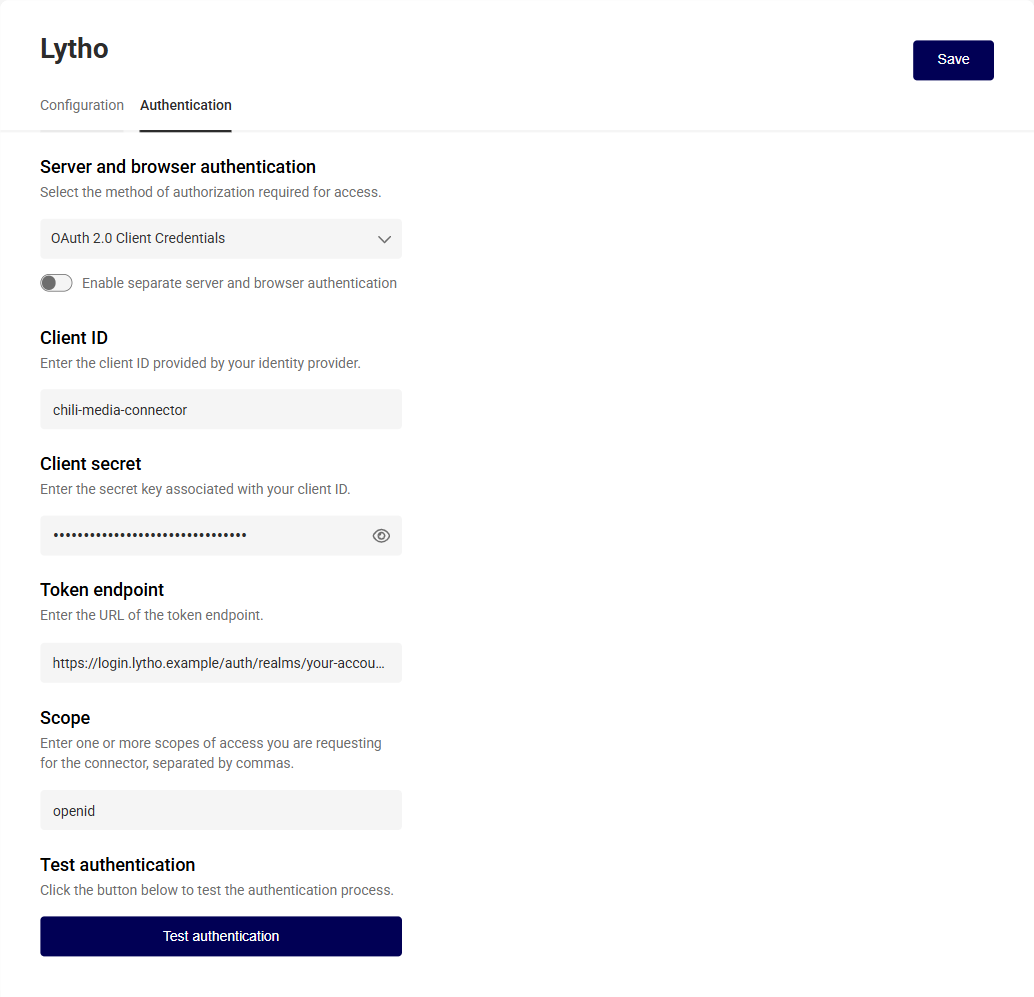
- Client ID: the Client ID from Lytho
- Client secret: the Client secret from Lytho
- Token endpoint: the Token endpoint from Lytho
- Scope: the Scope from Lytho
Optionally, click Test authentication to check the values before you save.
Click Save.
Turn on Enable separate server and browser authentication.
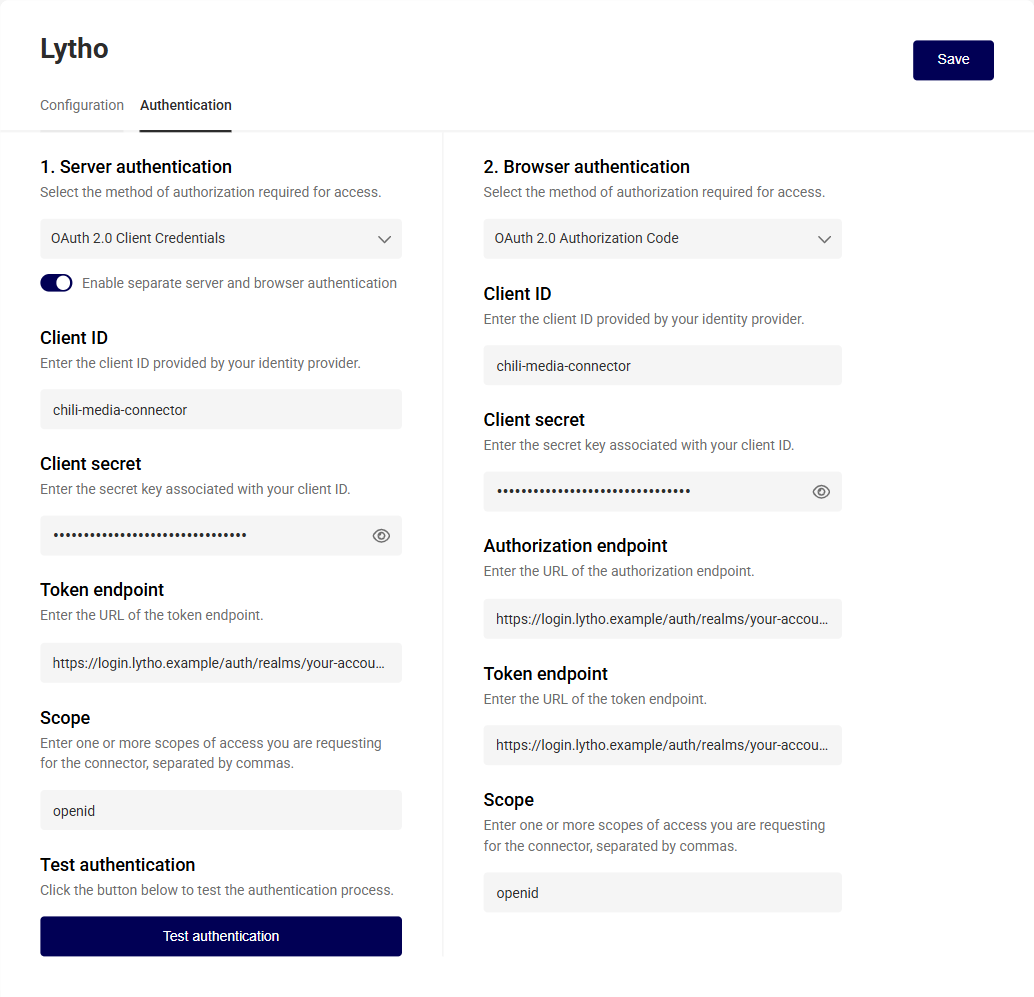
1. Server authentication: OAuth 2.0 Client Credentials
- Client ID, Client secret, Token endpoint, and Scope: the values with the same names in Lytho
2. Browser authentication: OAuth 2.0 Authorization Code
- Client ID: the Client ID from Lytho
- Client secret: the Client secret from Lytho
- Authorization endpoint: the Authorization endpoint from Lytho. You find it under Connectors using per-user sign-in.
- Token endpoint: the Token endpoint from Lytho
- Scope: the Scope from Lytho
Optionally, click Test authentication to check the values before you save.
Click Save.
Register the connector in Lytho
Per-user sign-in only works after Lytho knows about this connector. Do this once for every GraFx environment in which you set up per-user sign-in.
-
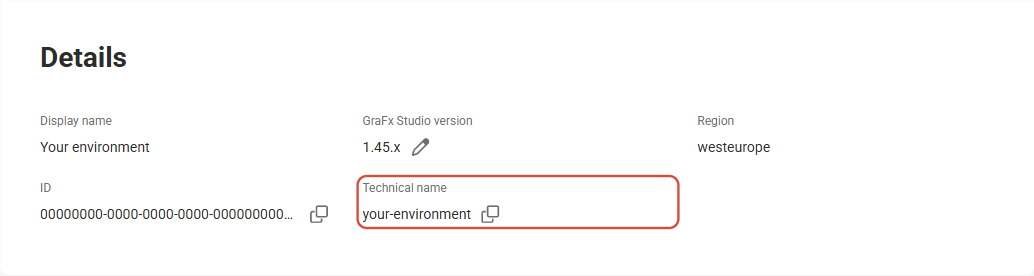
In CHILI GraFx, find your environment's Technical name under Settings → General.
-
Copy the address of the Lytho connector's page in CHILI GraFx (Settings → Connectors → your Lytho connector). You can also use just the connector ID at the end of that address.
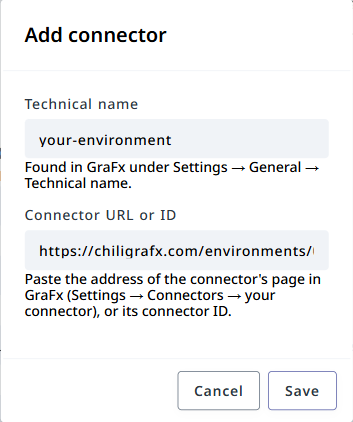
- In Lytho, go to Settings → Advanced → GraFx connector → Connectors using per-user sign-in and click Add connector.
-
Enter the Technical name, paste the address in Connector URL or ID, and click Save.
The first time a user opens Lytho assets in GraFx Studio, they are asked to sign in with their Lytho login.
2.4 Make the connector available
Go back to Settings → Connectors and switch on the Available toggle of the Lytho row. A newly added connector is not available by default, and Template Designers can only add Lytho images to a template while it is available.
Turn it on only when the Configuration and Authentication tabs are complete and, with per-user sign-in, the connector is registered in Lytho. Until then, Template Designers could select a connector that does not work yet.
Using Assets from Your Lytho DAM
Place Assets in Your Template
- Select the Lytho Connector.
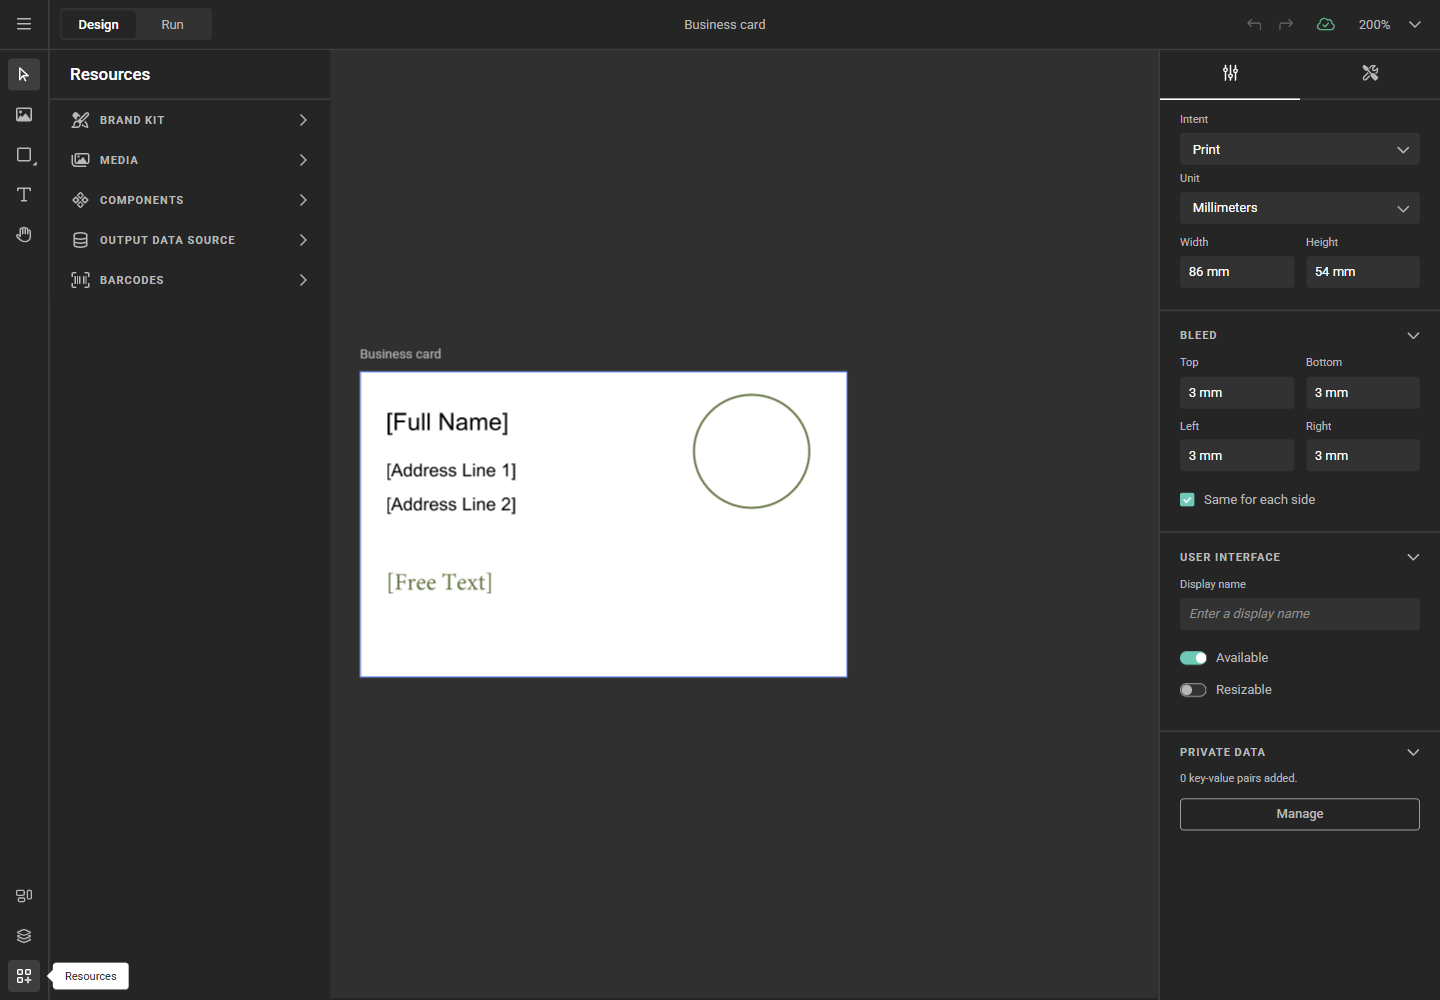
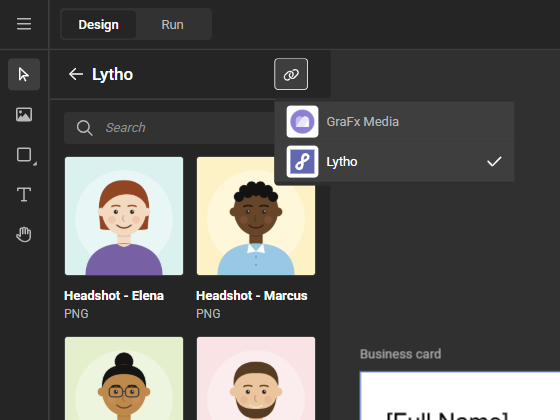
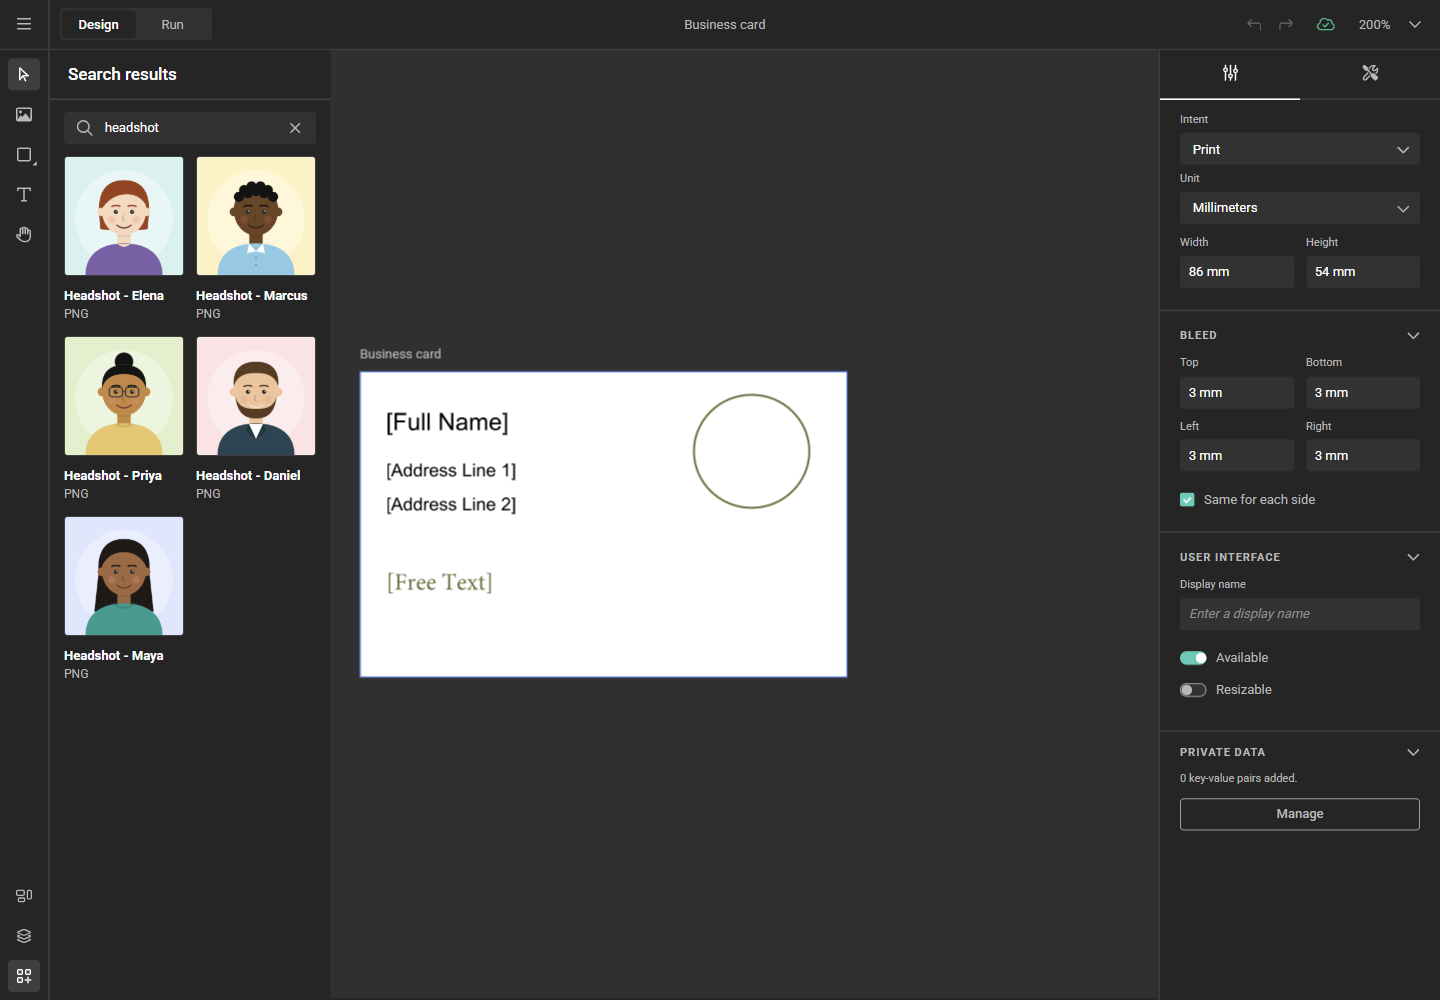
Image Variables
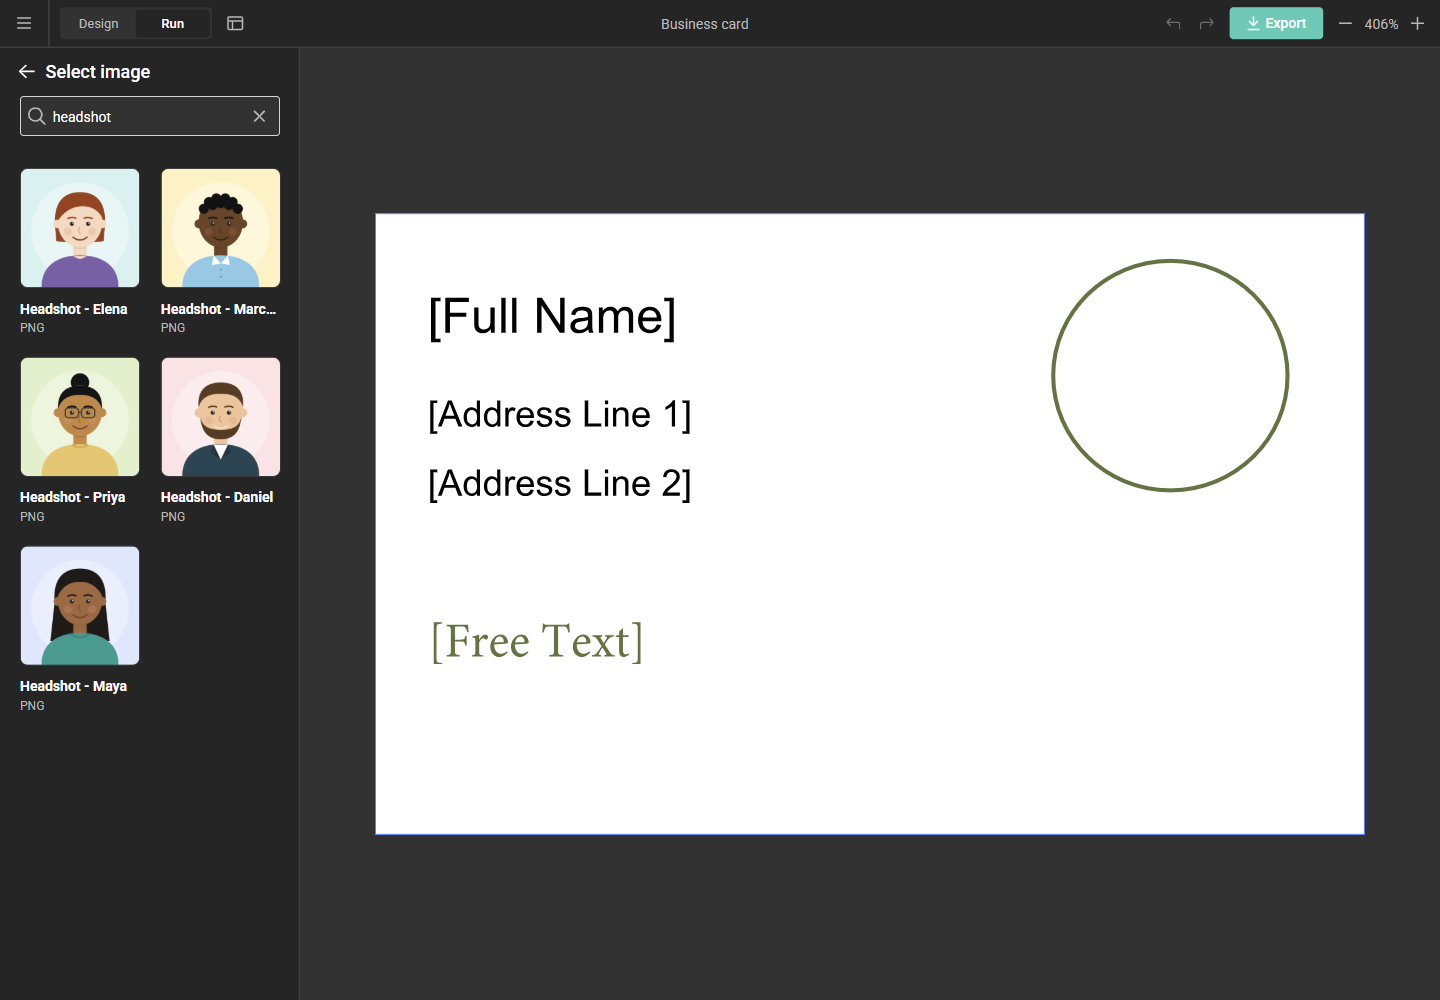
When using image variables, you see the same grid of Lytho assets when selecting an image.
Metadata mapping
The connector makes each asset's file type, file name, and tags available as metadata.
See Concept of metadata mapping for more details.
Which assets are available
- File types: only assets that GraFx Studio can use are shown: EPS, JPG/JPEG, PDF, PNG, PSD, TIF/TIFF, and AI.
- Visible start and end dates: with per-user sign-in, assets outside their visible dates in Lytho are hidden, unless the user may see embargoed assets. This matches what the user sees in Lytho itself. With account-level access, these assets are shown.
- Publish start and end dates: assets outside their publish dates in Lytho are never offered, in either setup. An asset placed in a template is downloaded into the output and cannot be withdrawn later, so expired and not-yet-published assets are kept out.
These filters only affect browsing and searching. An asset that is already placed in a template keeps working after its publish end date.
Placed assets after their visible end date
With per-user sign-in, if an asset already used in a template passes its visible end date, the template can no longer load that asset for users who may not see embargoed assets.
Troubleshooting
| Problem | Solution |
|---|---|
| The GraFx connector tab is missing in Lytho | Only account admins see it, and the connector must be enabled for your Lytho account. Contact Lytho Support. |
| You lost the client secret | In Lytho, click Regenerate credentials and enter the new secret in every GraFx environment that uses the connector. |
| The connector stopped working in every environment at once | Someone regenerated the credentials in Lytho. Enter the new Client secret on the Authentication tab of the Lytho connector in each environment. |
| Users get an "Invalid parameter: redirect_uri" error when signing in | The connector is not registered in Lytho. See Register the connector in Lytho in the Per-user sign-in steps under Authentication. |
| A user sees fewer assets than expected after their Lytho permissions changed | GraFx keeps a user's sign-in for a while. The new permissions apply once it renews, which can take up to about two hours. |
| An asset you expect is not listed | Check its file type and its visible and publish dates in Lytho (see Which assets are available). |